Showing posts with label ring. Show all posts

Saturday, June 9, 2012

DIY: vintage ring

A long time ago, I posted a DIY about making your own rings (found HERE). Since then, I've basically been carrying around a little heart-shaped box full of vintage earrings, brooches, and other potential knick-knacks that can be refurbished into rings and just haven't gotten around to busting out the superglue to finish the job. Well, A YEAR LATER, I finally took the time to make the rest of them. 

This one here is the first one I made. I had a vintage earring that just happened to fit perfectly into this large, round ring-blank I had. (You can find some simple instructions below).


Instructions:

******

1) I used pliers to take off the back of the earring.

2) I cut out a round piece of leather to fit into the ring blank.
   The ring blank was quite deep so I used the leather
   to fill up the extra space and to "cushion" the earring.

3) After gluing in the piece of leather, I glued the
    vintage earring on top... and TA DA!
    
The vintage ring is done! 

******

Monday, April 30, 2012

inspiration: maya hayuk

I discovered Maya Hayuk's art yesterday while I was actually on a WEDDING BLOG of all places. One of Hayuk's pieces was featured on an inspiration board, on Green Wedding Shoes (which is a pretty good wedding inspiration site if you're interested in that sorta stuff), and I was immediately drawn to her painting. I love the unconvential use of colours in the artwork:
shades of grey + fuschias + peach + lavender + teal.

*side note: in case you were wondering, the ring (Morganite & Rose Gold) is sold by onegarnetgirl and can be found here on Etsy.

***

I love Maya Hayuk's work because of her colourful, geometrical designs. Recently I've been fascinated with this type of rainbow-hued art and cannot wait to have spotless white walls of my own to absolutely MURDER with colour.

Here are some of her fabulous murals! ("monster island walls")


She has a TONNE of stuff on her website including album covers, photography, paintings, and murals. Make sure to take a look!


Saturday, July 16, 2011

DIY: how to make your own ring

I LOVE rings. And I've always wanted to make my own. So for the longest time, I've been scrounging around thrift stores collecting all these vintage earrings and brooches that I think would look good as a statement ring. The problem was, I didn't know where to find the ring bases (just the simple circular part of the ring to glue the earrings and brooches on). Finally, I read on the awesome DIY blog Studs and Pearls that the best bet was to go online and buy some. I was also motivated even more to make rings by this Studs and Pearls post here.

After I finally accumulated all my materials, I was ready to start actually using all the thrift store trinkets I had found to make some rings! This is my take on how to do it...

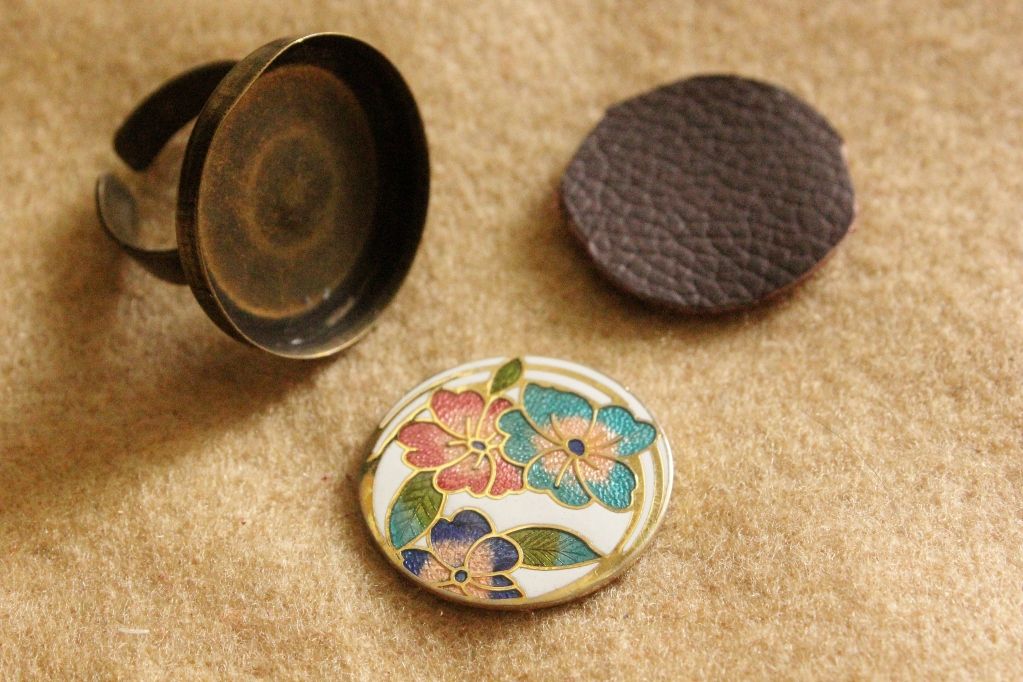
For my ring top, I found an old earring stud that I liked. You can also use brooches, pins, pendants, buttons, etc. - whatever you can find! It's your own style, so be creative and choose something you think would look good as a ring! :)
I used pliers to twist off the earring post. You can also use wire cutters to make a clean cut.
The next step is optional, but I like to use a little bit of leather just to add another textured layer to my ring. Also, it does a good job of covering up the bump from the earring post that I tore off. I got a bag of leather scraps from a discount fabric store in Gastown called Dressew.
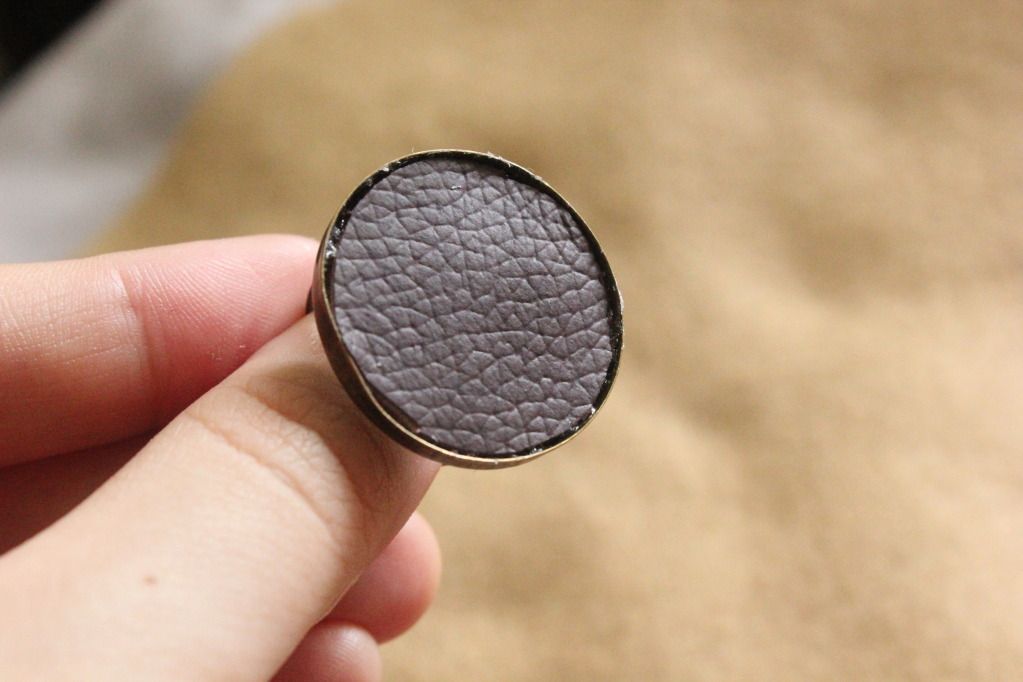
Then, I used scissors to cut a piece of leather in the same shape as my ring top.
Next, I used E-6000 SuperGlue to stick the piece of leather onto the back of my ring.
Since breathing in the superglue fumes is really bad for you, I usually wear a loose shirt while doing this and pull it up over my nose. And yes, that is Mr. Bean. My hero.
The final step is to put a dab of superglue onto the ring base...
...adhere the ring top to the ring base...
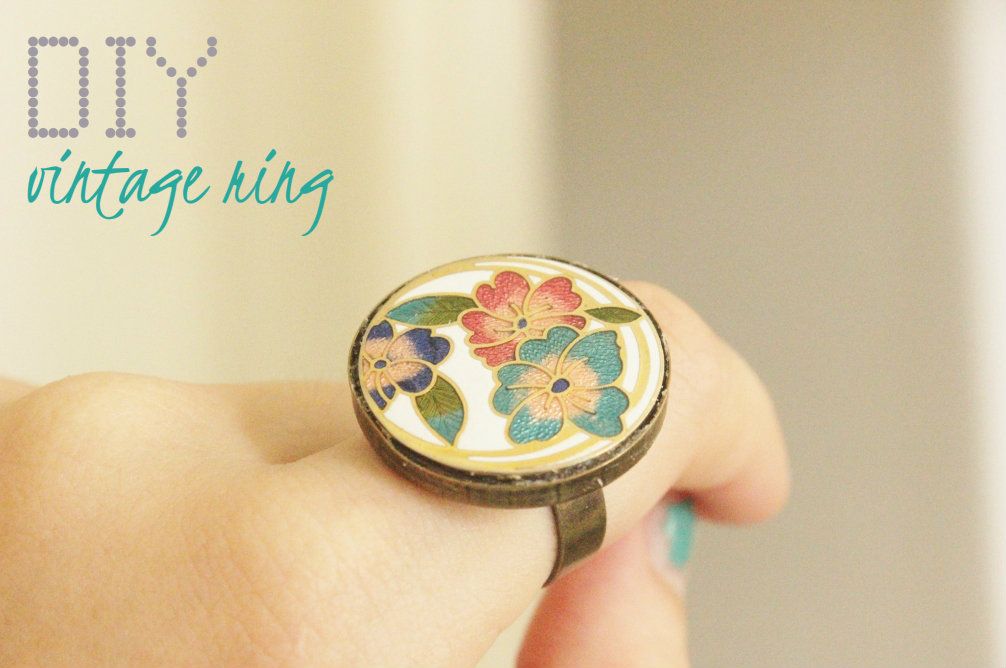
And there you have it... your very own ring!
You can totally tell from the lighting in the pictures that I did all the ring-making at night, let it dry, and took pictures of the finished product in the morning. Anyway, I made 3 rings in total! Here are the other ones...

I hope this little DIY tutorial helps you... happy ring making!

-laura :)


Related Posts Plugin for WordPress, Blogger...