Showing posts with label cupcake. Show all posts

Saturday, June 2, 2012

DIY inspiration: 3-tier cupcake stand

Today's tutorial is brought to you by my talented friend Angel who was awesome enough to let me share her little project with you. She scored a whole treasureload of glassware from a thrift store and here's what she made with it! (scroll down!)

STEP 1: Buy an assortment of glass cups and plates.
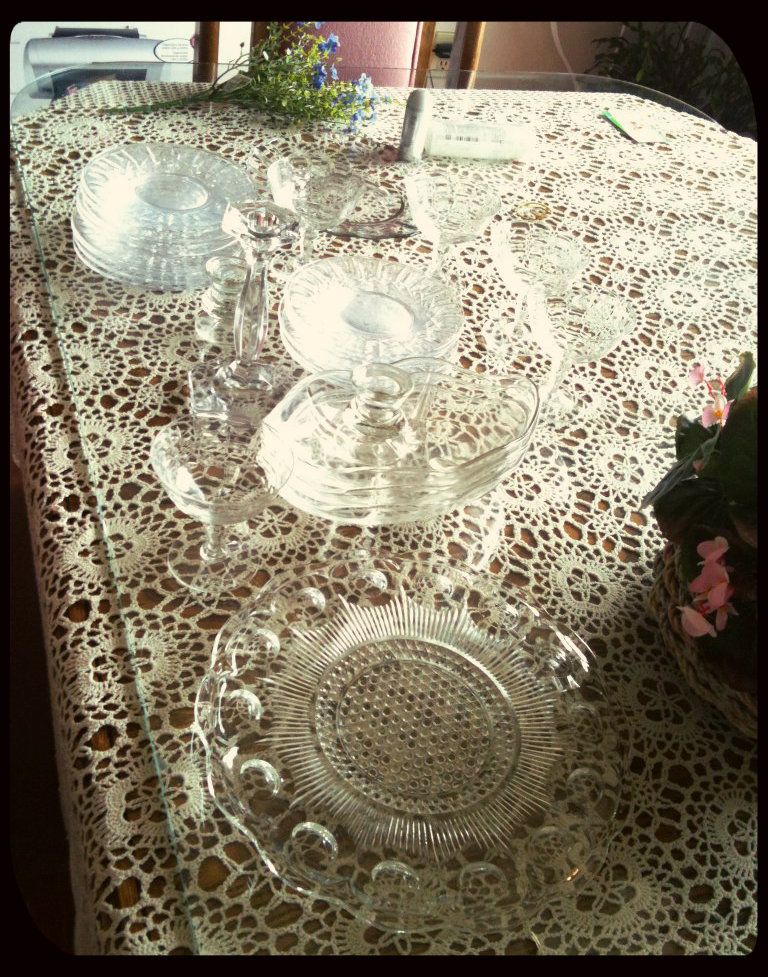
STEP 2: Use E-6000 Superglue to adhere a cup to the bottom of a plate.
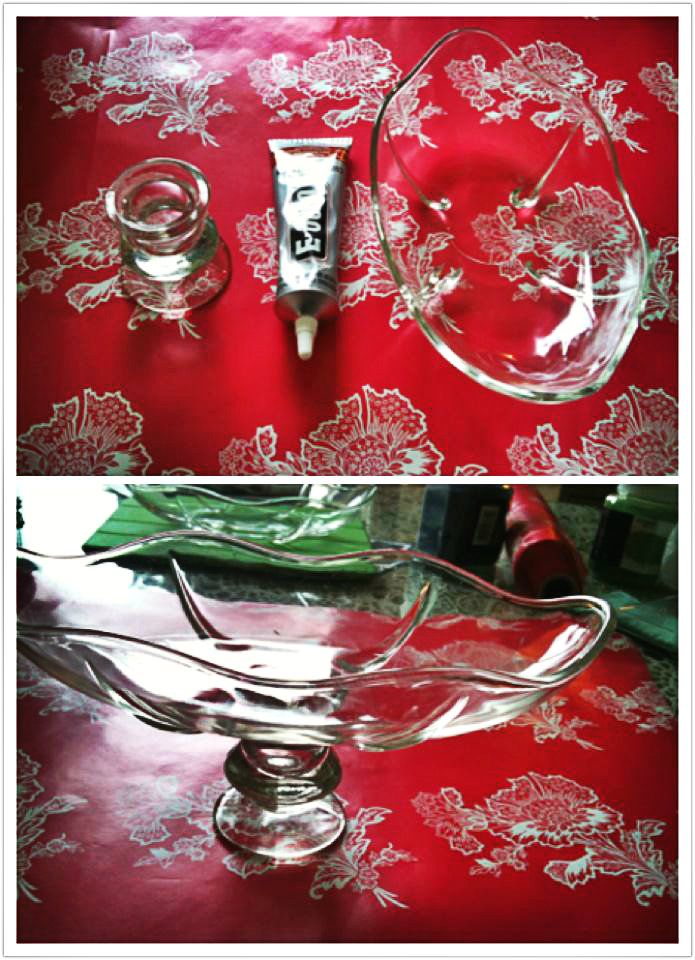
STEP 3: Keep repeating Step 2 until you've got... A CUPCAKE STAND!!!
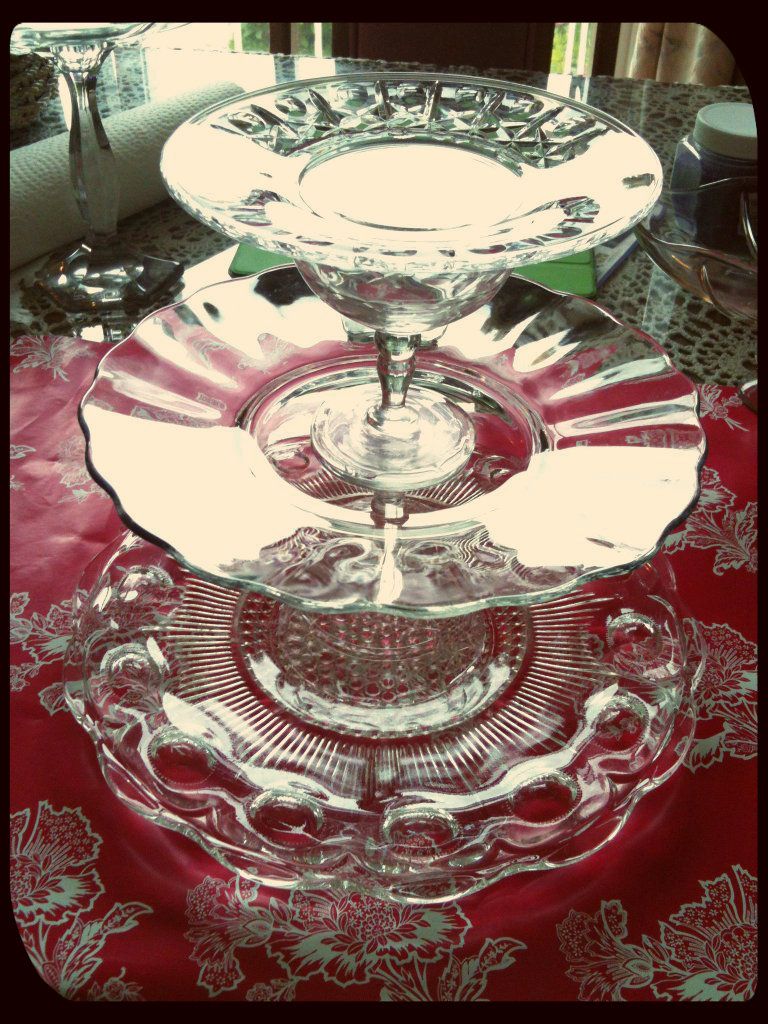
It's such a simple project and definitely way cheaper than buying a pre-made one! 

******

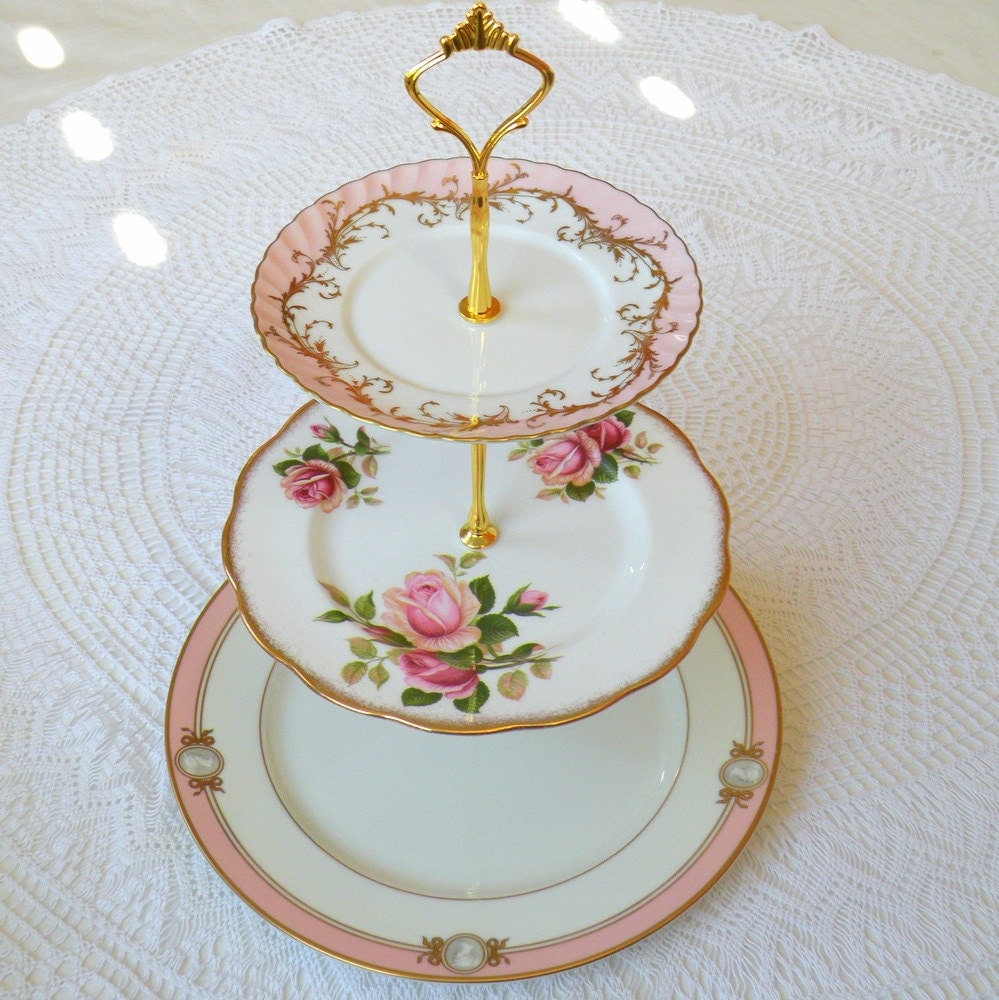
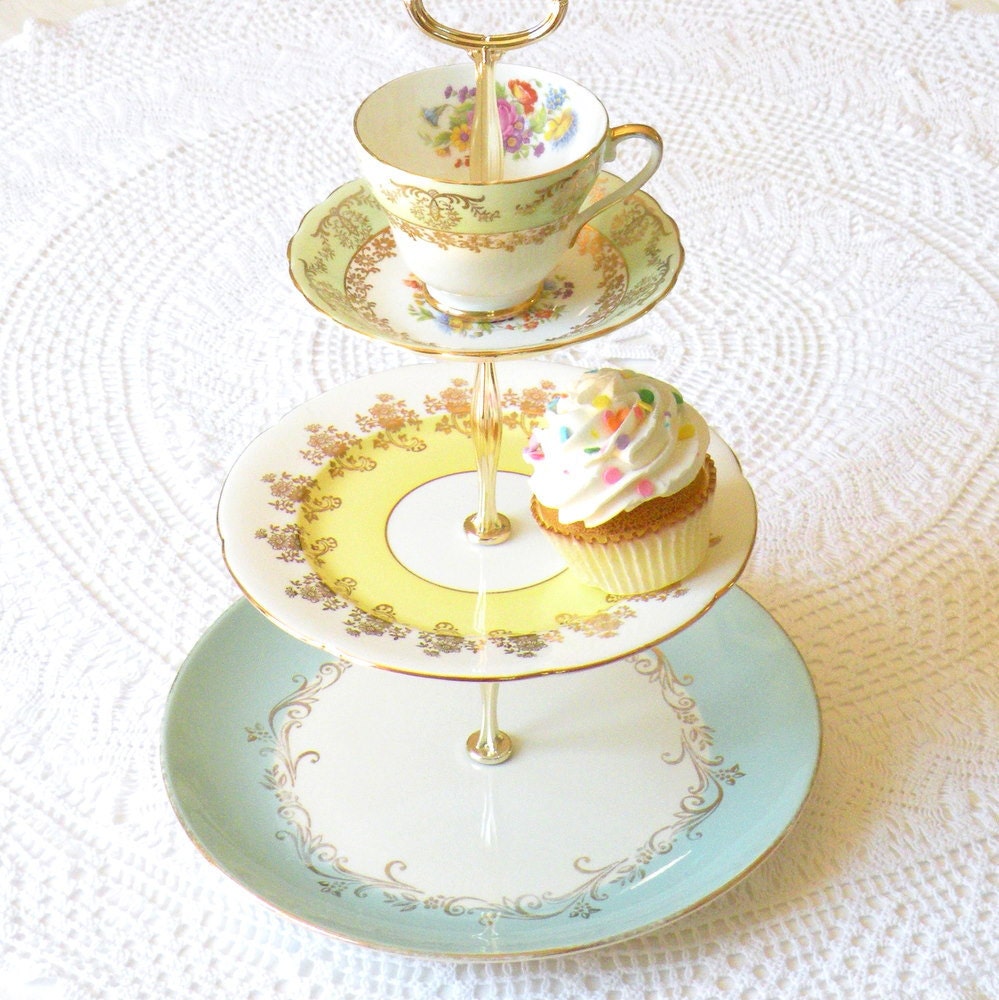
I always thought this DIY tier idea would be really cute using dainty porcelain plates and vintage teacups piled on top of one another. If not for cupcakes, it would make a great jewelry stand.

I'm considering making one in the future since I've got a mini collection of vintage teacups. If you're really not the crafting type, you could always buy a professionally-made one from High Tea for Alice (on Etsy).

Here are some of the gorgeous cake/jewelry tiers that they make:
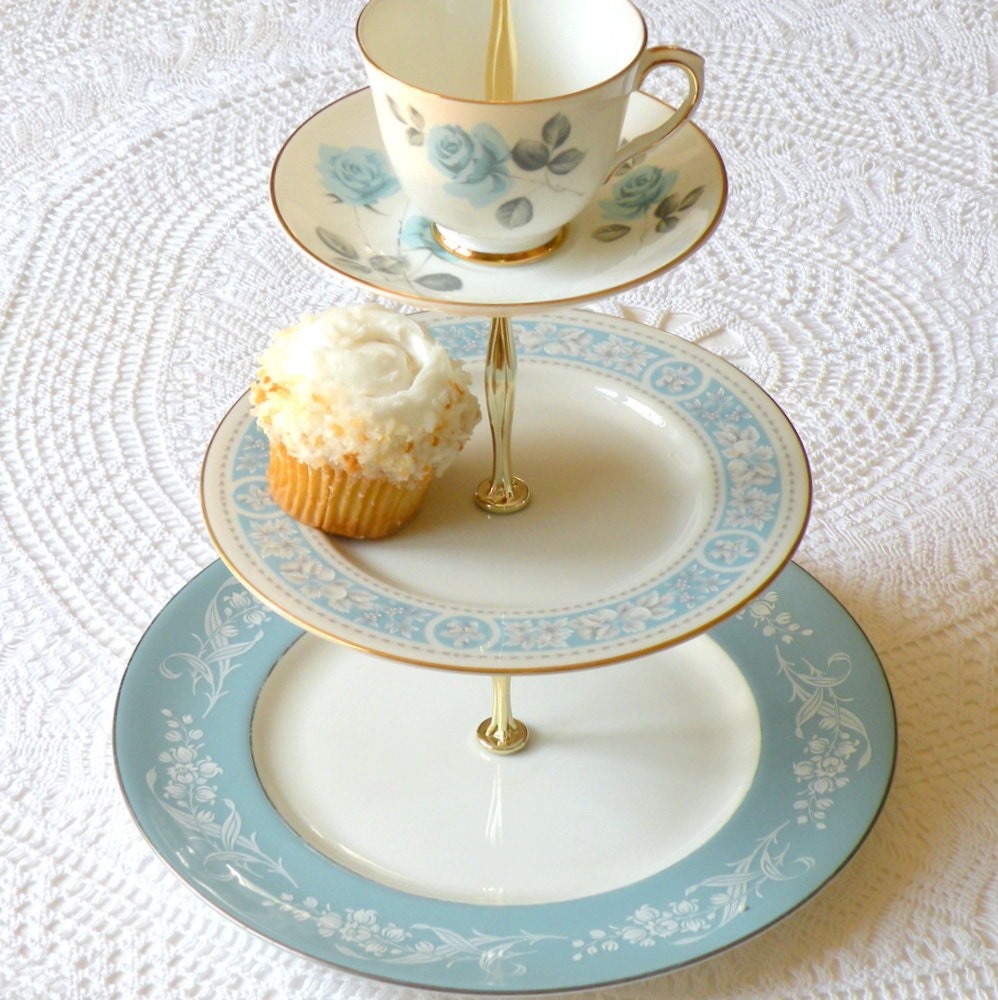
images from highteaforalice on Etsy

******

...if you'd like a few more cake stand ideas, the Creative Orchard has put together a list of 12 cake tiers HERE

My favourite is this wood tier made out of an old log from the blog Once Wed. I always prefer simple rustic/vintage things like this. (Also, the cake looks delicious and now I'm craving some).


I think all these cake tiers are great for parties and weddings... I would say they're ALMOST as awesome as the desserts they display... ALMOST.

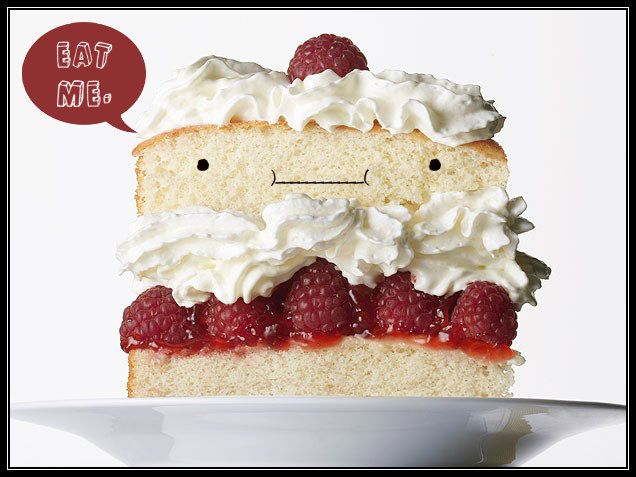
And since I've been kinda stressed lately, I think it's time for some dessert therapy.


click HERE for a free download of this vintage print from By Wilma

***

...and now I'm off to lurk for something to satisfy my sugar craving...

Saturday, November 12, 2011

DIY: adjustable wire + fabric ring

Awhile ago, I went to a trendy little mall in Tsim Tsa Tsui called "DNA" and found a small store that sold flat plastic ornaments like these. So I bought these three with the idea of turning them into rings. I wasn't sure how I would do it until I bought some wire at the dollar store and thought up a quick and easy way to make rings, similar to my wire + ribbon ring, but this time it's even easier because instead of sewing or using thread, I just used an ingenious invention called FABRIC TAPE.
So all you need for this is:
*fabric tape
*wire
&
*ornaments
 (with a flat back)
step 1. cut the wire to your desired length (enough to wrap around your finger). i cut three pieces and then twisted them together to form a sturdy ring.
step 2. cut the fabric tape into a thin strip and wind it around the ring to cover the wire. (as you can see in the image below, i covered the ends first because they're quite sharp. then i wound a thin strip around the rest of the ring).
At this point, you could actually just wear the fabric ring as is. Here I'm wearing one made of the pink and white polka dot print, and another one that's a beige floral print.
step 3. the fabric tape i got was quite strong so all i needed to do was cut a piece of tape and adhere the ring to the flat base of my plastic ornament. I think I might eventually add a dab of superglue though just in case.
That's basically it. Simple, right?
Here's the first one I made - a popsicle ring!
So there you have it - super simple wire + fabric rings. I think the best part about this method is that these rings are adjustable, so you can size them perfectly for your own fingers. Anyway, all of these rings are making me crave dessert! It's time for me to sleep though so I suppose I shall have to settle for an ice-cream dream. =P

Related Posts Plugin for WordPress, Blogger...