Monday, May 14, 2012

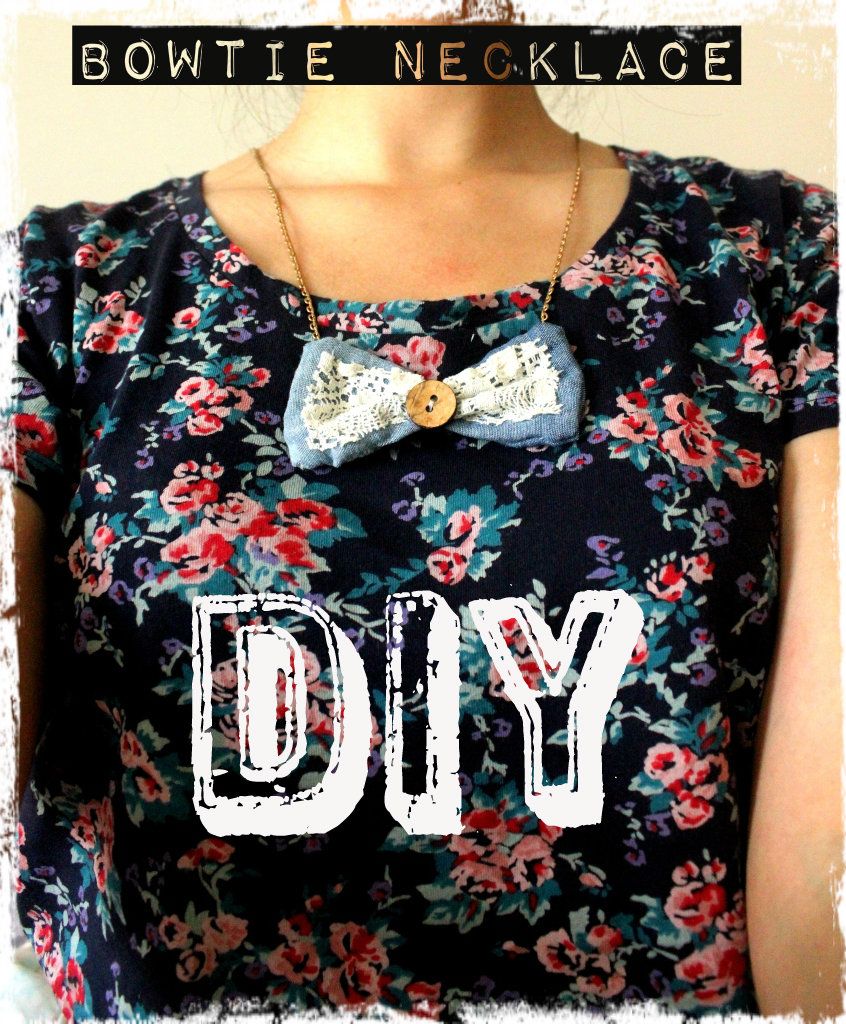
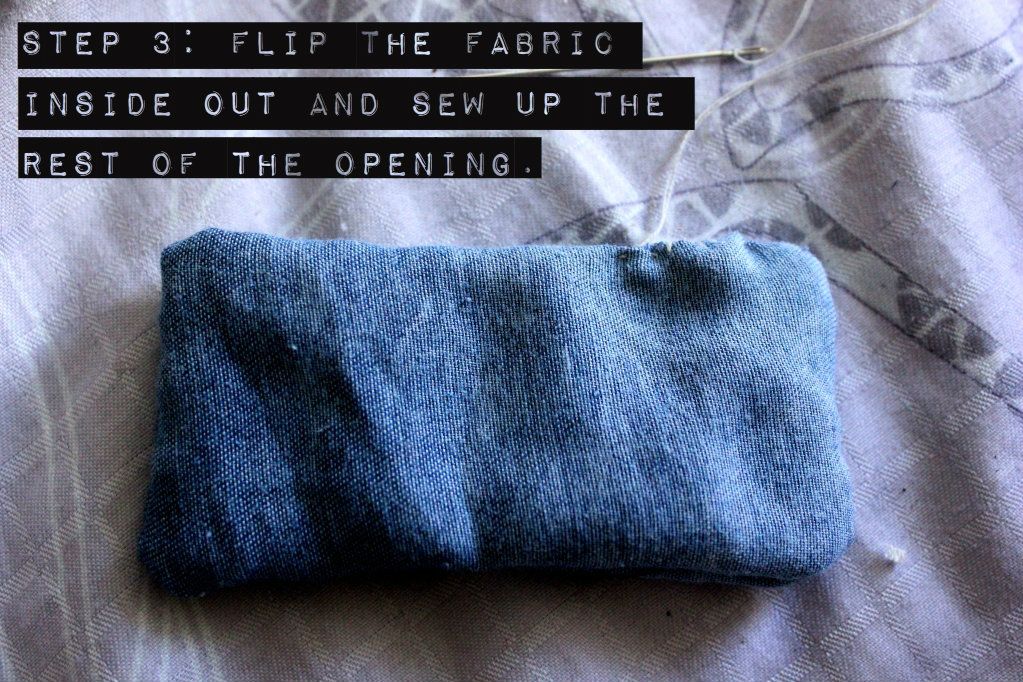
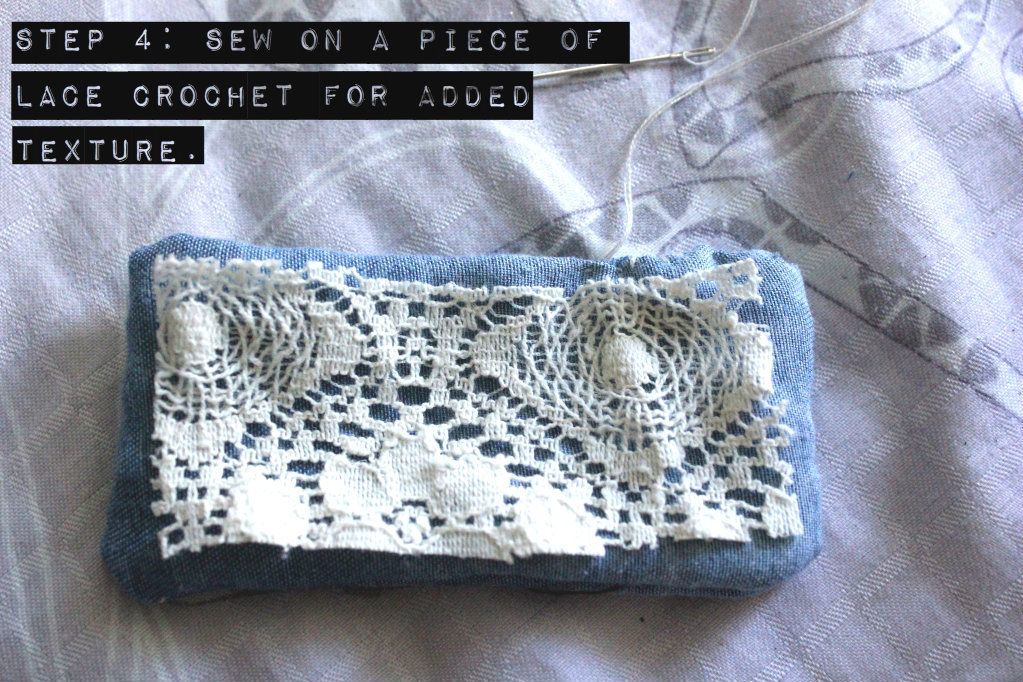
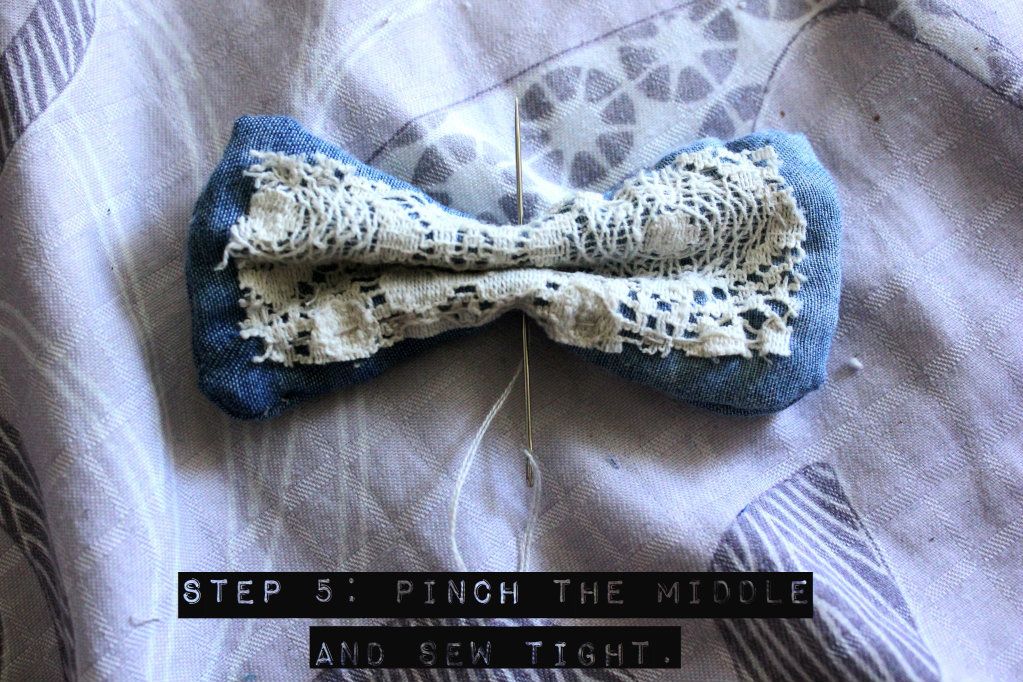
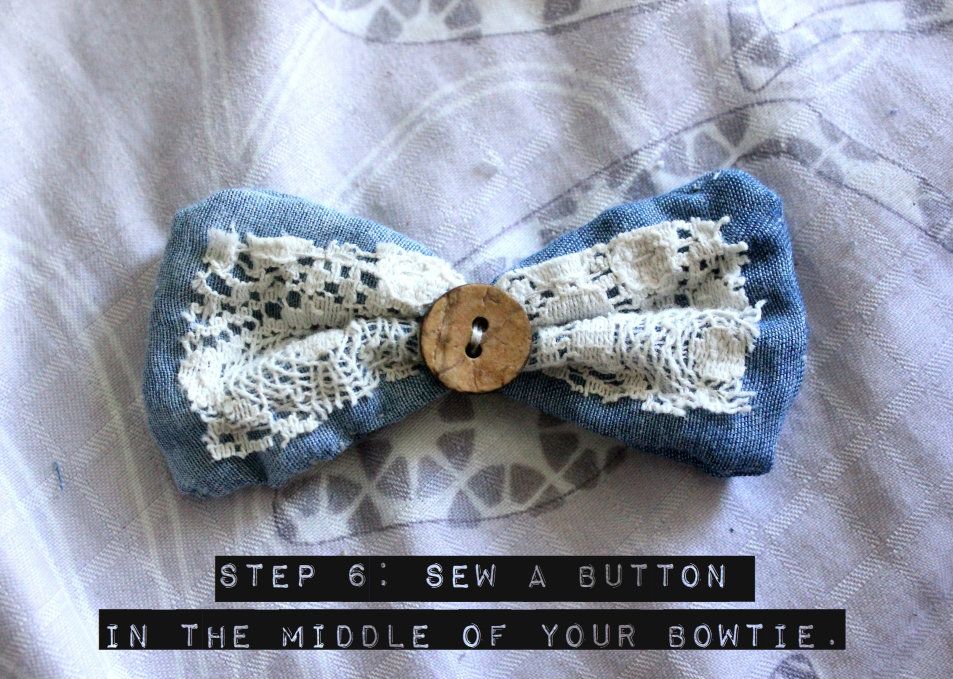
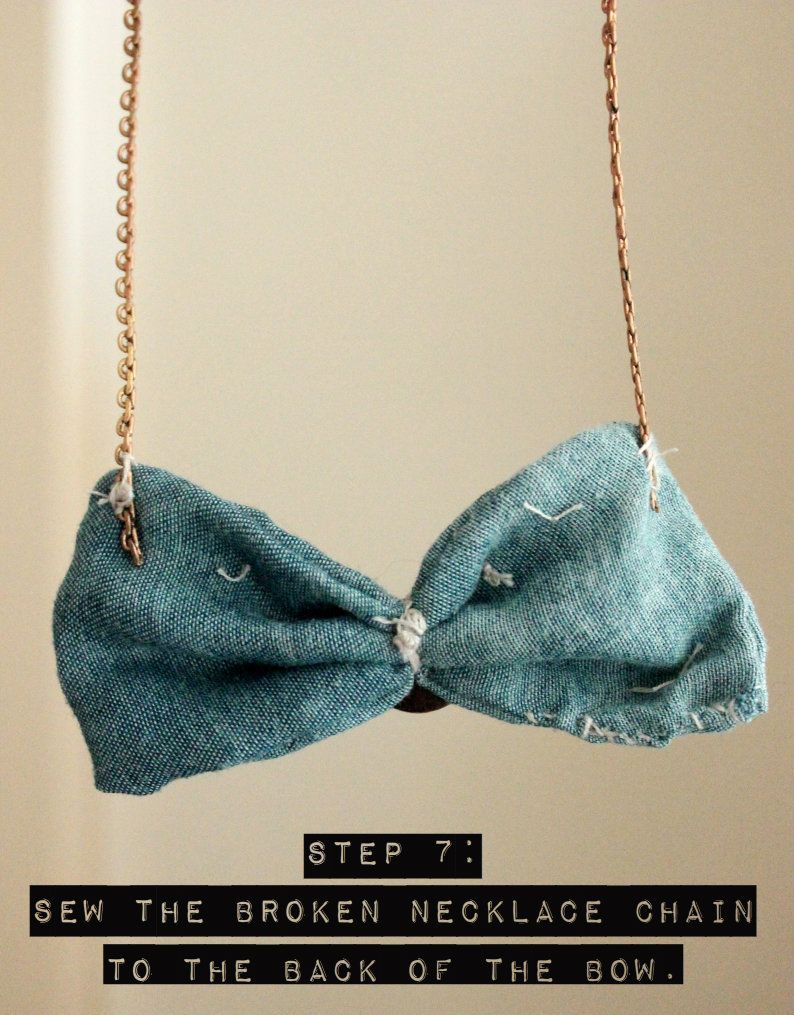
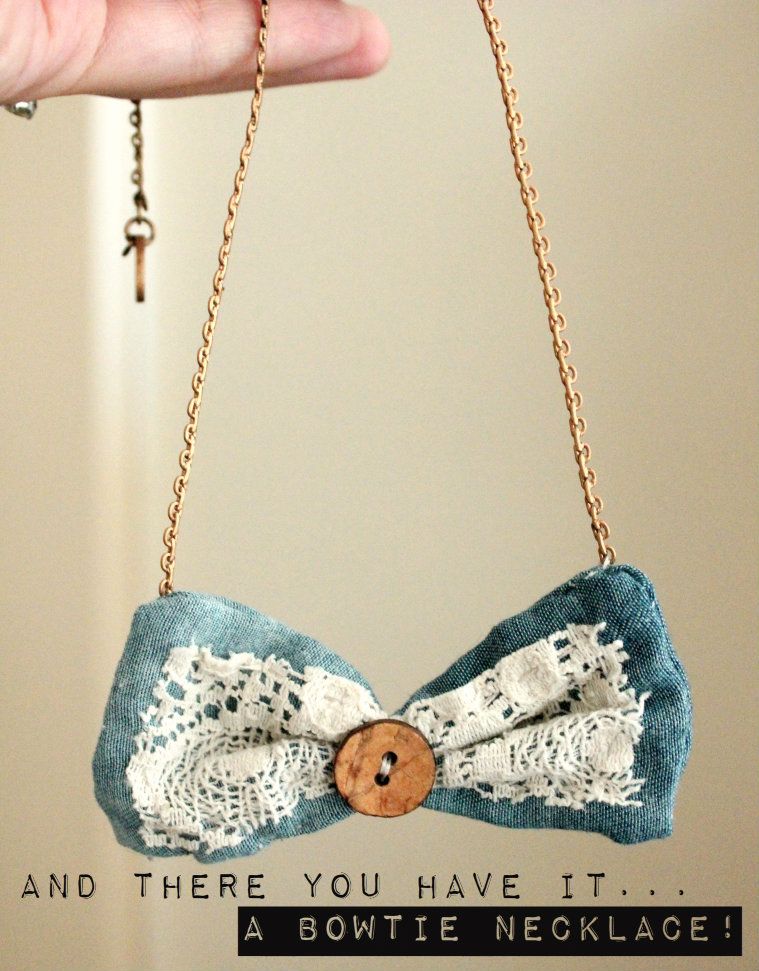
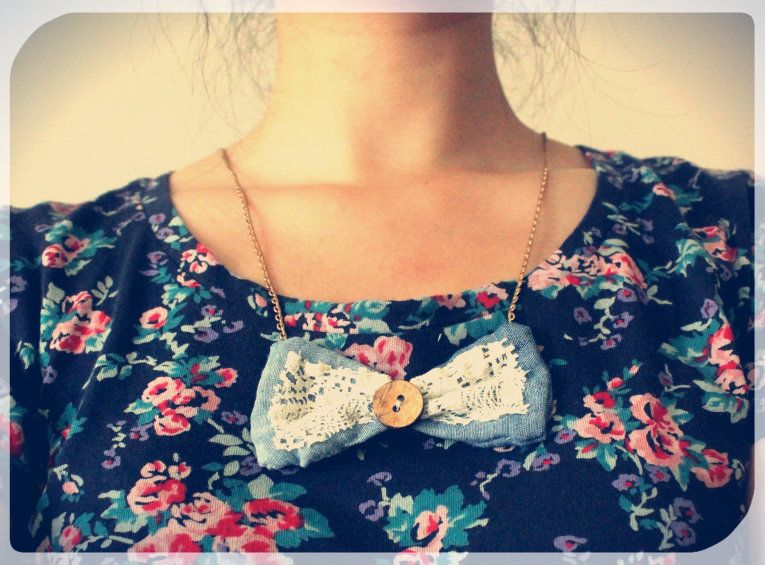
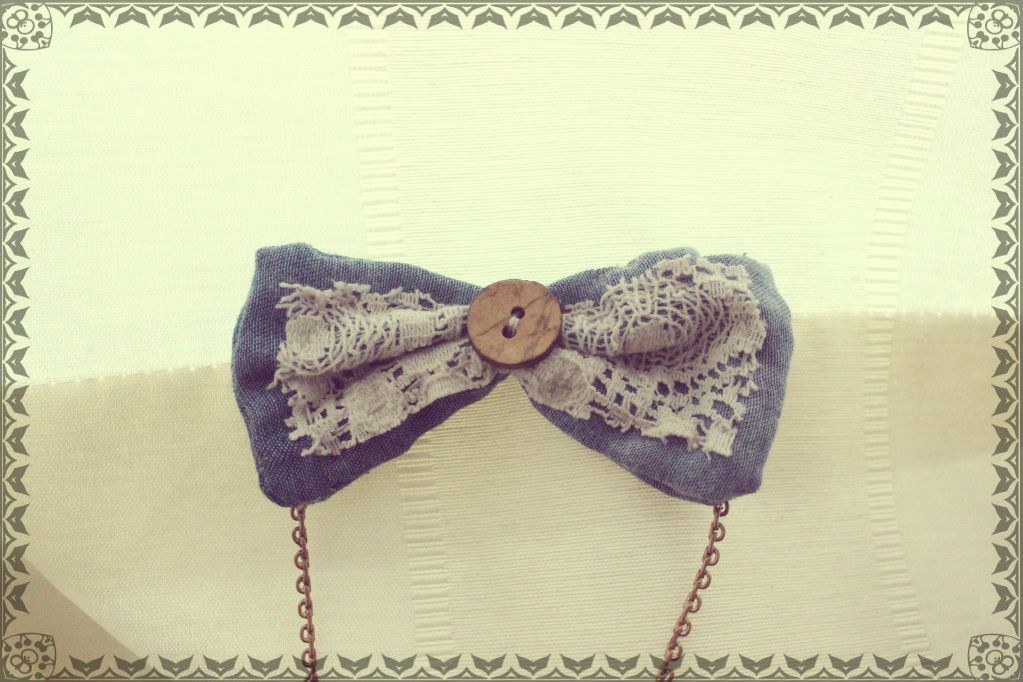
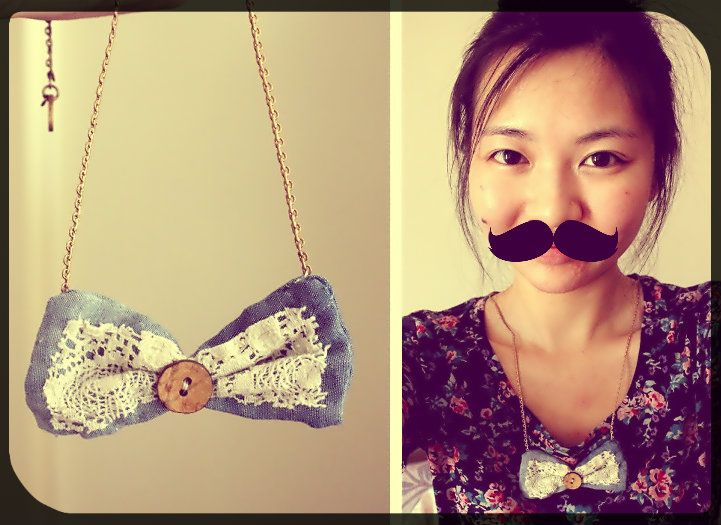
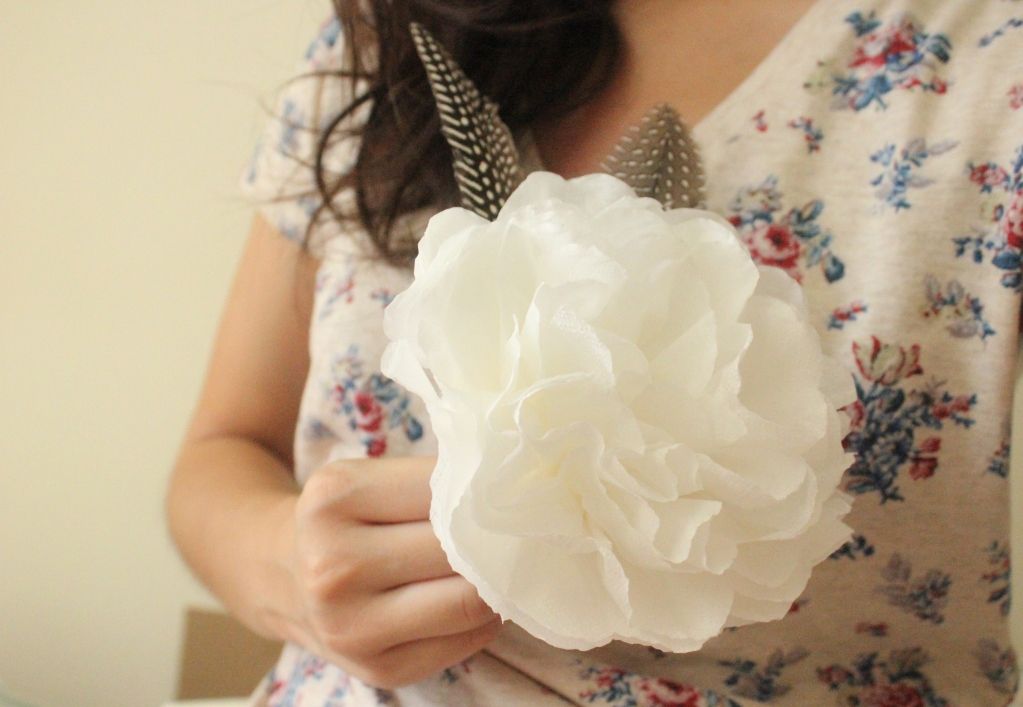
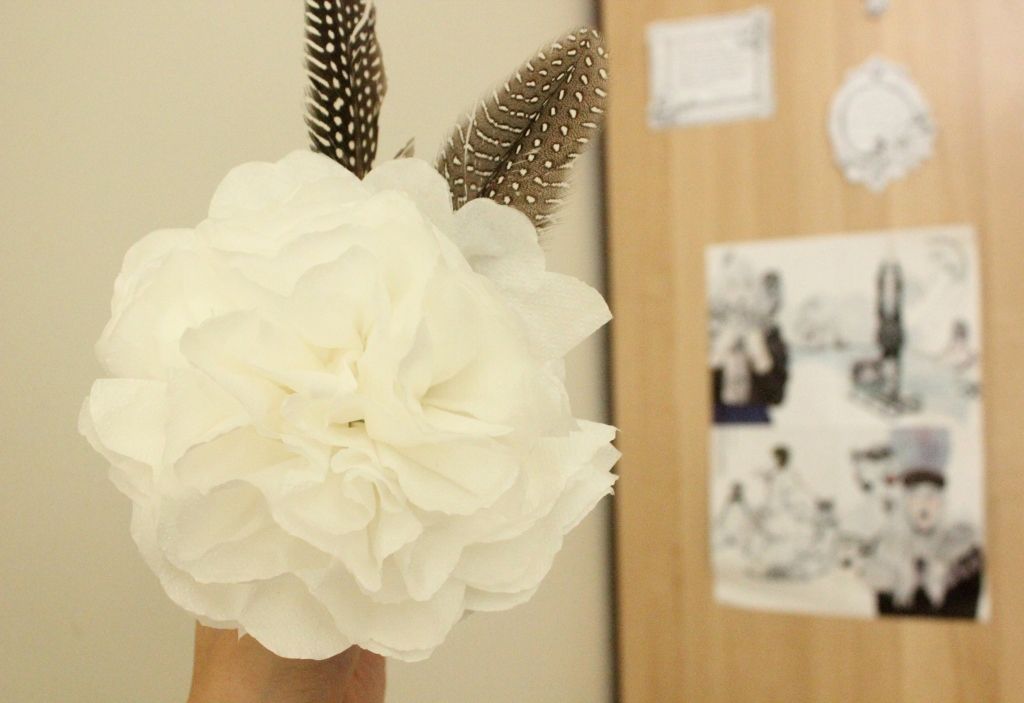
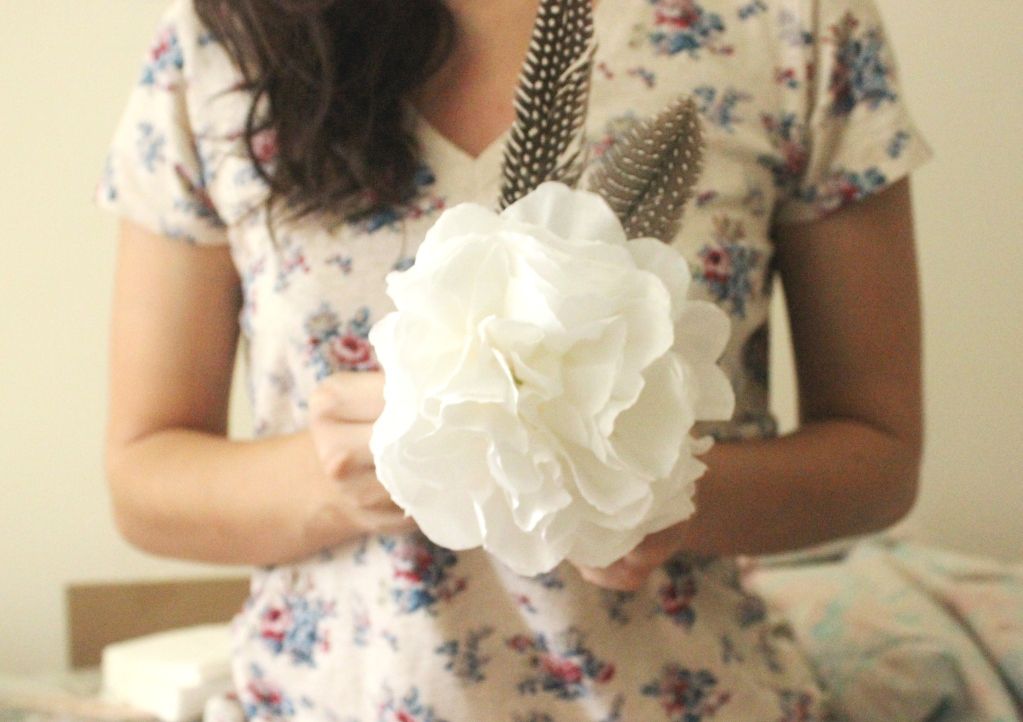
DIY: bowtie necklace

Oh. man. Today I've been a very productive crafter. Since I've been sick all day, I've been locked up in my room sewing like a tiny little grandma, making crafts out of random odds & ends. The mere thought of doing actual work was making me feel more ill so with that reasoning, I decided to postpone any real work in order to preserve my health. =)

Now with that guiltless explanation out of the way, I present to you a new DIY. I've been meaning to make this for a long time and finally had time during my sick day to do so. If you scroll down, you may also see that I clearly had way too much fun (and time) to put cool effects on all my pictures using Photobucket Editing (aka. the non-iPhone user's Instagram). 

Anyway, I hope you like it!


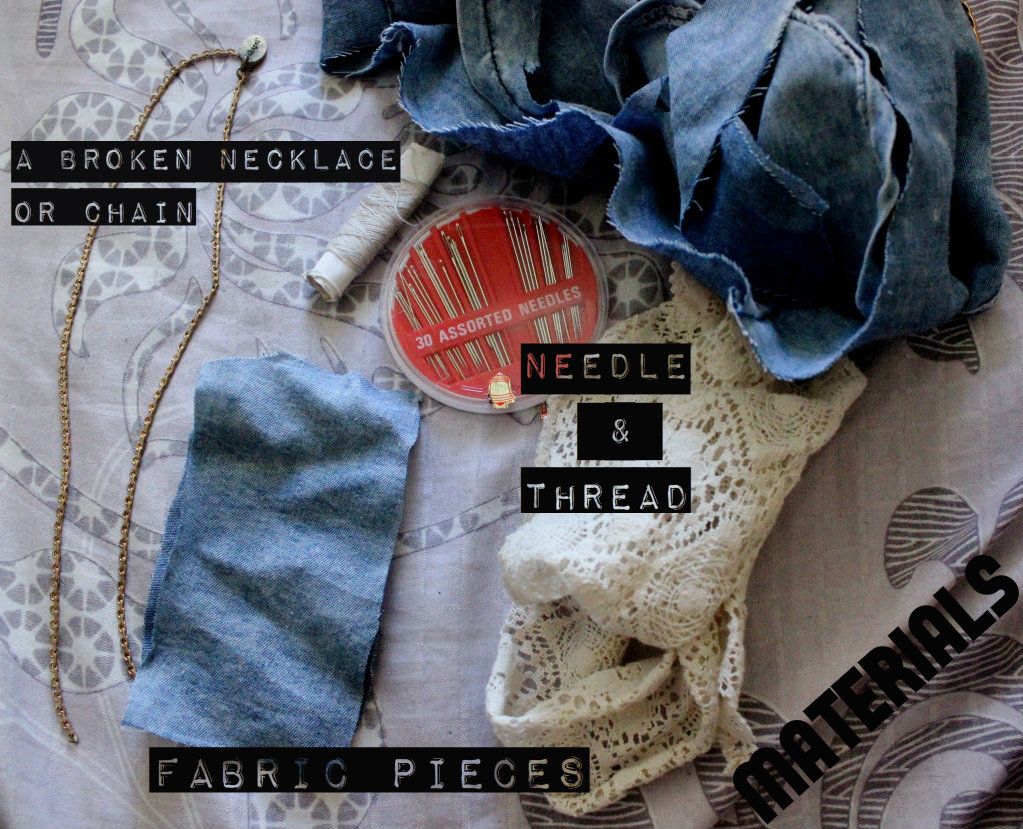
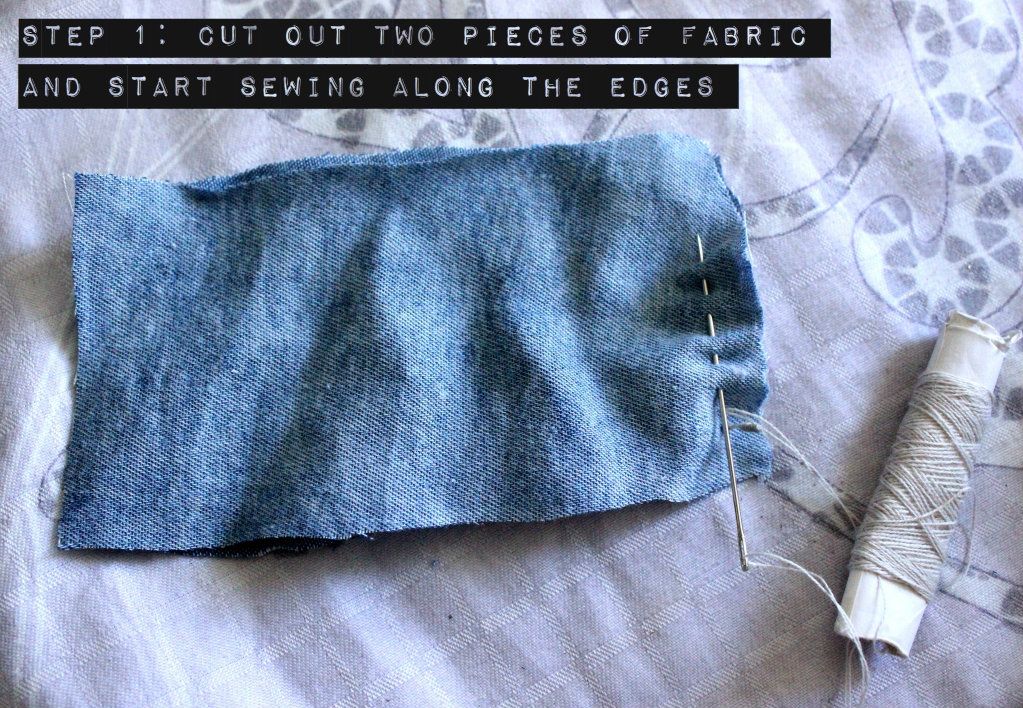
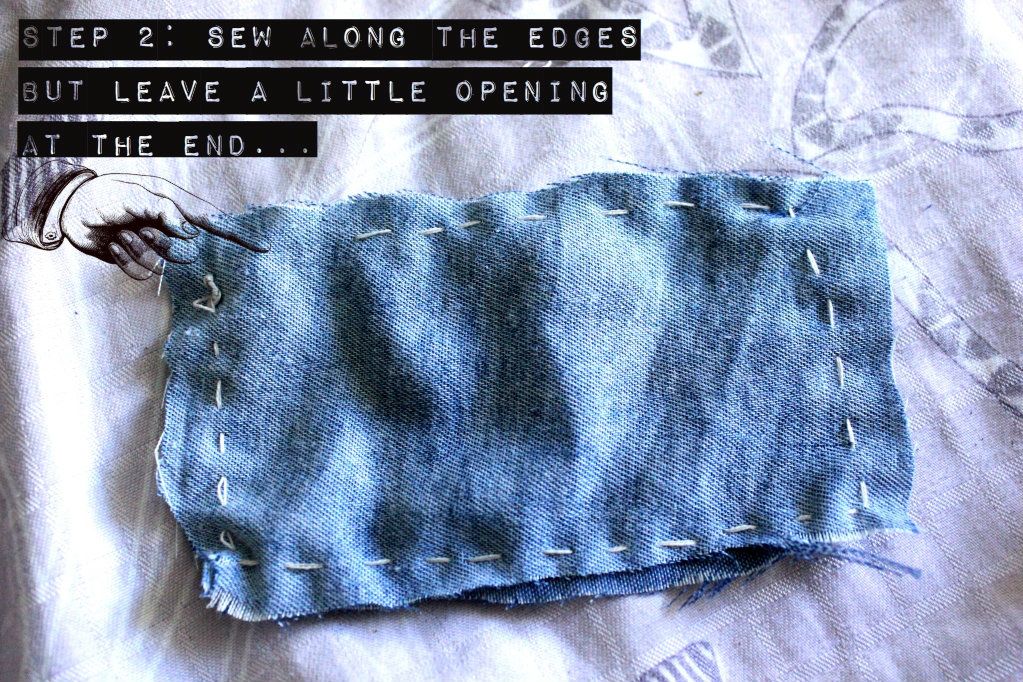
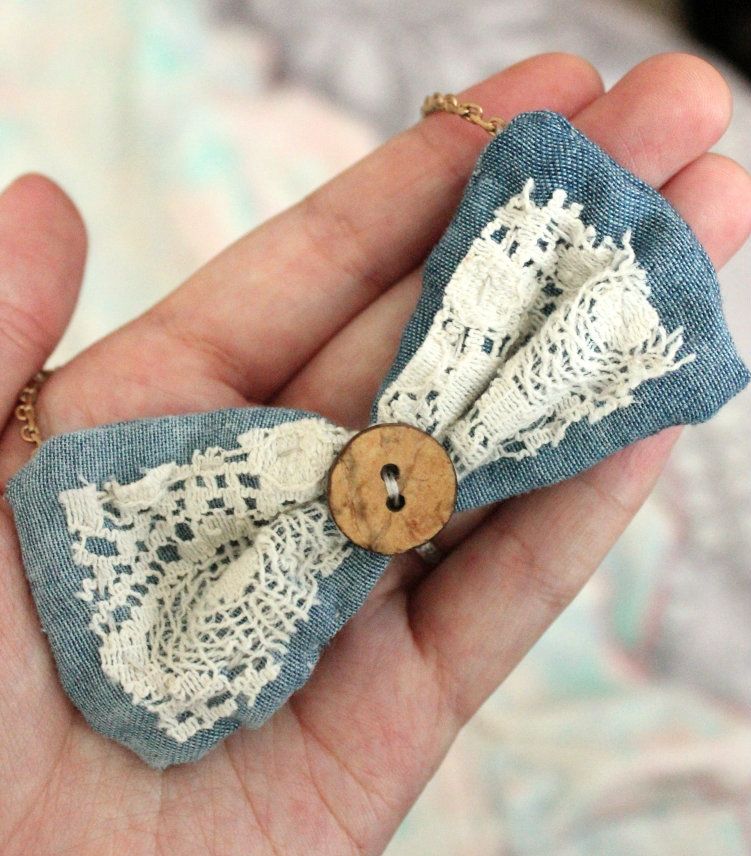
*side note: you can use any type of fabric... I just had some denim leftover from a shirt that I cut up, and some lace-crochet material from a coat that I cut up. Clearly, destroying my clothes seems to be a habit of mine.

Bowties aren't just for men.

Neither are mustaches for that matter.

=P

Sunday, May 13, 2012

DIY: tissue-paper flowers part 2

I'm sick today so I suppose I've got some time to blog. I'm quite antsy though - it's hard to stay home for an entire day - but I need the rest. Anyway, here is a mini-continuation of yesterday's tissue-paper flower tutorial. 


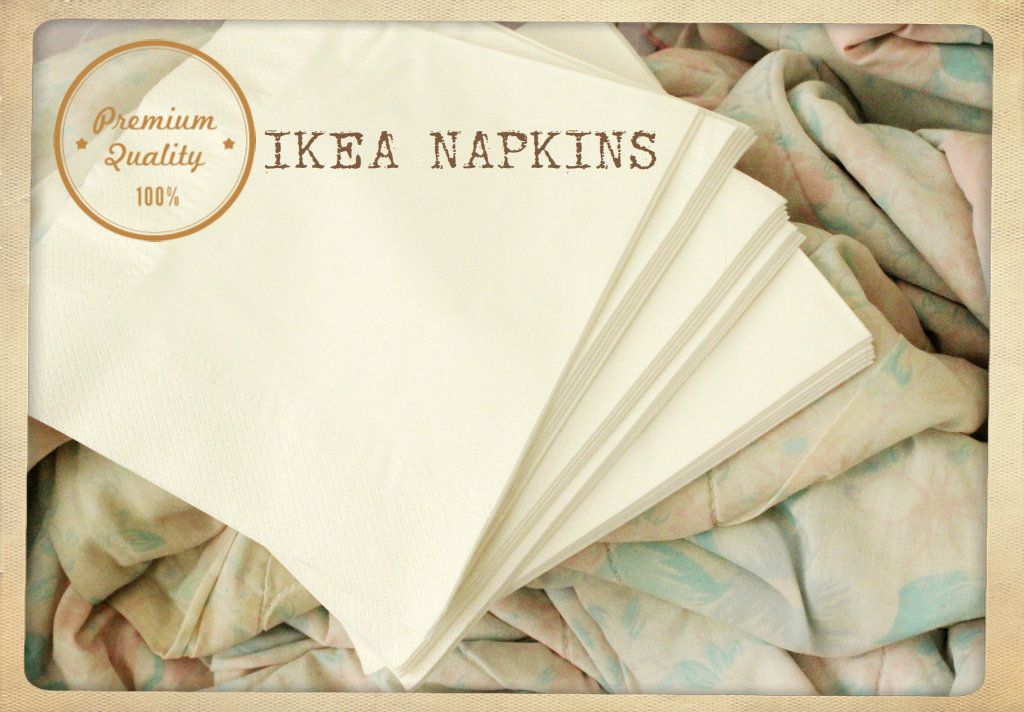
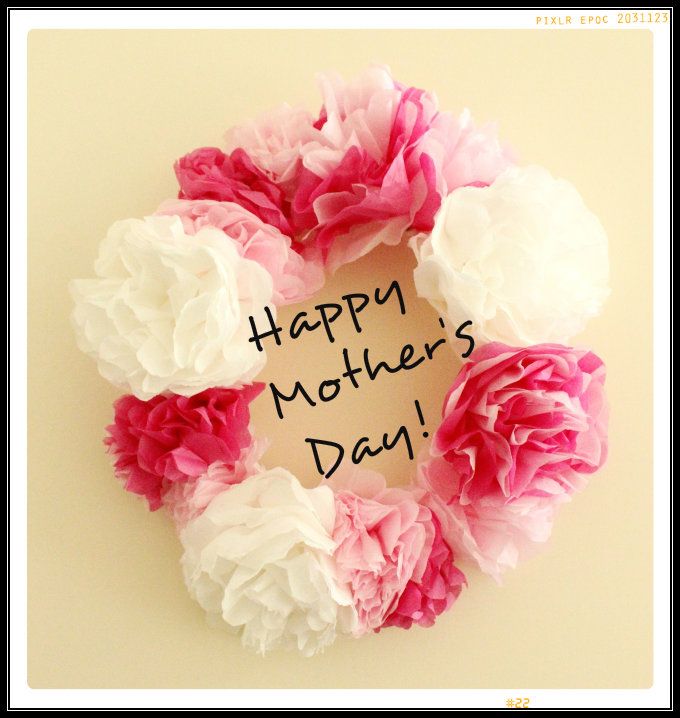
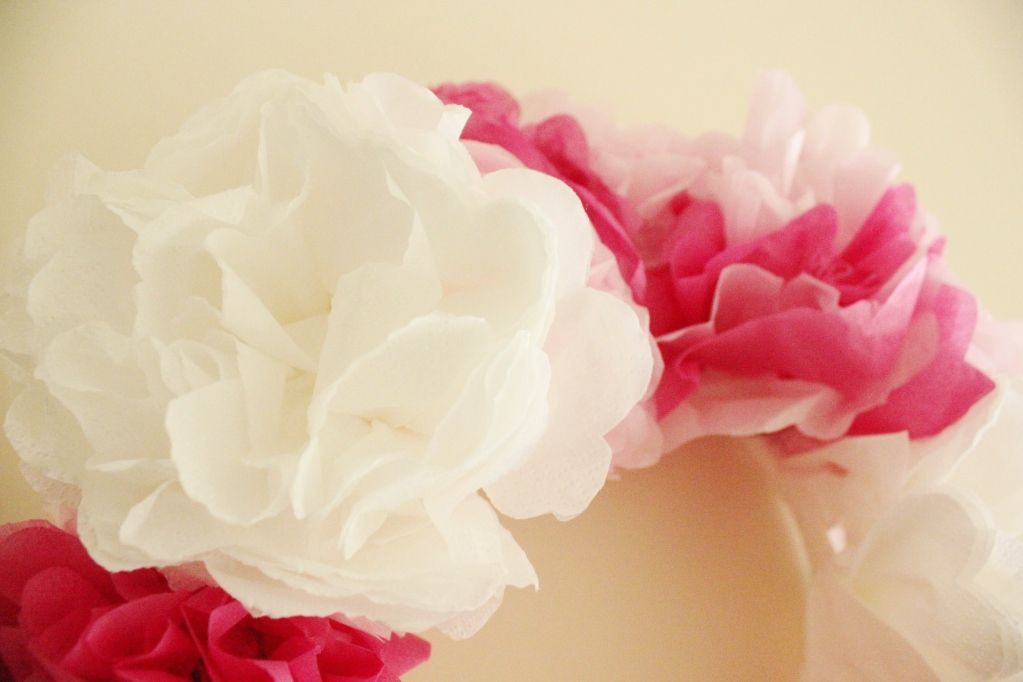
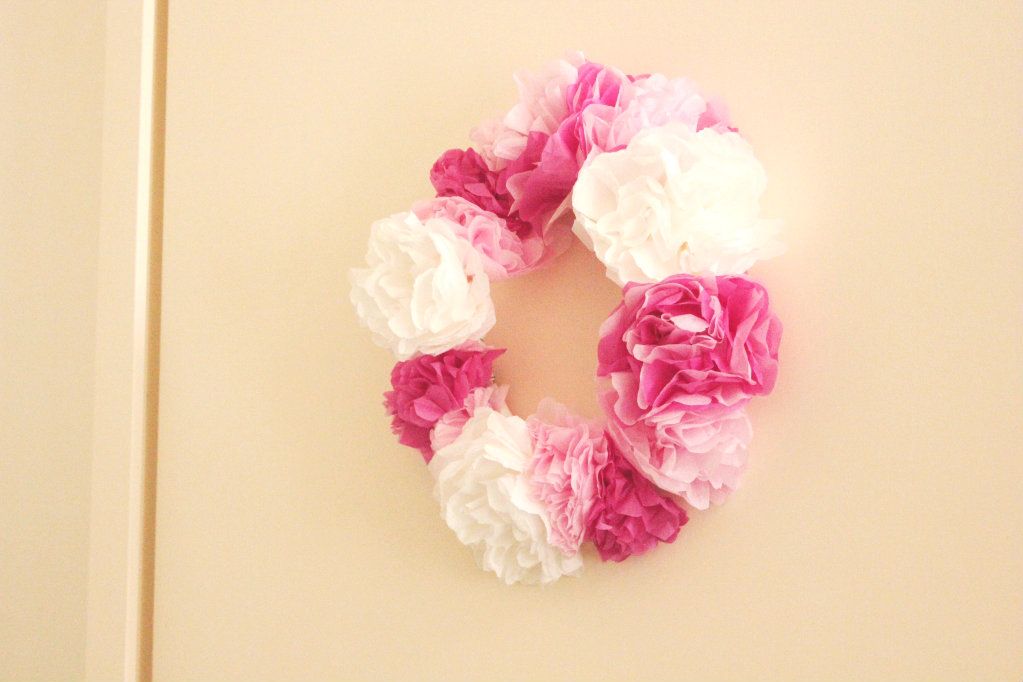
If you notice, the white flowers on the wreath are actually bigger than the pink ones. That's because instead of using tissue-paper, I actually used WHITE IKEA NAPKINS. It's the exact same process, and it's actually pretty useful if you're going to be making a whole bunch because #1: white napkins are CHEAP and #2: they're all the same size so you don't have to constantly measure each flower.


So there you go... giant white flowers made out of napkins. They're multi-purpose because they're pretty AND you can wipe your mouth on them. hahaha.

***************

If you're interested, here are some links to more paper-flowers/pom-pom inspiration:

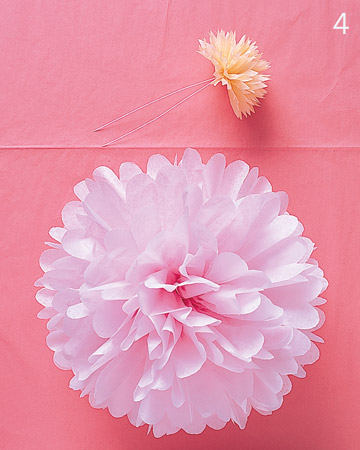
If you want to make even BIGGER giant flower POM-POMS, here's the Martha Stewart tutorial on how to do just that. I like how she shows how to do everything in 4 easy pictures, instead of my whole 20-image rant. But you like my rant. You know you do. HAHA.

I am obsessed with the warm sunny colours in this photo.

images via marthastewart.com

Here are some Pom-Poms on cupcakes (from Kre8tive Life)


...a yellow+grey wedding reception with a ceiling full of Pom-Poms (from The Sweetest Occasion)


Here's another great tutorial from Honestly WTF on how to make crepe flowers with a similar method to the Pom-Poms.


...it looks like a huge weed-growth from the ceiling, but this crepe-flower chandelier is super crazy! (in a good way).


...this simple outdoor wedding ceremony features colourful crepe pom-poms hung on a tree and tiny furry pom-poms dotting the aisle (from Southern Weddings).


...and this wedding reception just goes all out with colour! (found here).


Last but not least... if you've made a whole bunch of paper-flowers and have no idea what to do with them, you can always wear them on your head.


or... to take it one step further, why wear flowers when you can be one?

...oh so awkward.

the end.

DIY: Mother's Day Flowers

This year, I am miles away from my mother and grandmothers. But that doesn't mean that I can't show my appreciation for them... so mom and grandmas, I hope you're all doing well! I made you all some tissue-paper flowers... but since I couldn't give them to you in person, I suppose I'll keep them in my room for now as a reminder of you. I miss you all!


***************

So here's how to make these tissue-paper flowers. I learned how to do it off Martha Stewart, so you could always find her original tutorial, or just stay with me since you're here anyway. haha. =)

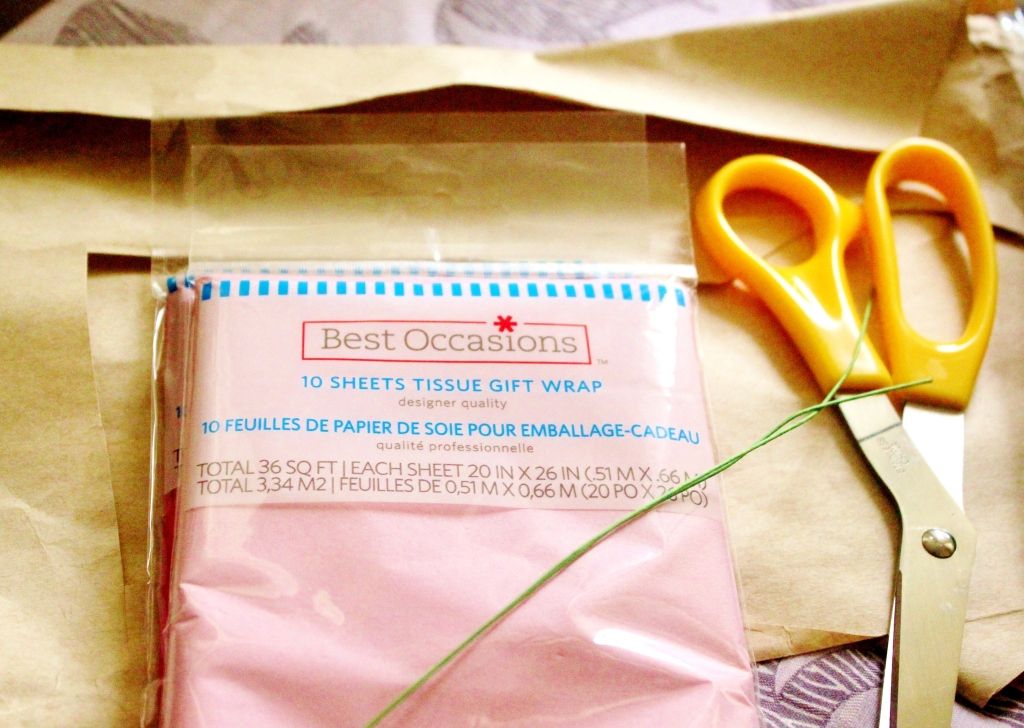
First, you need:
 1) tissue paper          2) floral wire         3) scissors


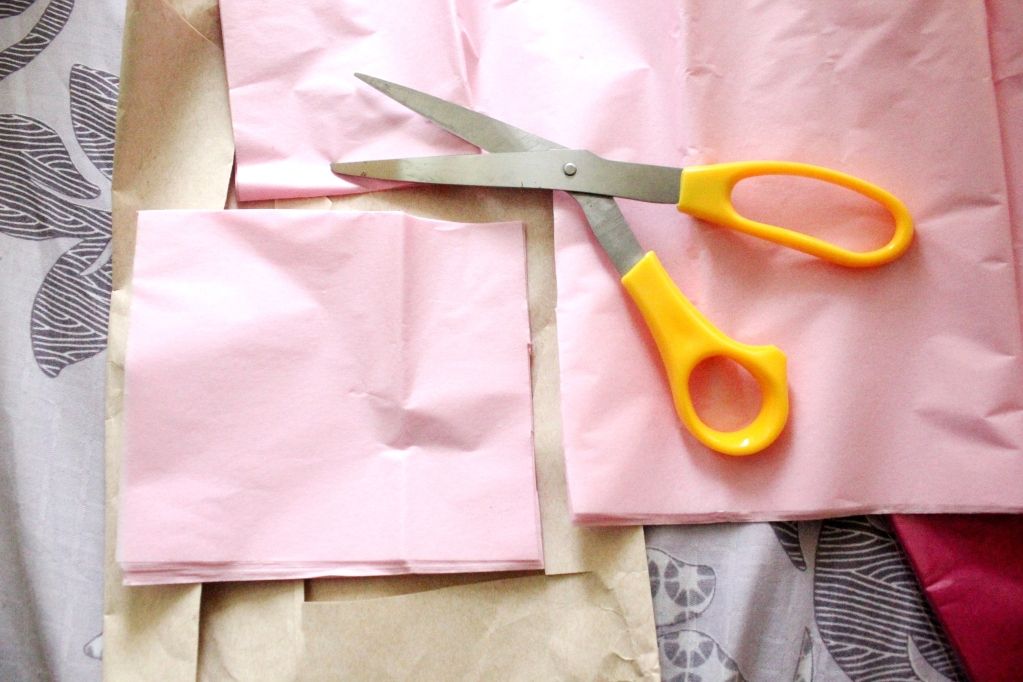
Stack 8 pieces of tissue paper and cut out a square. You can experiment with the size of your flowers by changing the size of the squares you start out with. (Mine were around 3x3 inches).


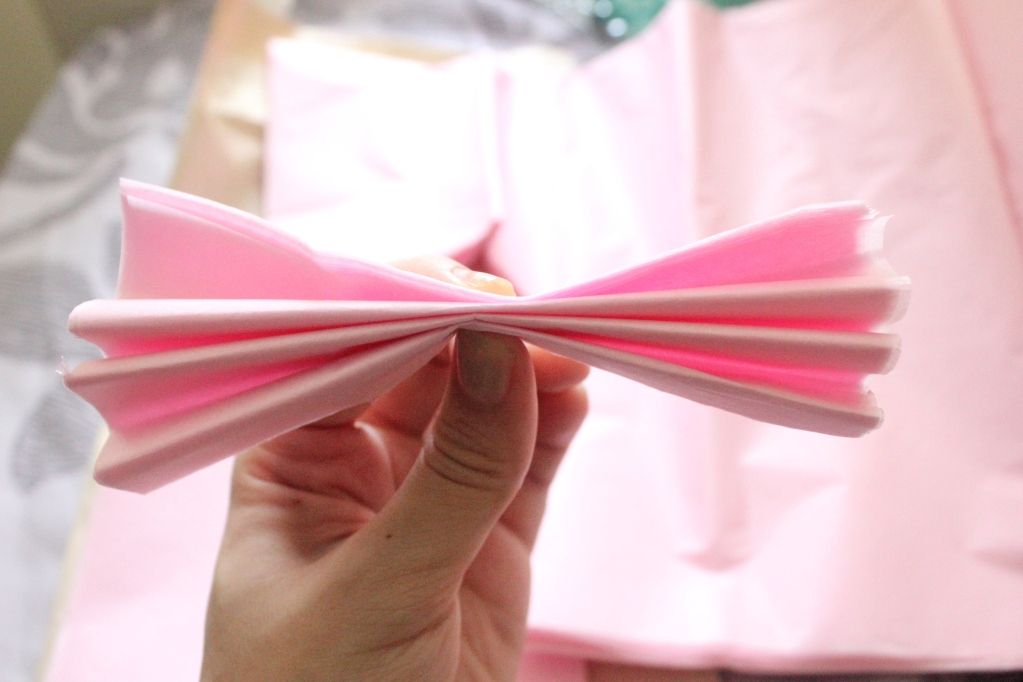
Fold your pile of tissue paper squares and make "accordion folds"(approx. 1.5 cm).


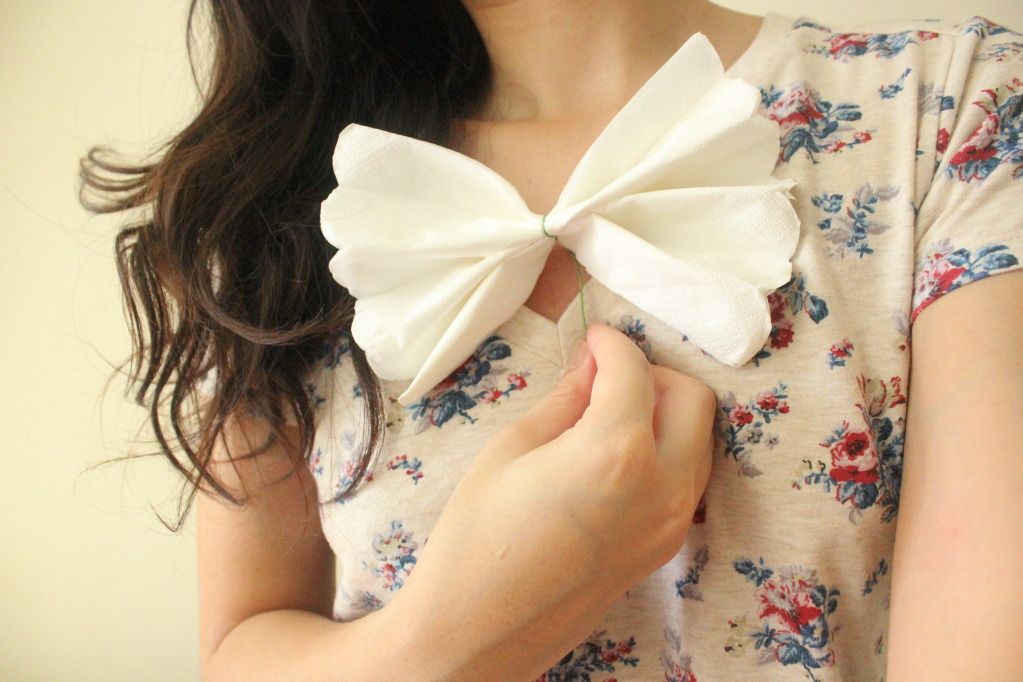
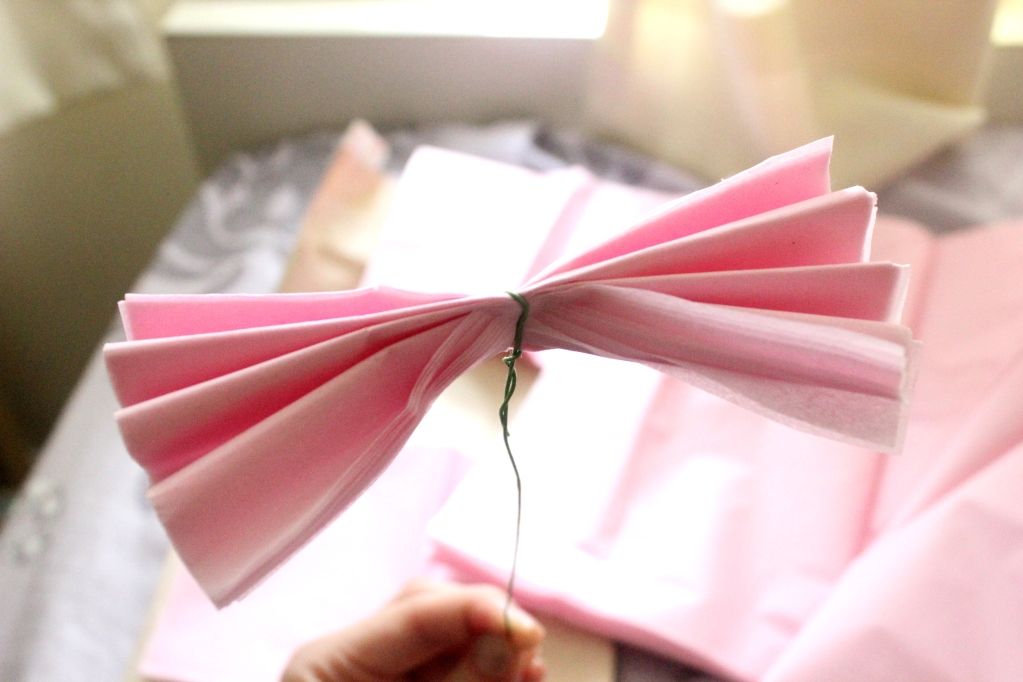
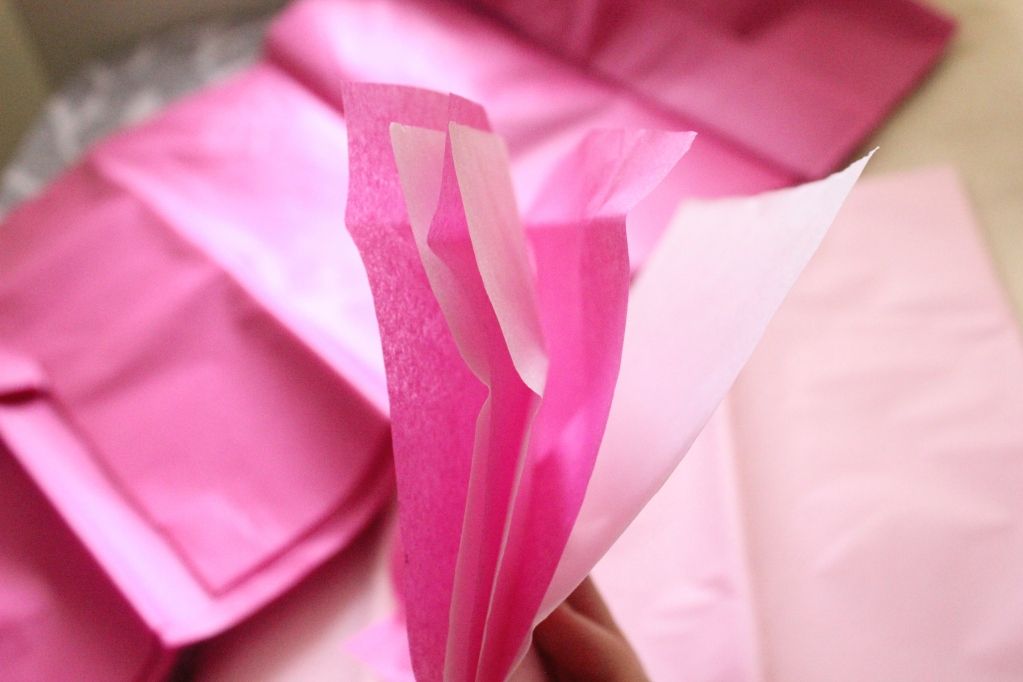
Tie the middle of your flower tightly with a piece of floral wire. At this point it will look like a cute bowtie and may give you the urge to proudly wear it around your neck. You may do so if you wish to look like a fool.


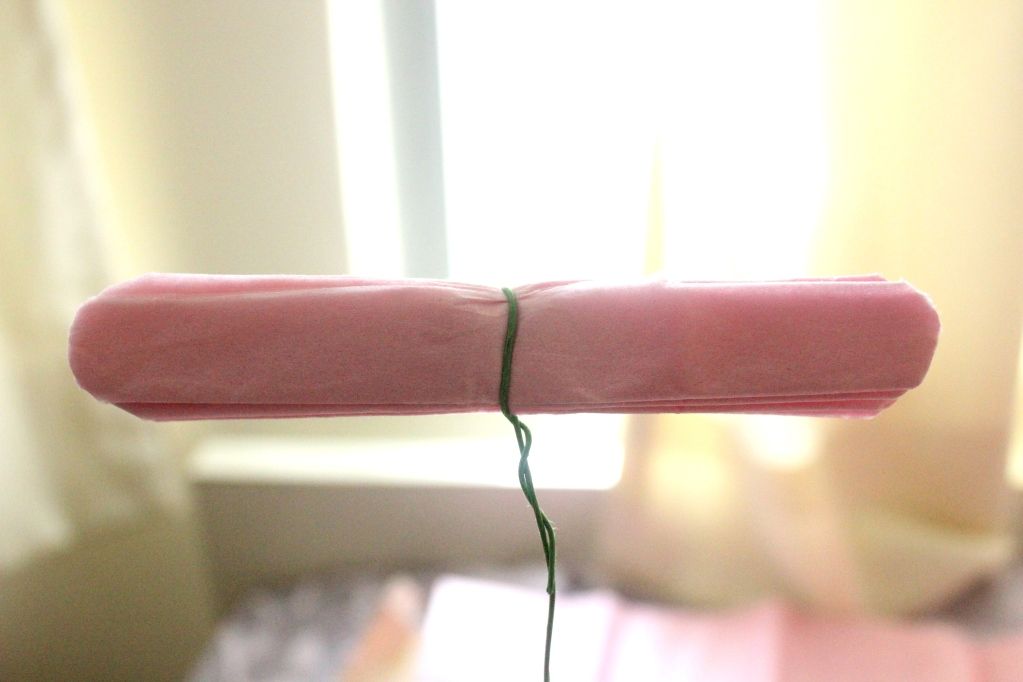
Use scissors and round off the edges. at this point, your flower will suddenly look like a raw sausage. Please resist the urge to eat it and kindly move on to the next step.


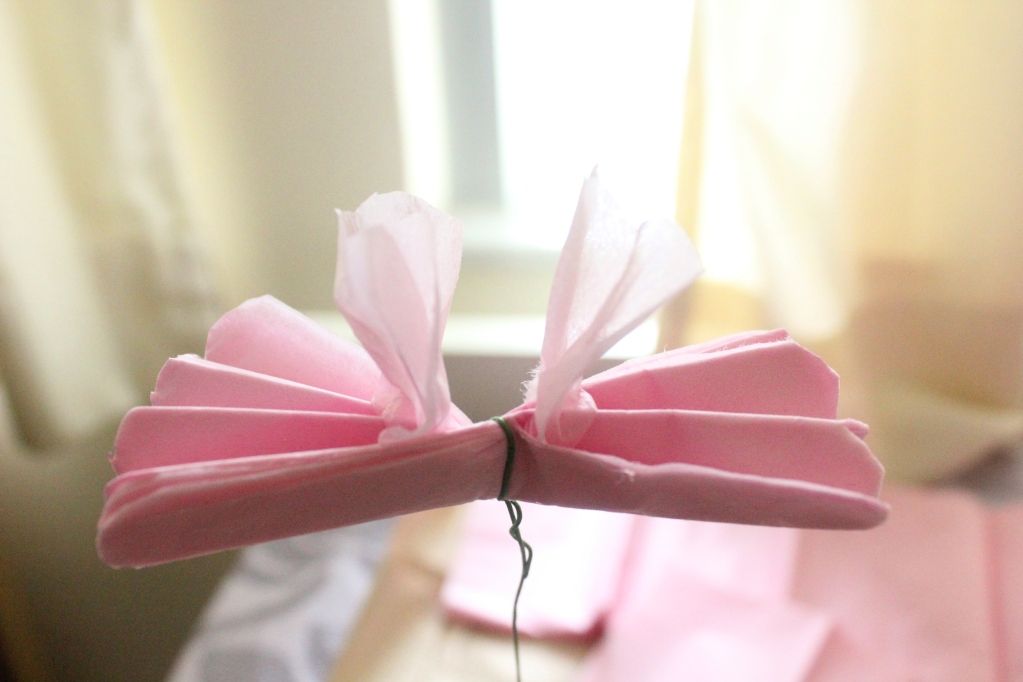
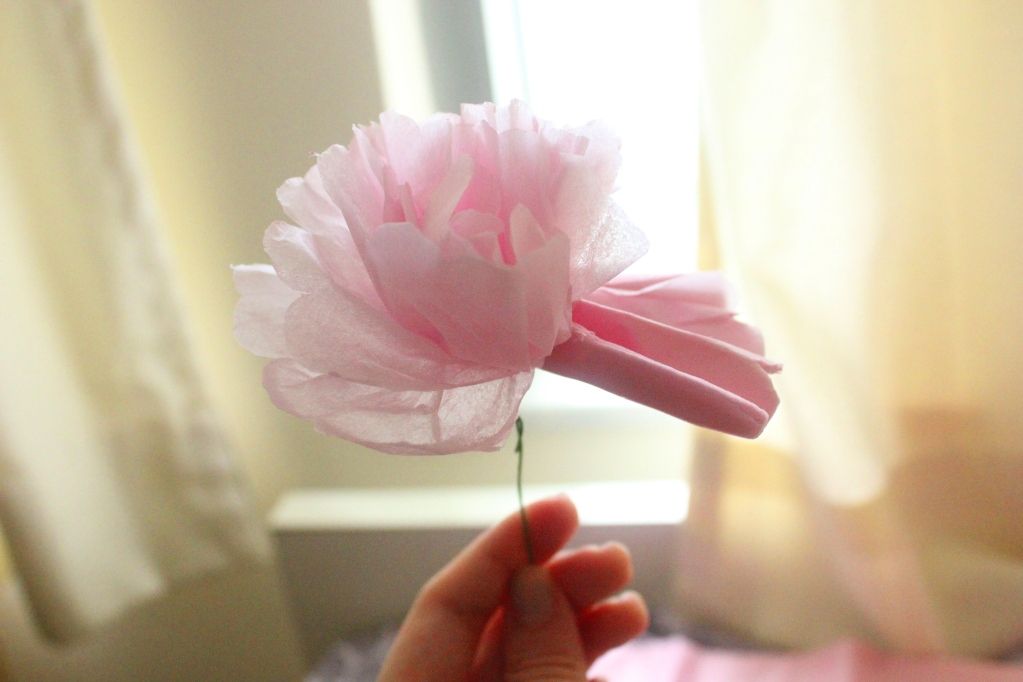
Now comes the fun part. Have you ever had the indecent impulse to pull all the Kleenex from a tissue box as fast as you can, just for the fun of it? Well you can gratify that irrational desire by carefully pulling up each layer of petals on your tissue paper flower. I guess it's not entirely as satisfying as finishing off a whole tissue box but I suppose it's a less wasteful source of fun!


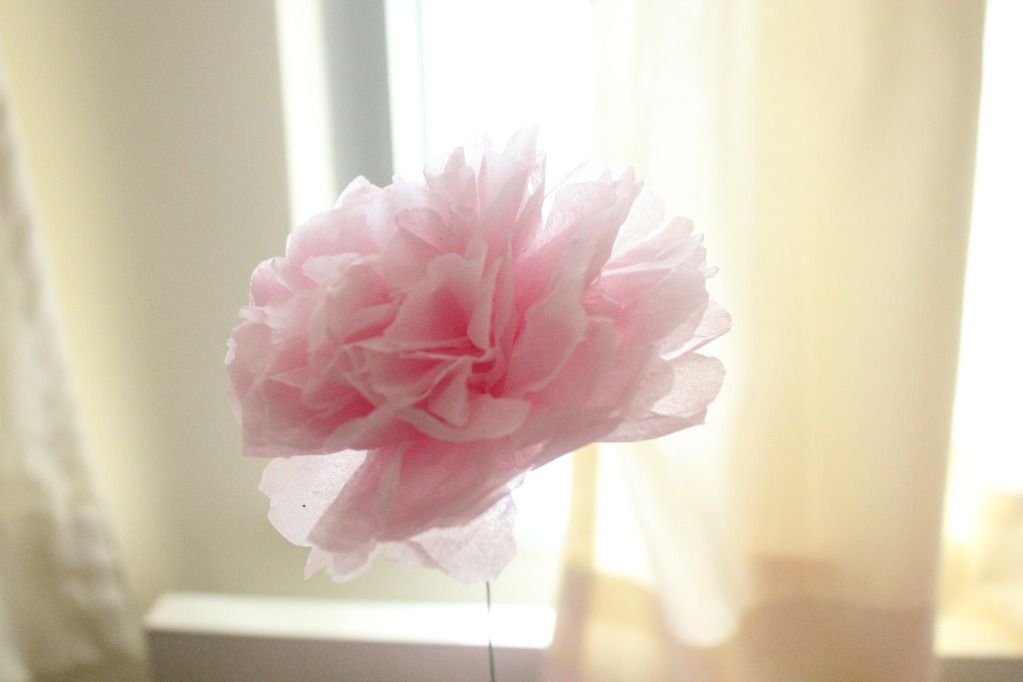
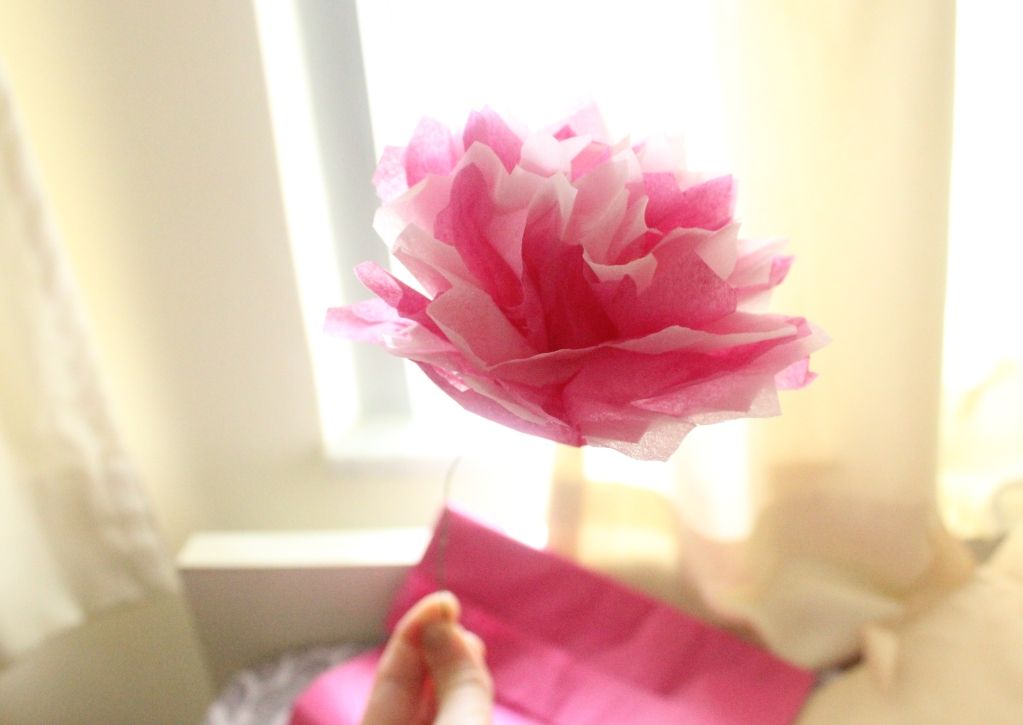
Here's the flower, half done.


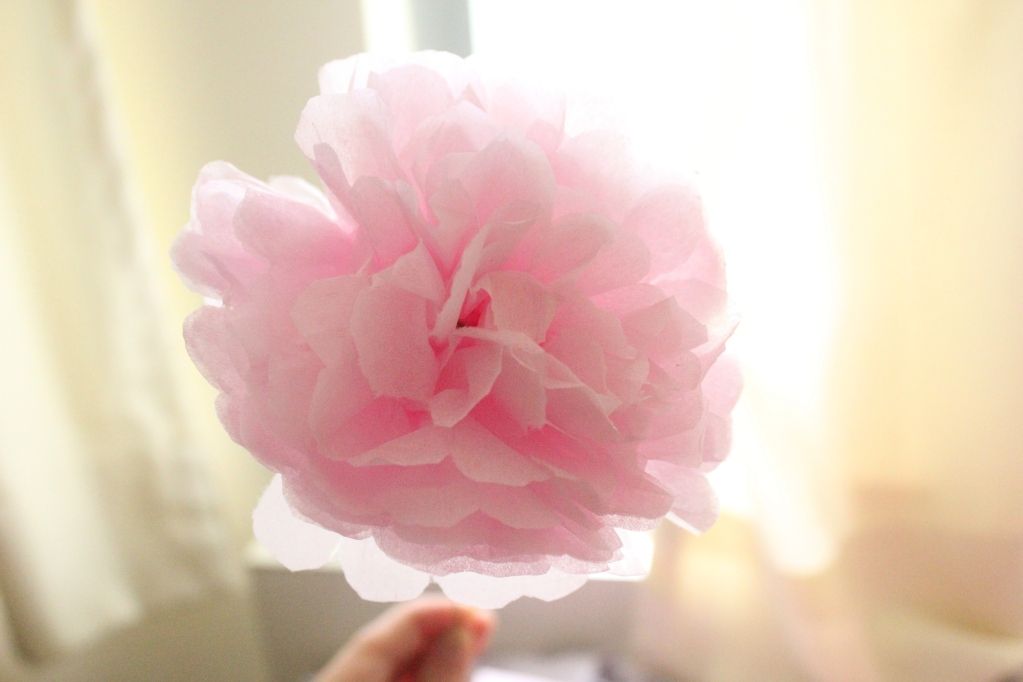
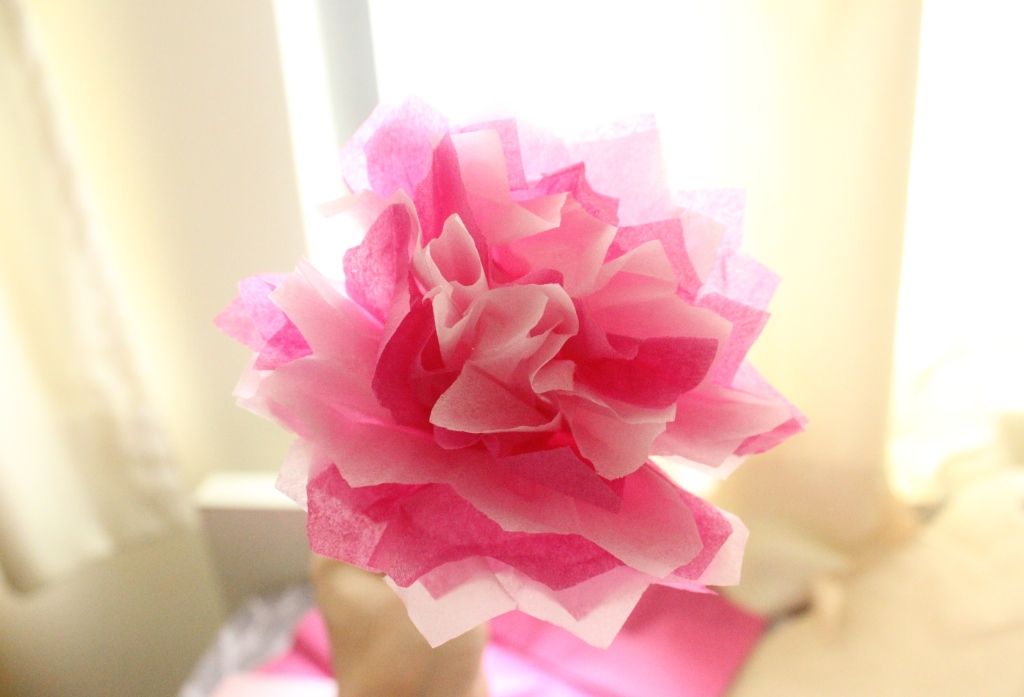
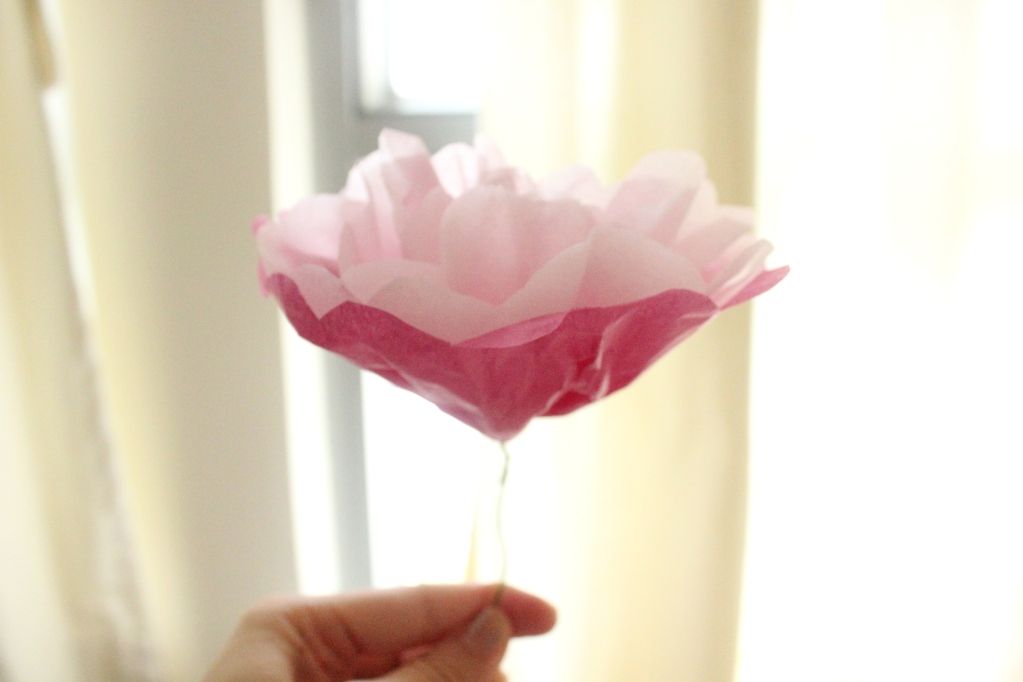
...and here's the finished flower!


The rounded edges gives the flower a delicate feel to it.


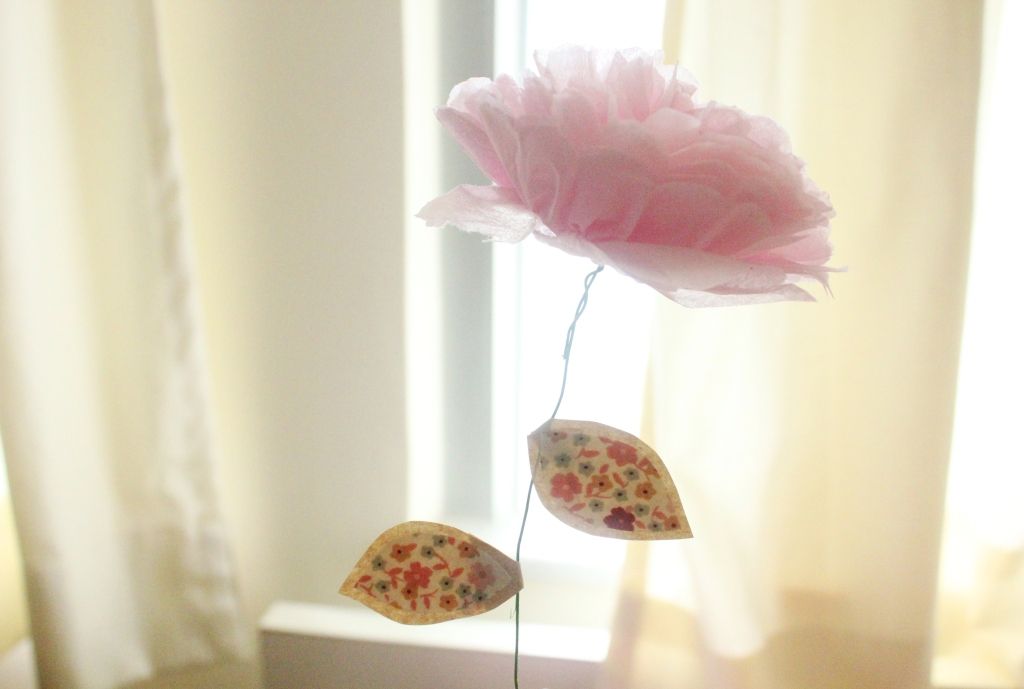
In the past, I've coiled a green or turquoise streamer around the flower stem. Or, you could leave the wire as is, and add some paper leaves.


I've also tried making multi-toned flowers. All you need to do is use two different colours of tissue paper, and when stacking them up in layers, alternate between the two colours.


For a "spunkier" flower, you can cut the ends in an arrow shape so that your flower will have more jagged edges.


This is the finished multi-toned flower with jagged edges.


See? It looks spunkier right?


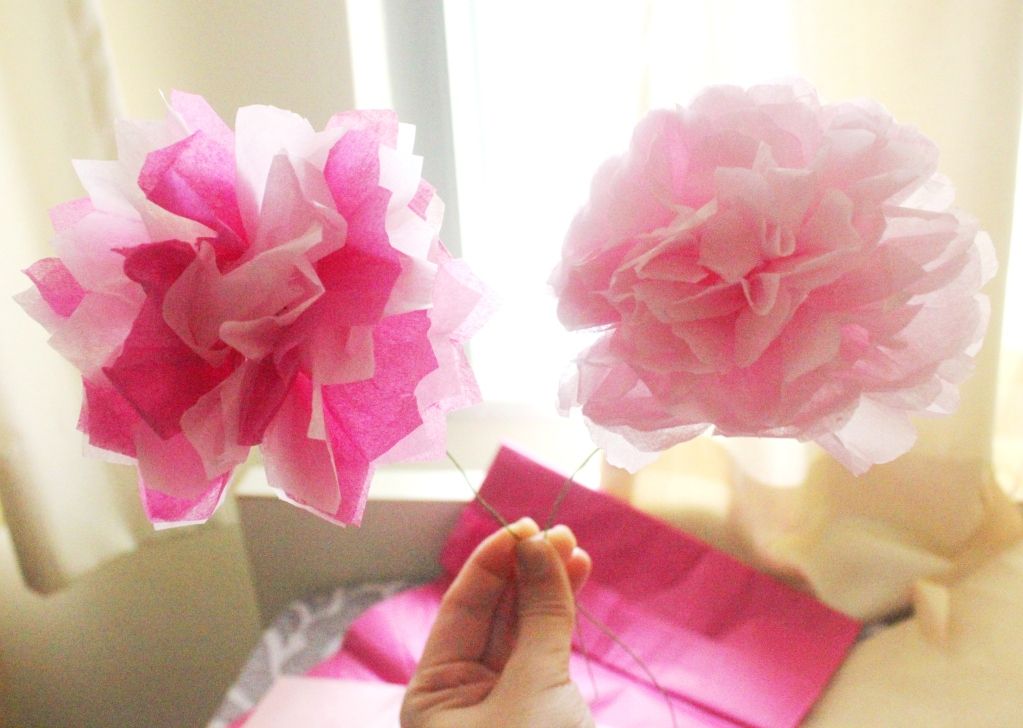
Here's a picture of both flowers, just so you can compare the two different looks. Personally I like the rounded scallop-edges more while Randy prefers the sharpy, jaggedy one. I guess it's not exactly a dealbreaker disagreement, so we're okay. HAHA.


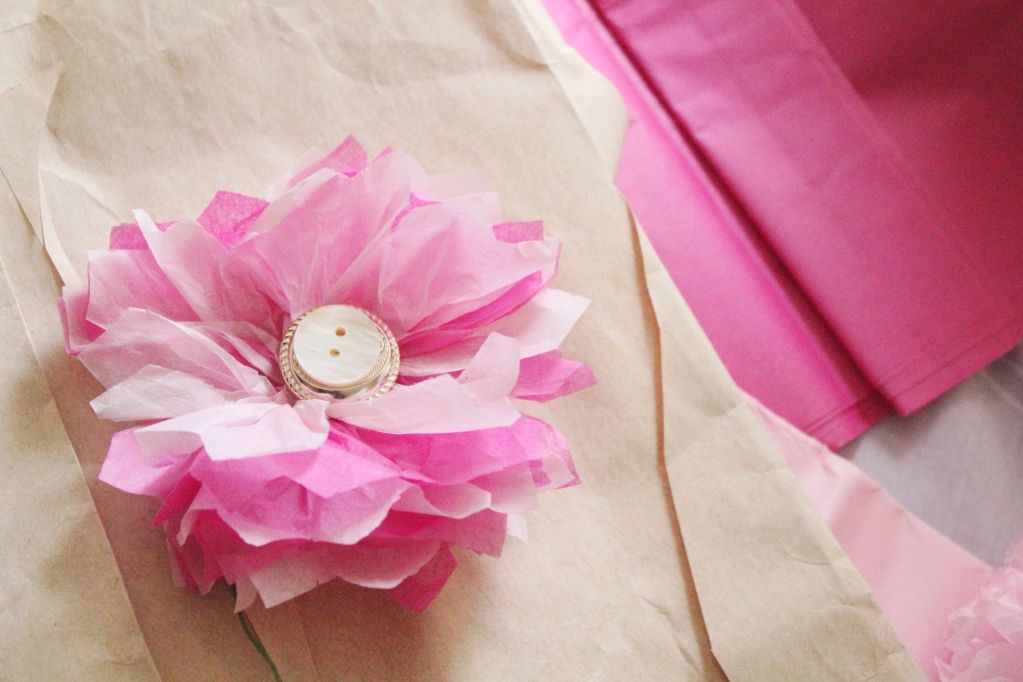
Another option is to create what I call a "teacup effect" where the outer layer is one colour (like a cup) and all the inner layers are another colour.


If you would like, you can add a button or some pearl beads as a centre embellishment.


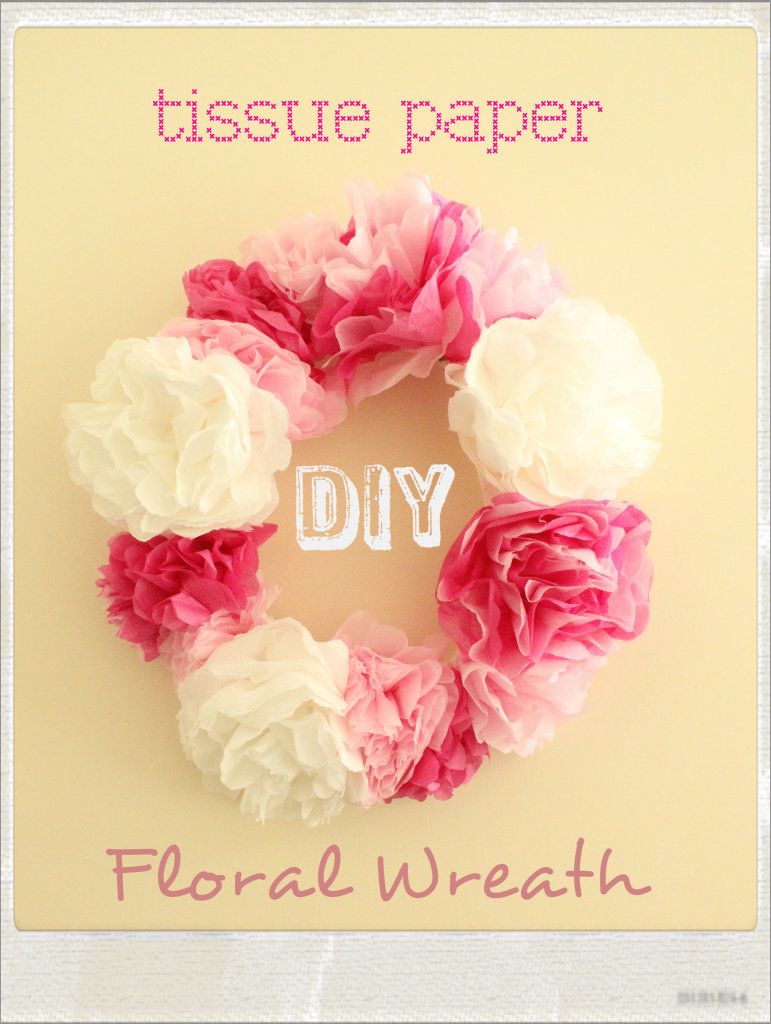
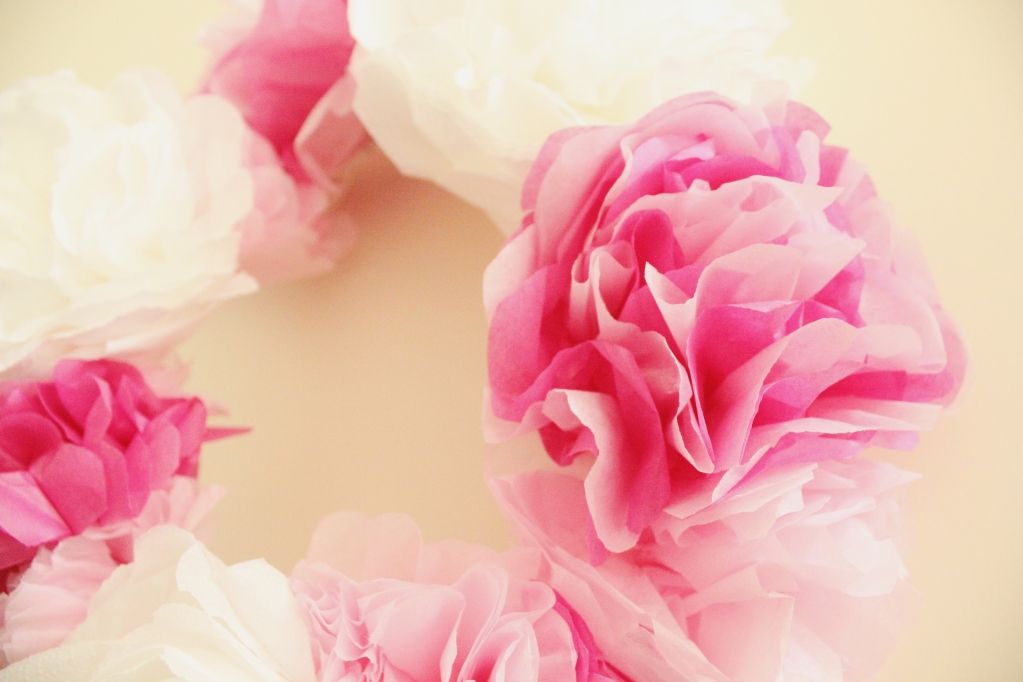
After making a whole bunch of tissue paper flowers, I combined them all together into one massive flower wreath...


Anyway, I hope this tutorial was useful for future flower-crafting projects! And to all you mothers out there, keep being the amazing and beautiful woman that you are! =) 

<3


Saturday, May 12, 2012

Lessons from Dr. Seuss

I'm always looking for good quotes, and when I found this, I gotta say Dr. Seuss is one heck of a Quote-master.

via Alltop

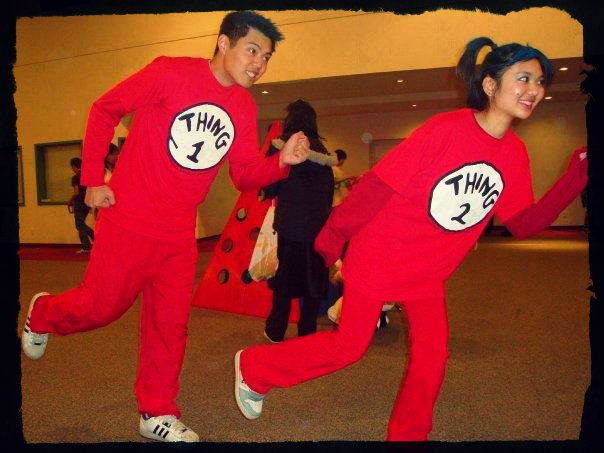
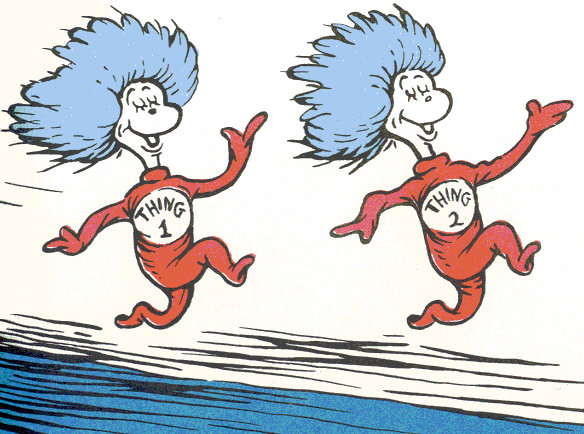
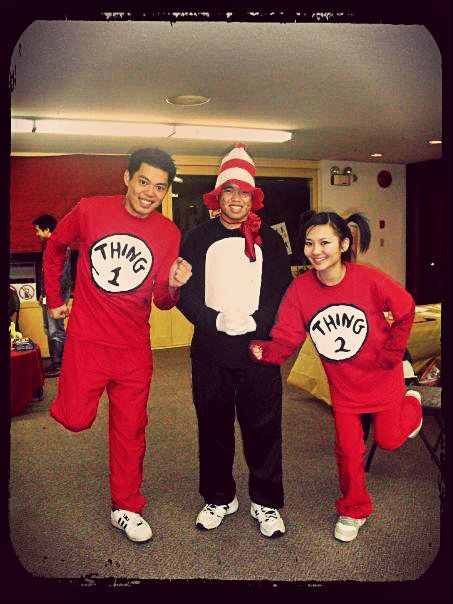
Oh... and if you never need a quick costume idea, you can always be Thing 1 and Thing 2 from The Cat in the Hat! Here we are, doing our best running pose.

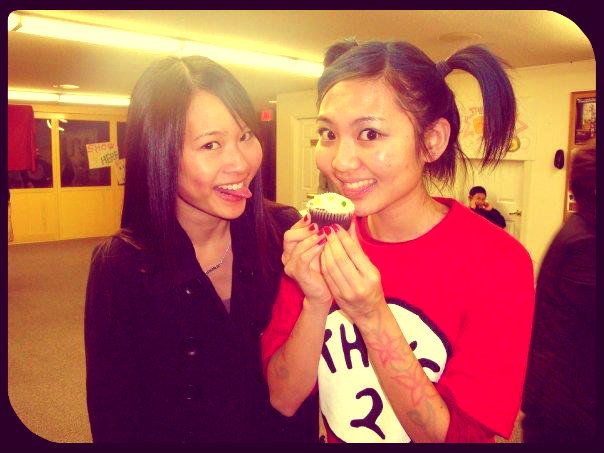
Thing 2 eats a cupcake, with the one and only Miss Cupcake! I've got that rabid "Don't you DARE ruin my cupcake-eating moment" look flickering behind those glazed-over deer-in-headlight eyes.
And on that note, check out these crazy cotton-candy cupcakes from Mrs. Fox's Sweets!
...and here we are with The Cat in the Hat himself! 
Man, I look like such a little kid in those photos... need to bust out that hairstyle more often! haha. These were taken awhile back so I hope in these few years I've aged enough to stop looking like a 12 year old.

 
Related Posts Plugin for WordPress, Blogger...