Showing posts with label DIY. Show all posts

Tuesday, June 12, 2012

DIY: the little red bowtie

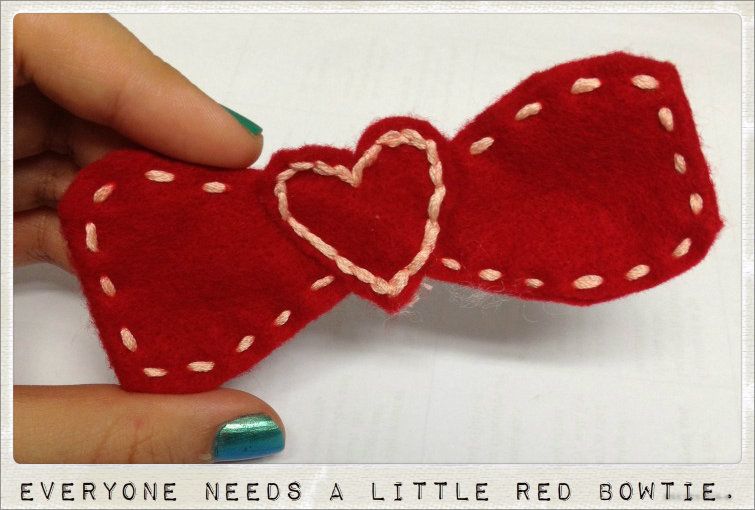
Today at work, I made a little red bowtie out of felt and embroidery floss. 


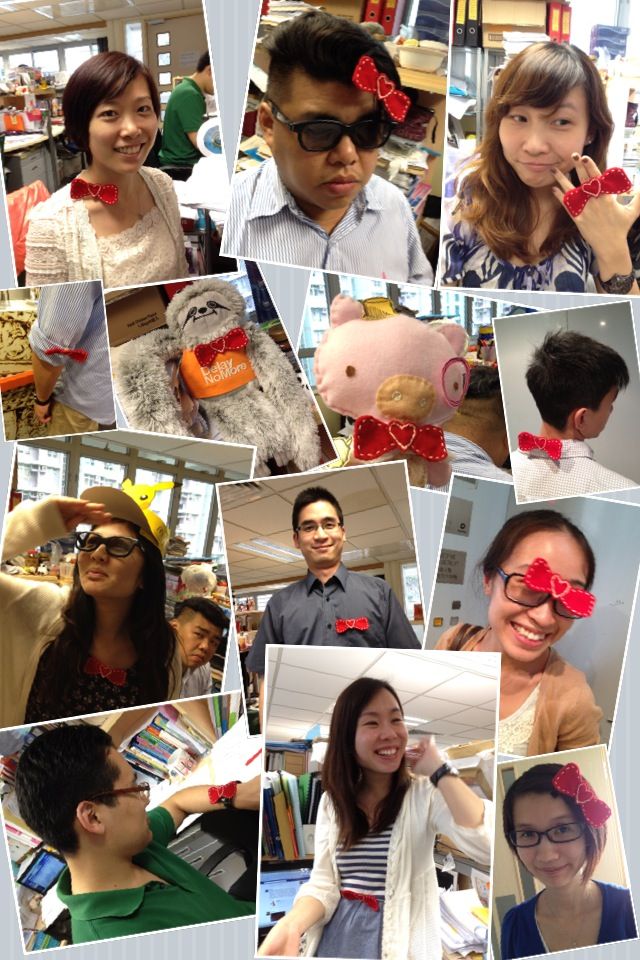
Someone said it reminded them of Hello Kitty (ew... I'm sorry but I don't like Hello Kitty...) but then some of my coworkers and I started thinking of different ways we could wear the bowtie (or in some cases, how to clip it onto people without them noticing). HAHA. Can you tell which pictures below feature WILLING subjects and which ones feature unsuspecting victims? hahaha...


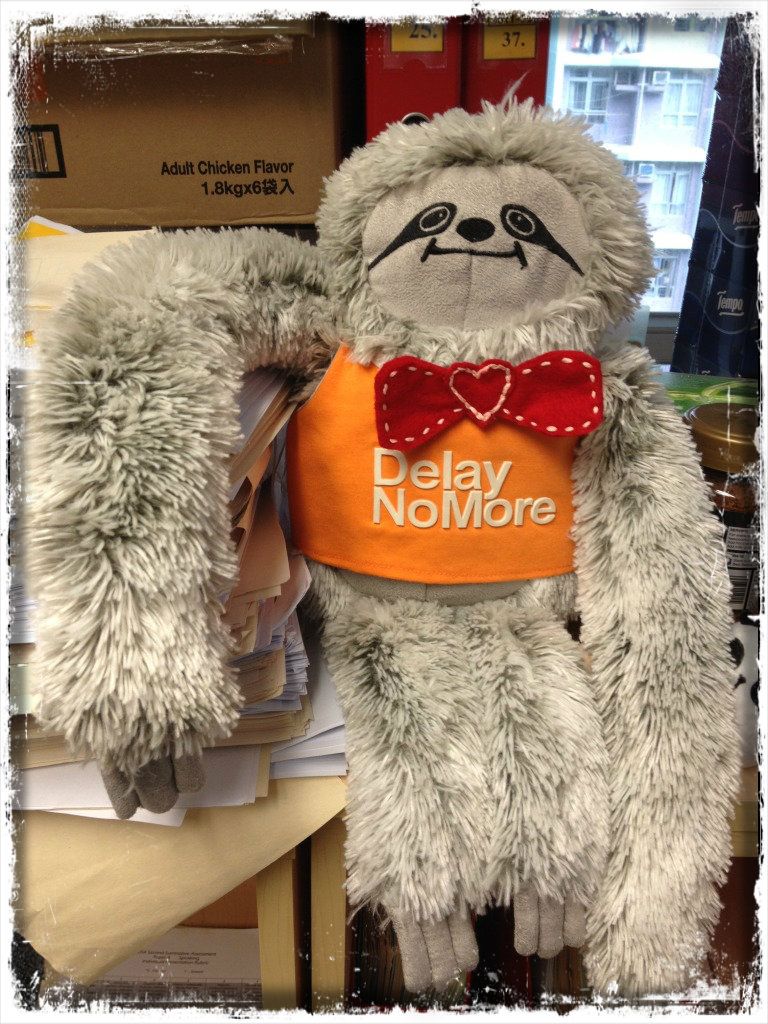
Personally, I think the Dirty Sloth pulls off the best bowtie look.


OH and if you notice in the background, there's a box that says "ADULT CHICKEN FLAVOUR". Somehow, that just sounds creepy and kinda PG13.

Monday, June 11, 2012

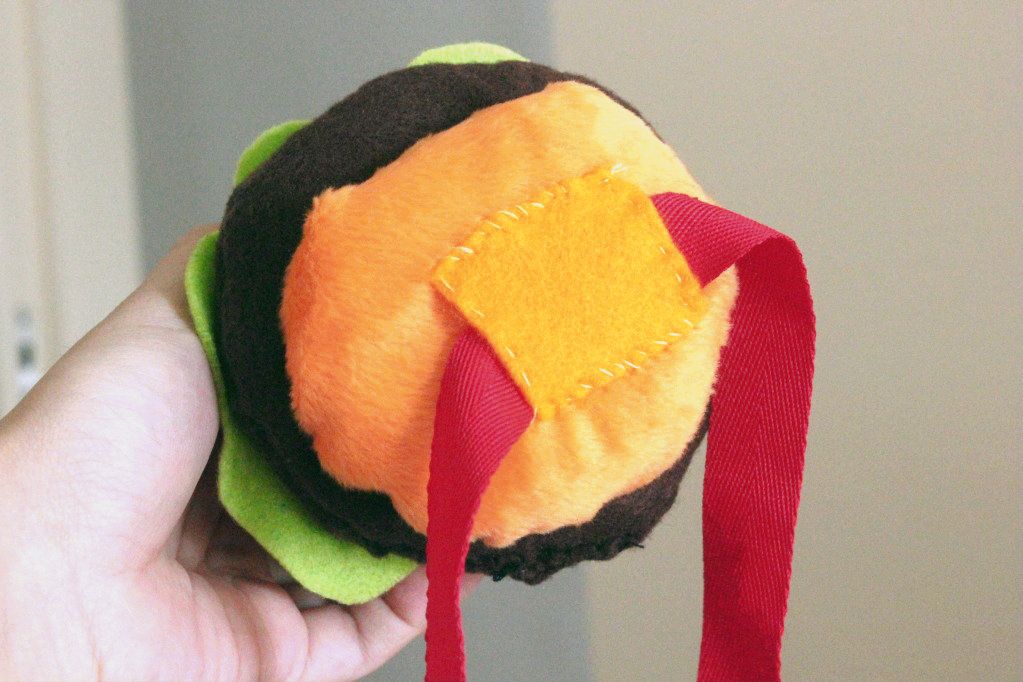
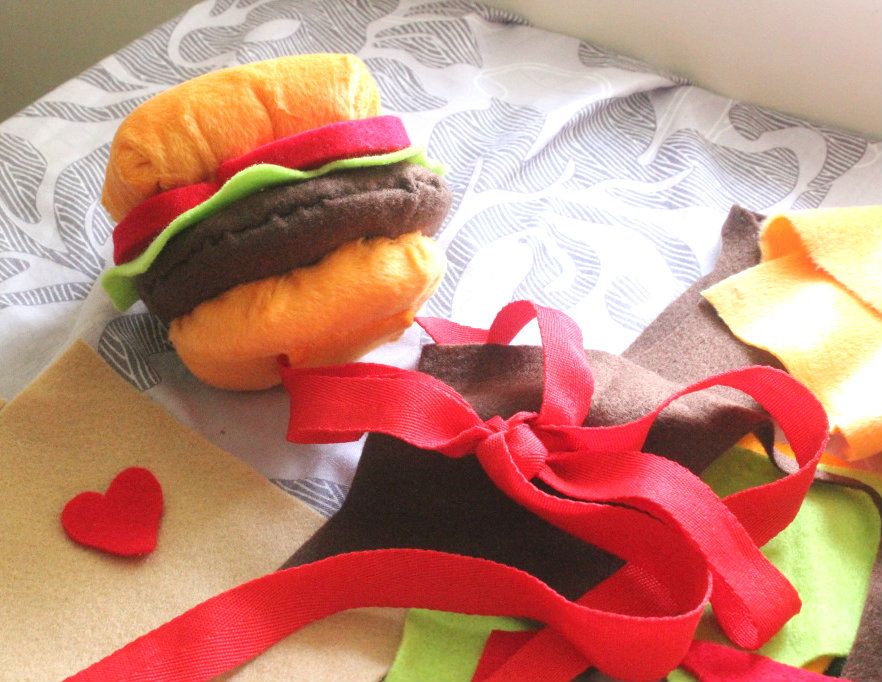
DIY: Hamburger Hat!

Ever since I drew this little self-caricature below, I've been wanting to make a HAMBURGER HAT just like that one.


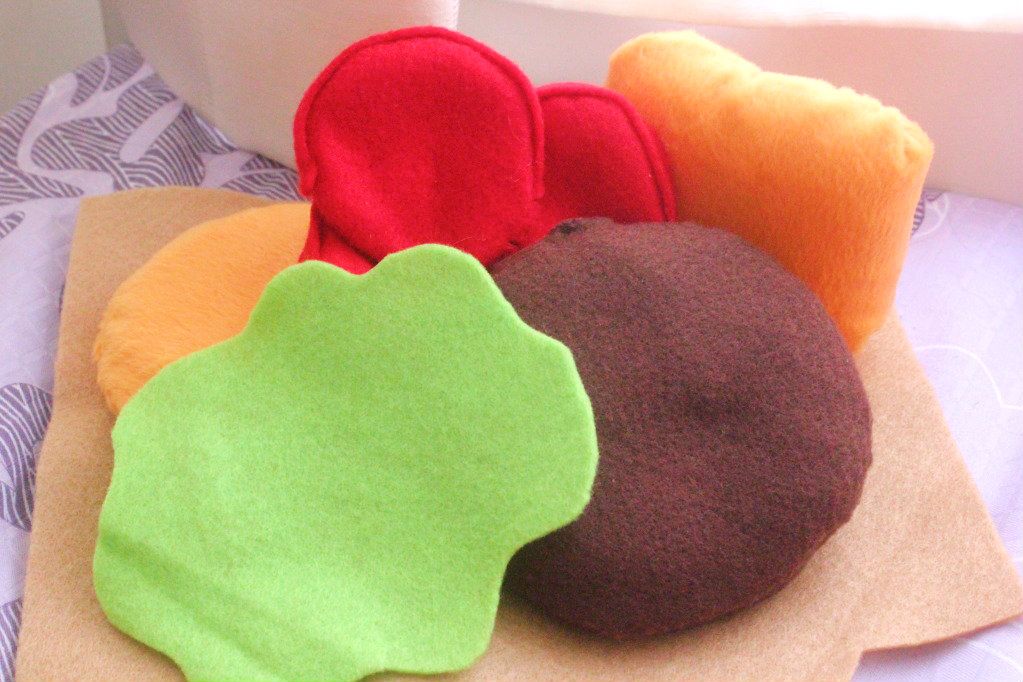
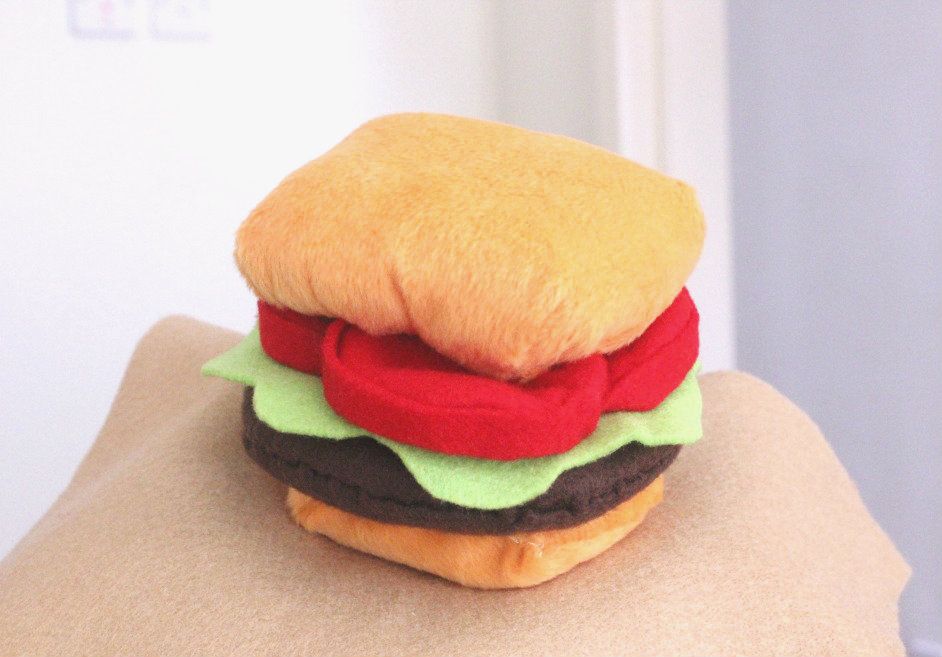
So... with materials in hand (felt, scissors, needle, thread, and highly amateur hand-sewing skills), I set out to attempt the making of a HAMBURGER HAT!


*******

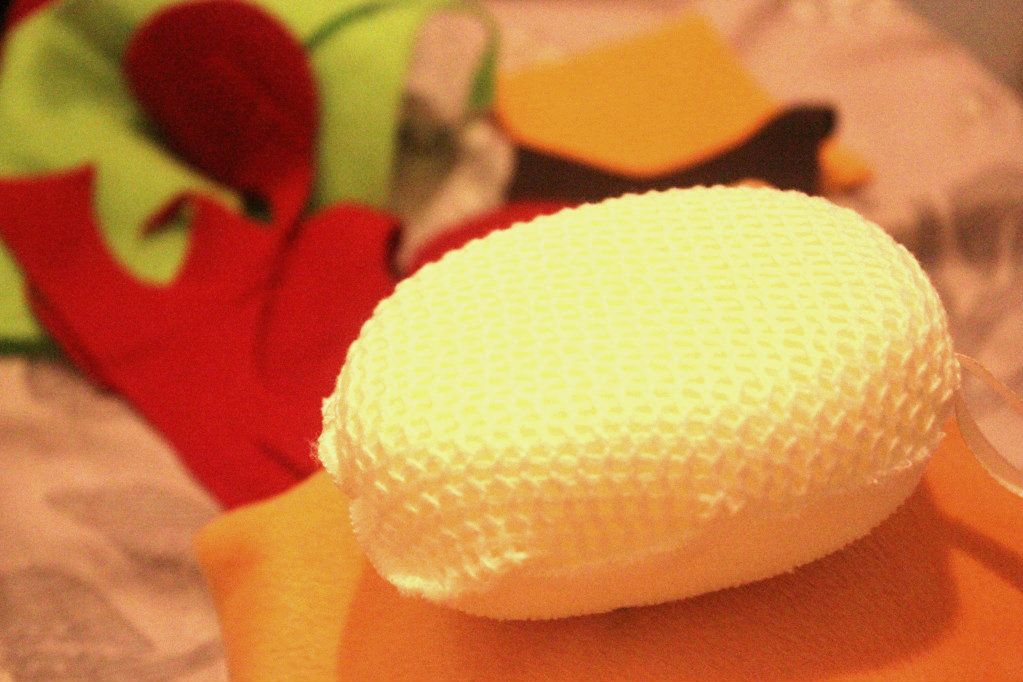
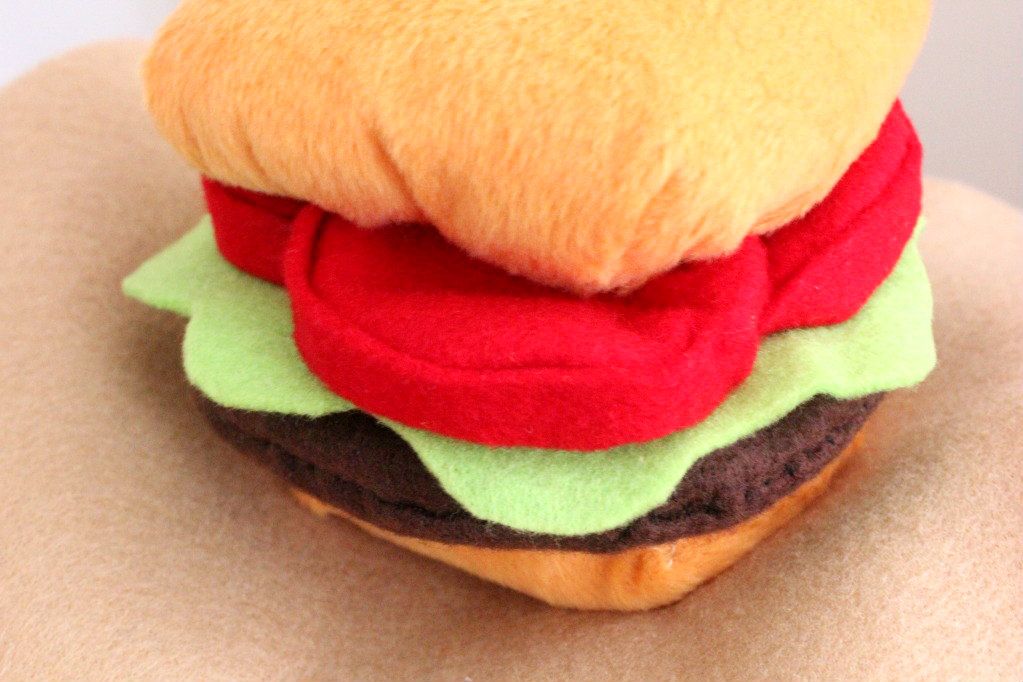
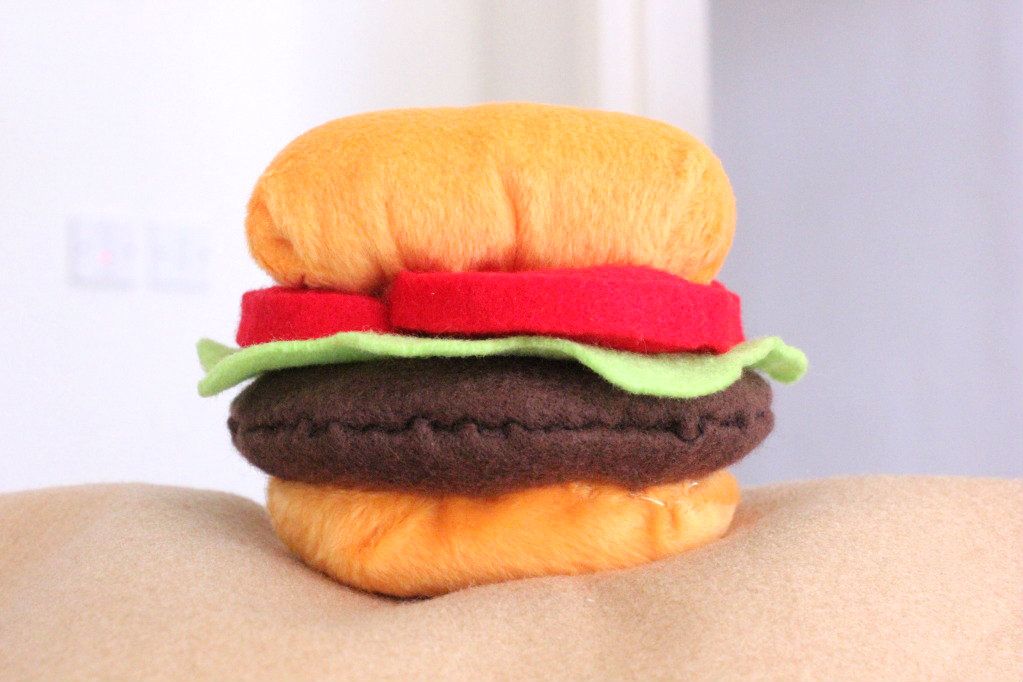
 For the top burger bun, I bought a mini body-sponge and covered it with fuzzy orange fabric.When I was finished making all the different burger sections (patty, lettuce, tomatoes, and buns) I added a red ribbon so I could tie it around my head. Overall, I thought it turned out quite well... and I'm ready to prance around and wear my new creation proudly in public! =D


...and now... it's time for another weird kwok comic. 

******


******

Moral of the story:


THE BEAST MUST BE FED.

Saturday, June 9, 2012

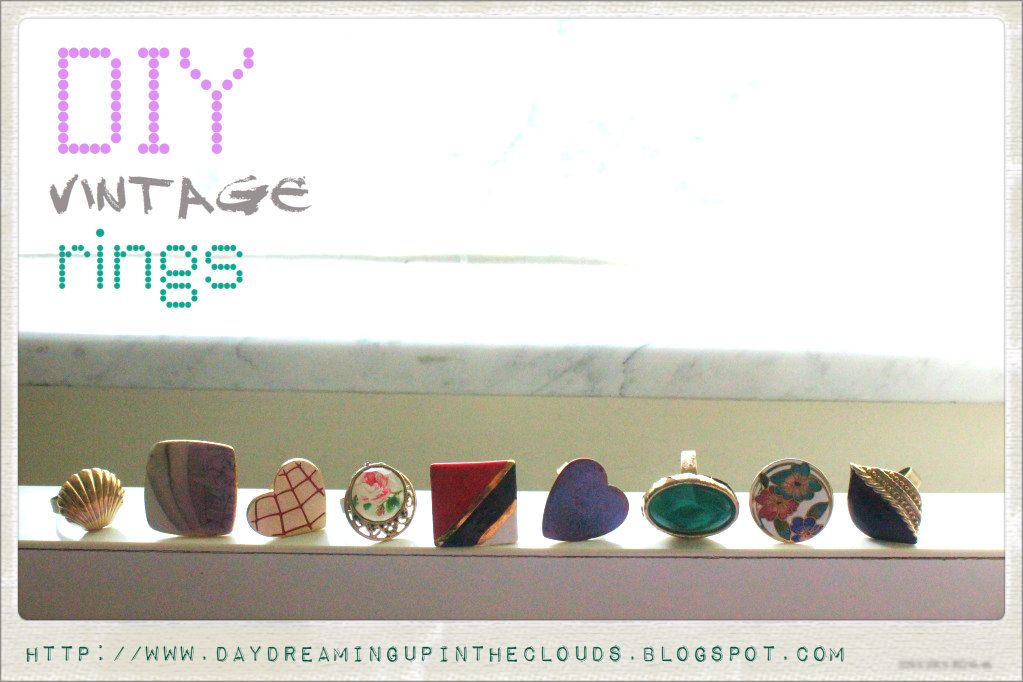
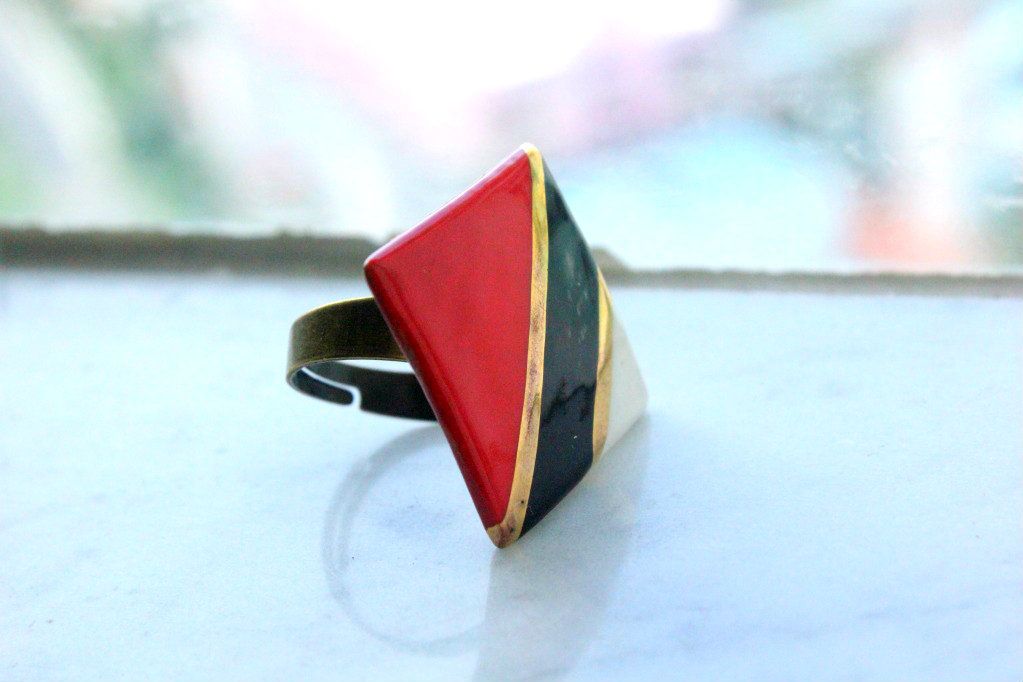
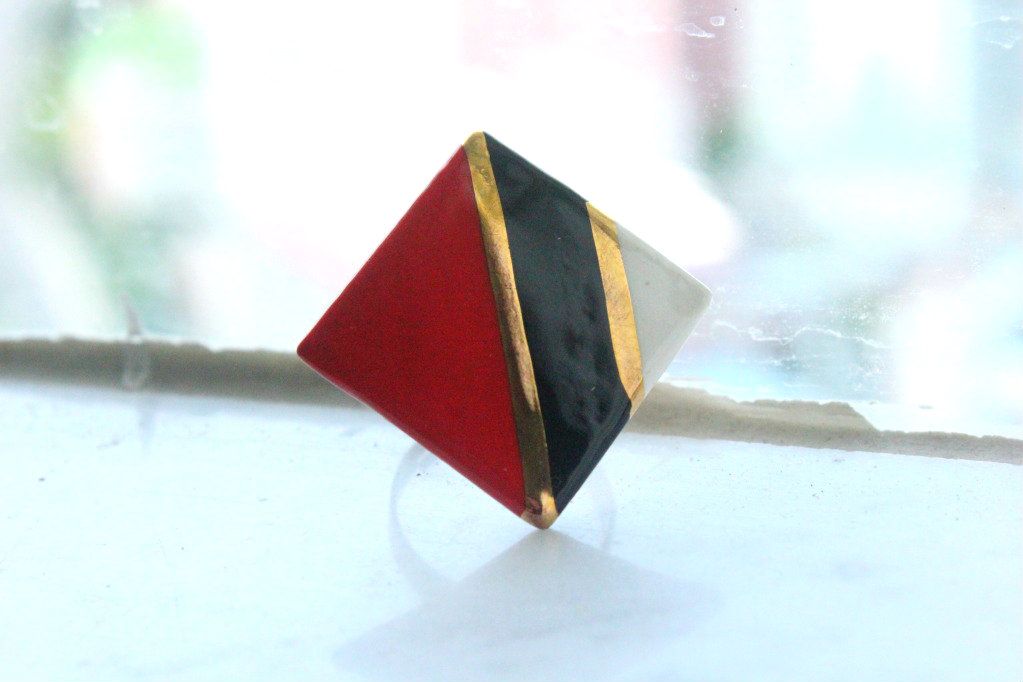
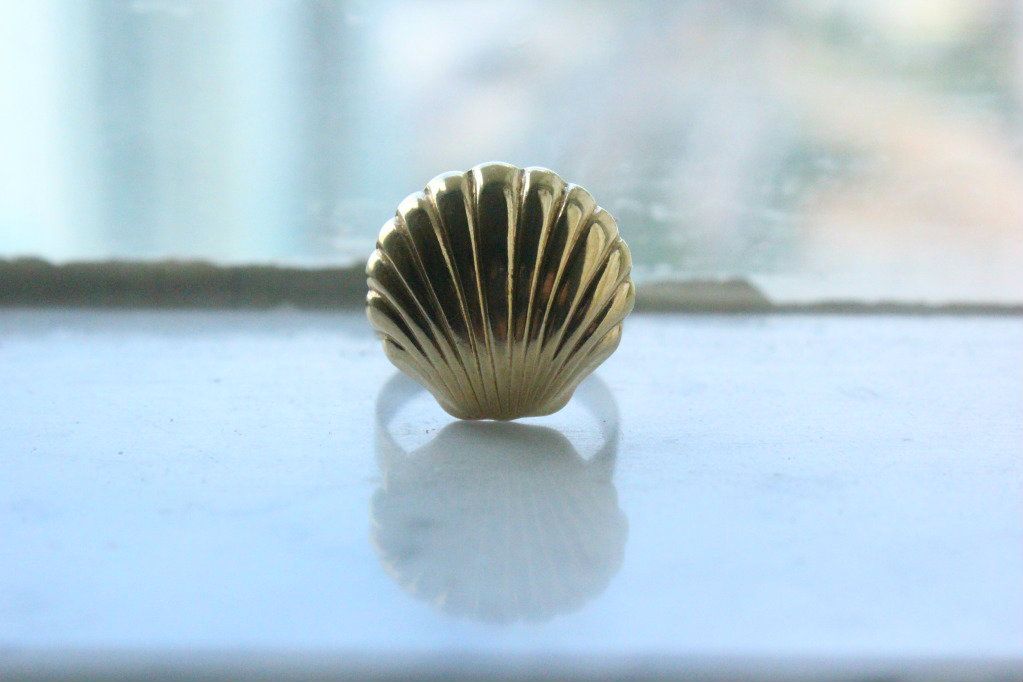
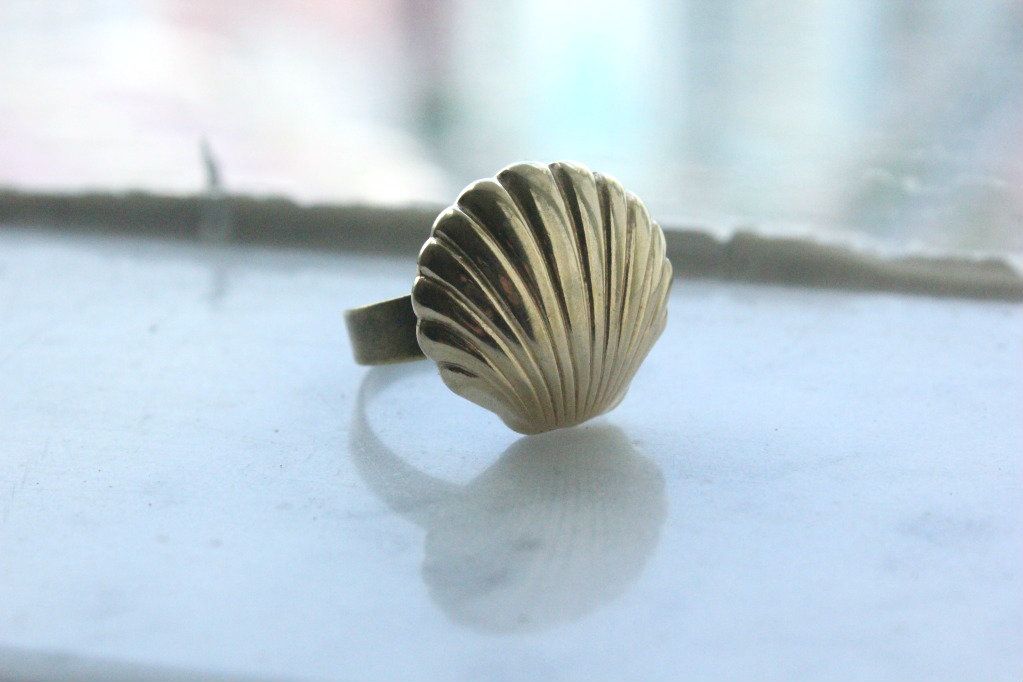
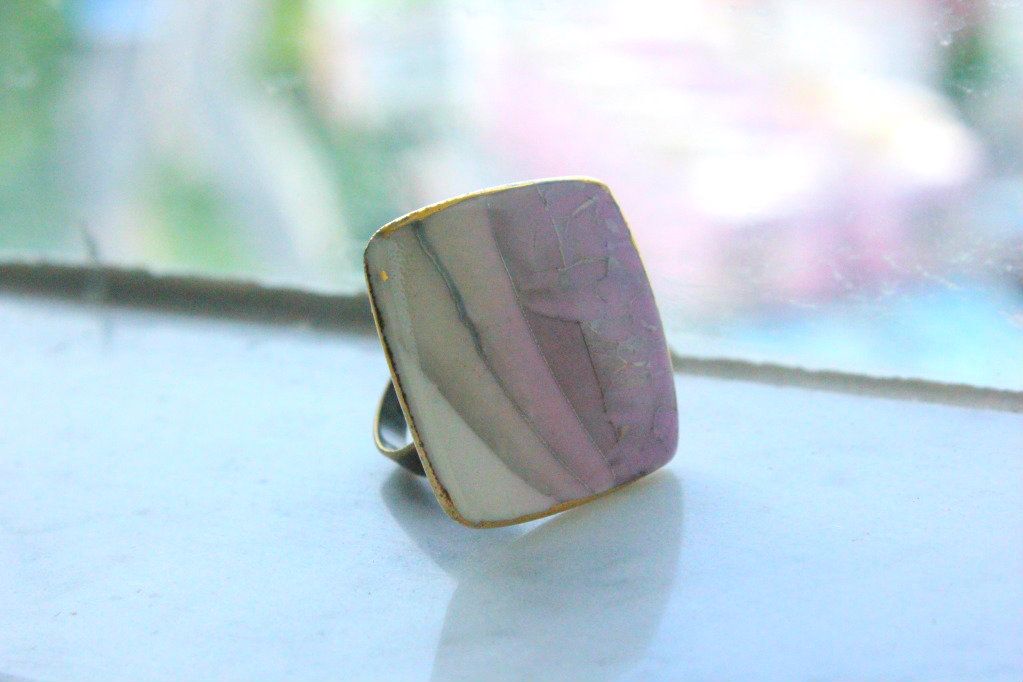
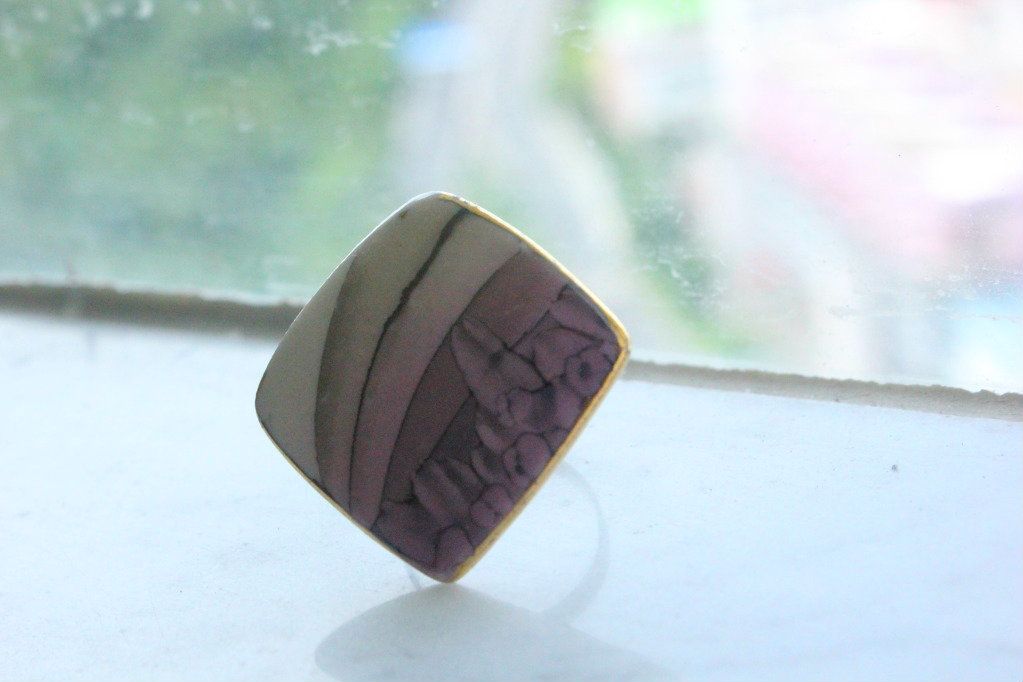
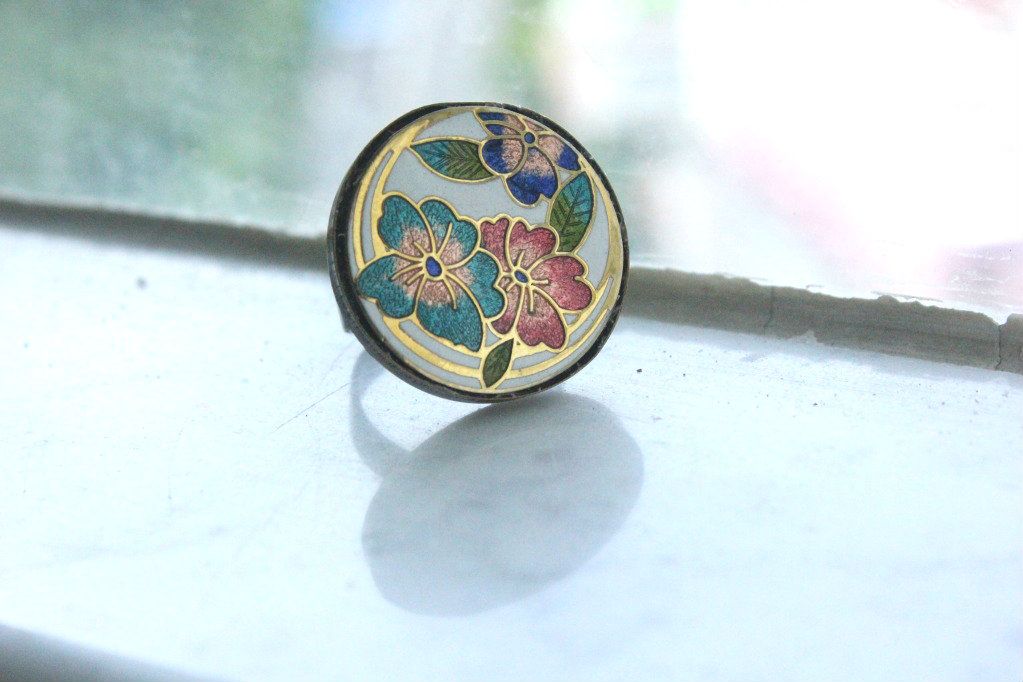
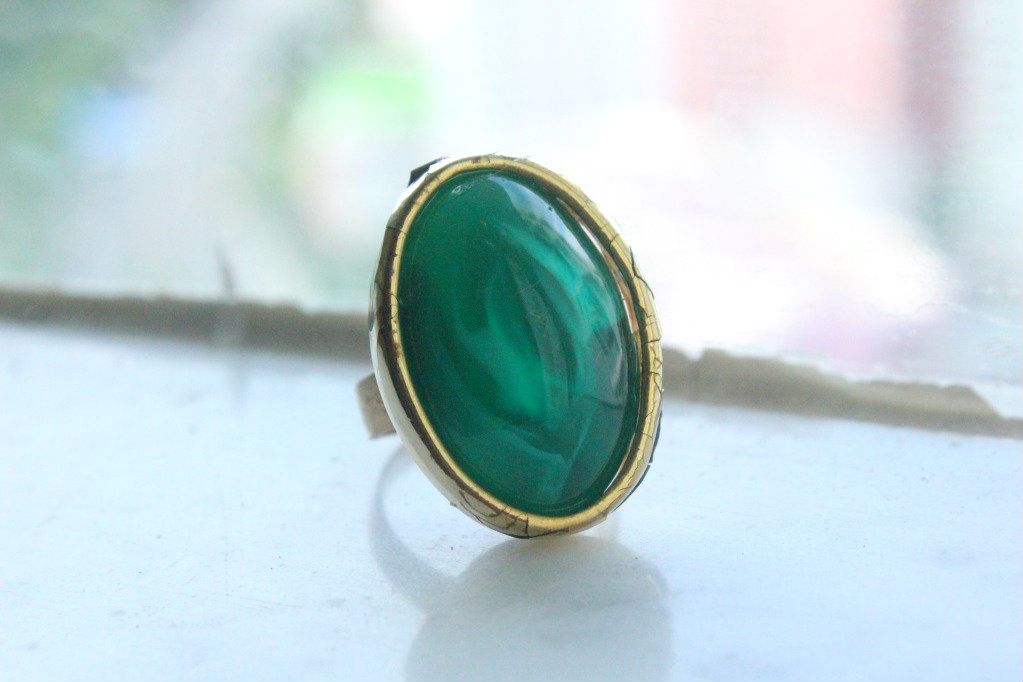
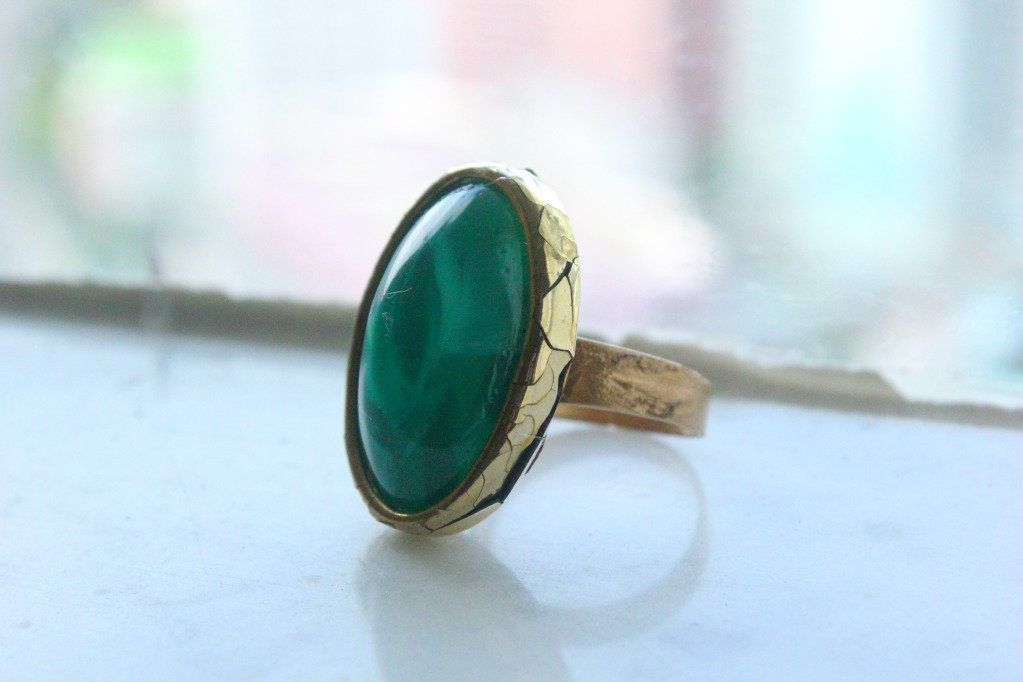
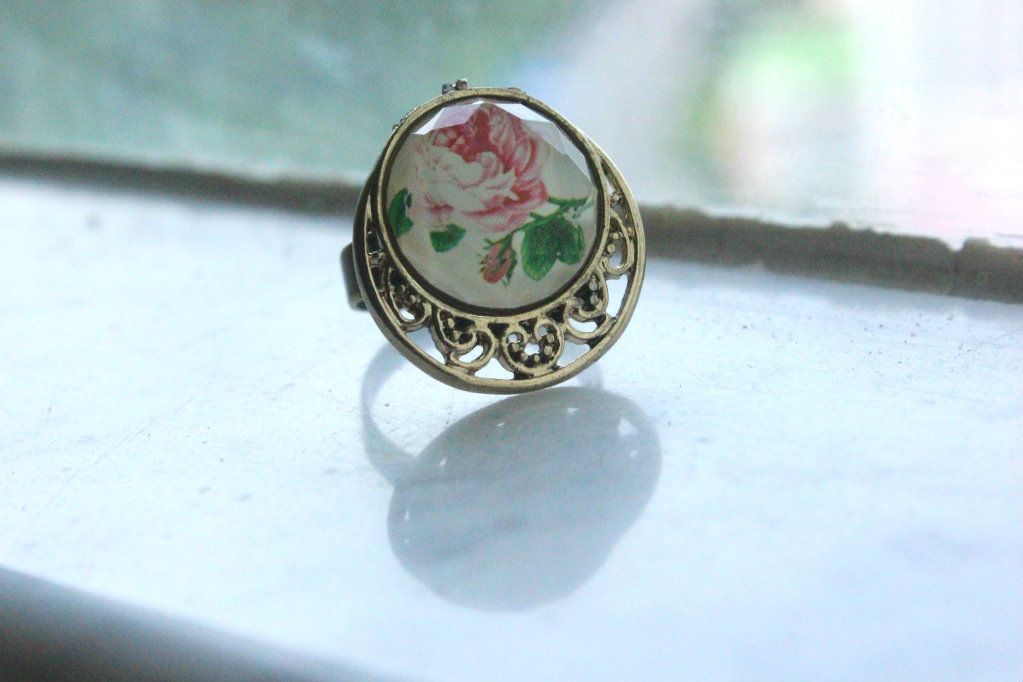
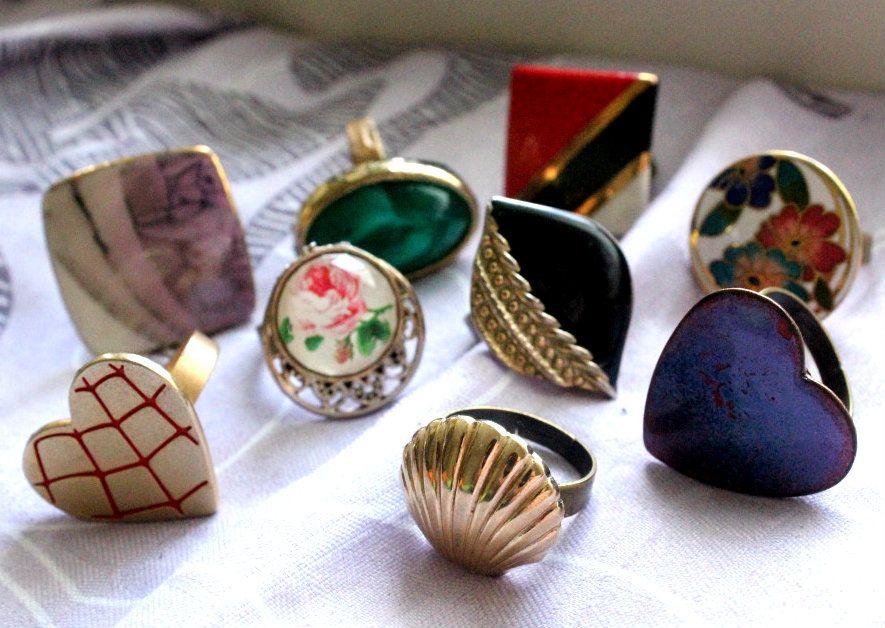
DIY: vintage rings

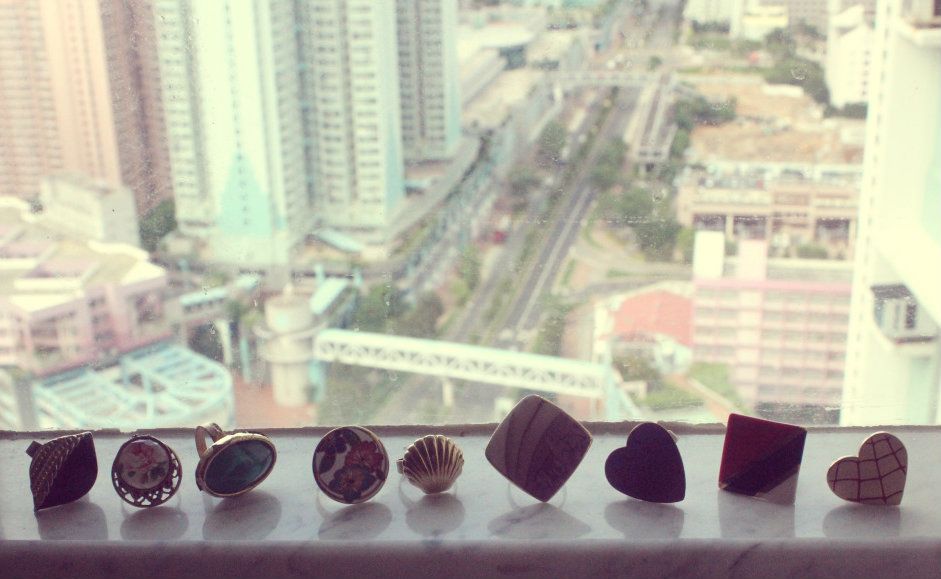
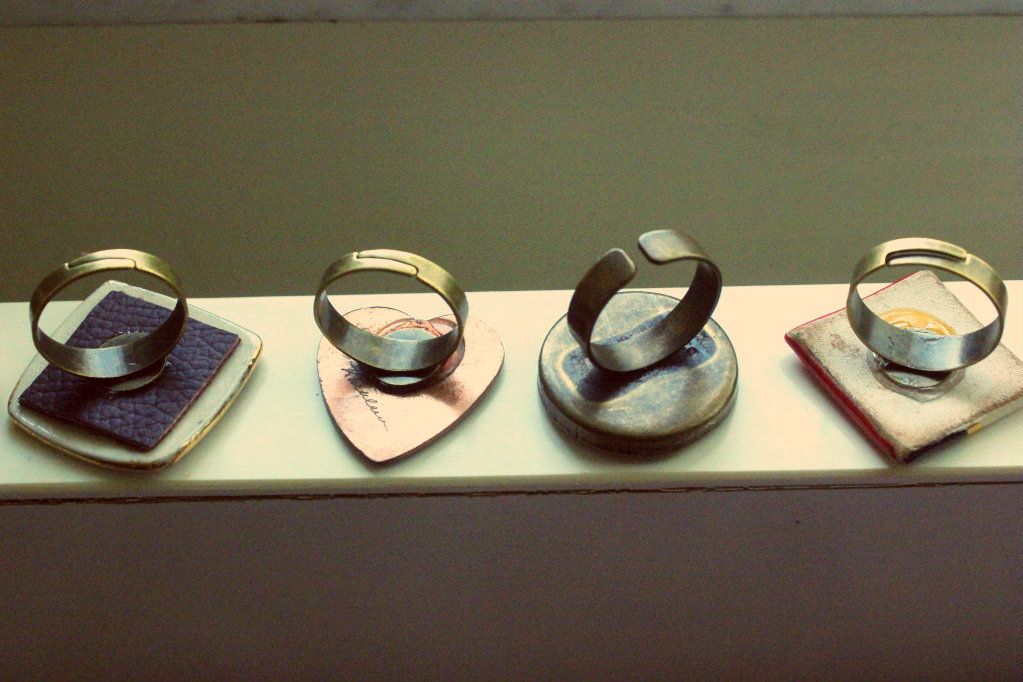
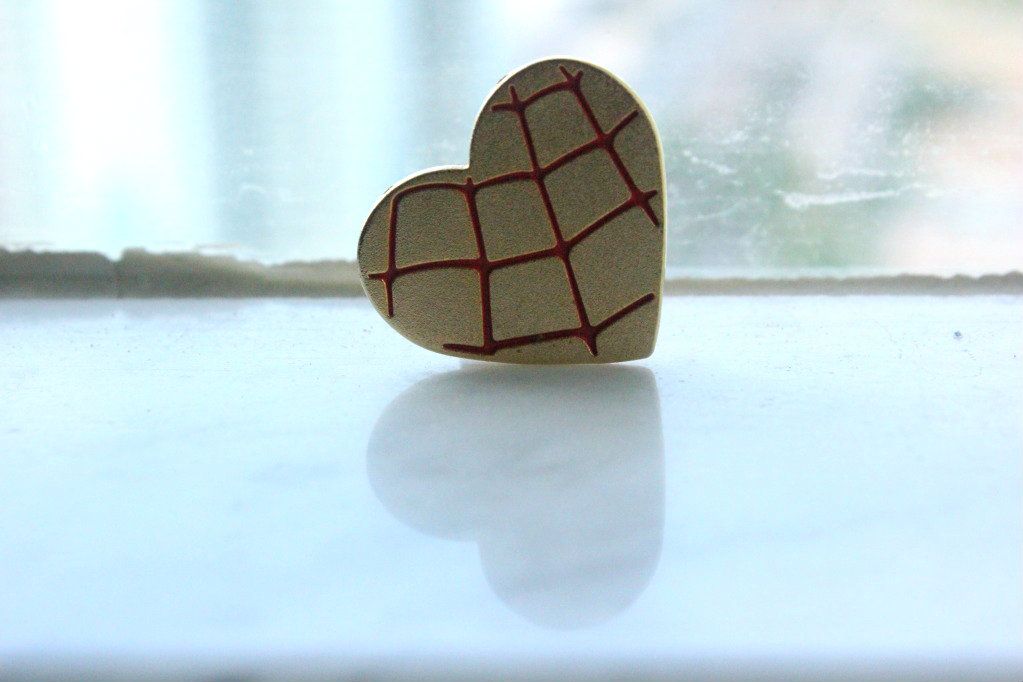
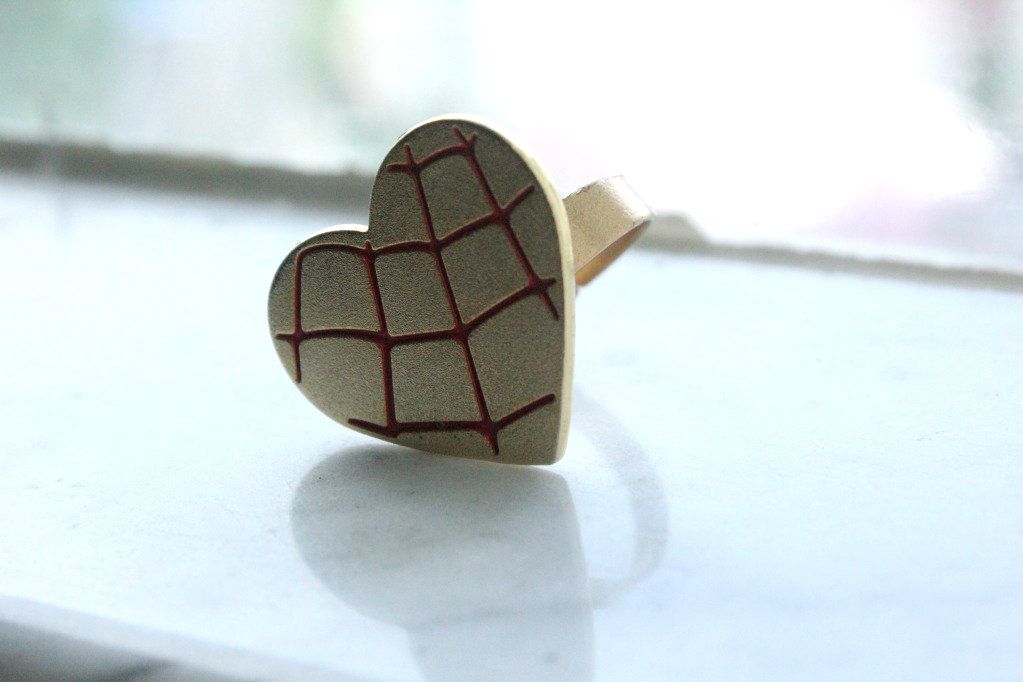
After an hour of extreme supergluing (along with extreme glue inhalation), my little collection of vintage earrings and brooches was transformed into a newly re-created collection of rings!

Let the photo roll begin!


Which one is your favourite? Leave me a comment! =D

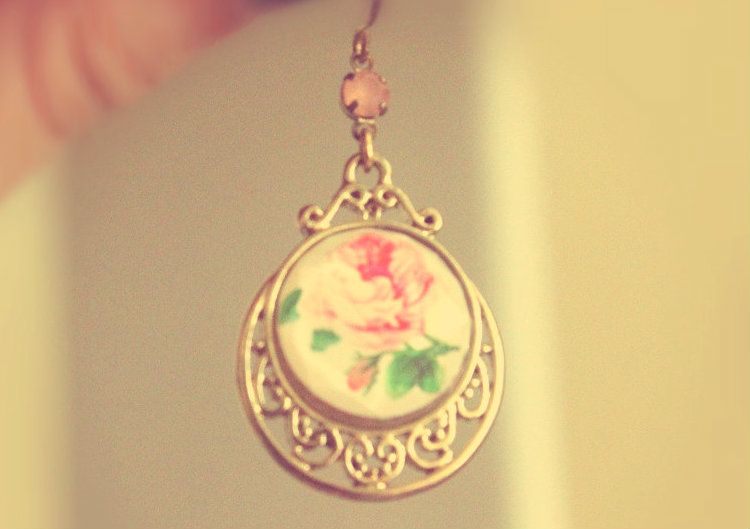
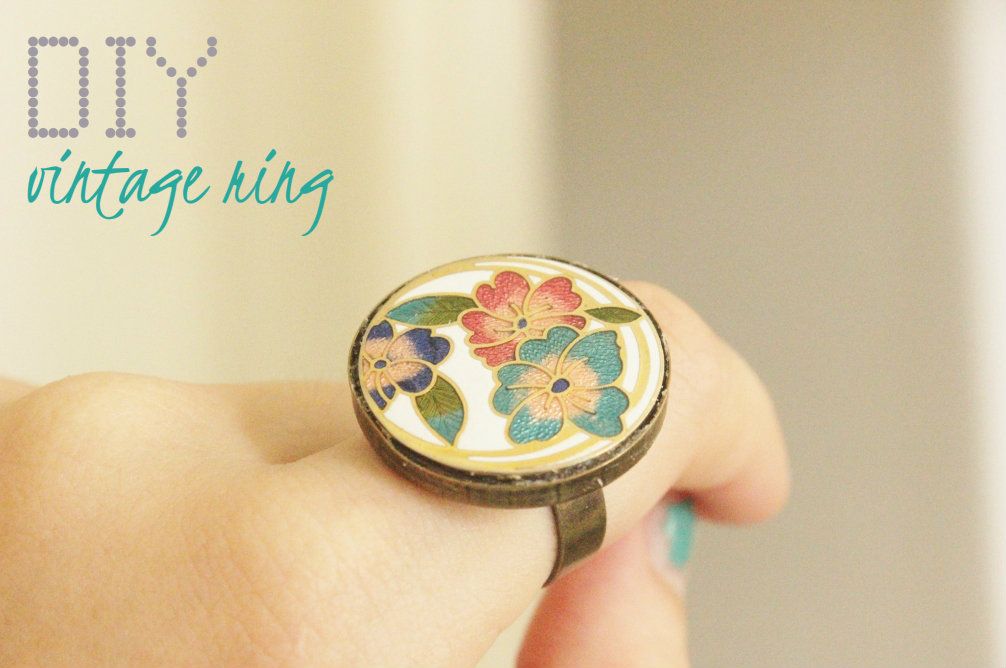
DIY: vintage ring

A long time ago, I posted a DIY about making your own rings (found HERE). Since then, I've basically been carrying around a little heart-shaped box full of vintage earrings, brooches, and other potential knick-knacks that can be refurbished into rings and just haven't gotten around to busting out the superglue to finish the job. Well, A YEAR LATER, I finally took the time to make the rest of them. 

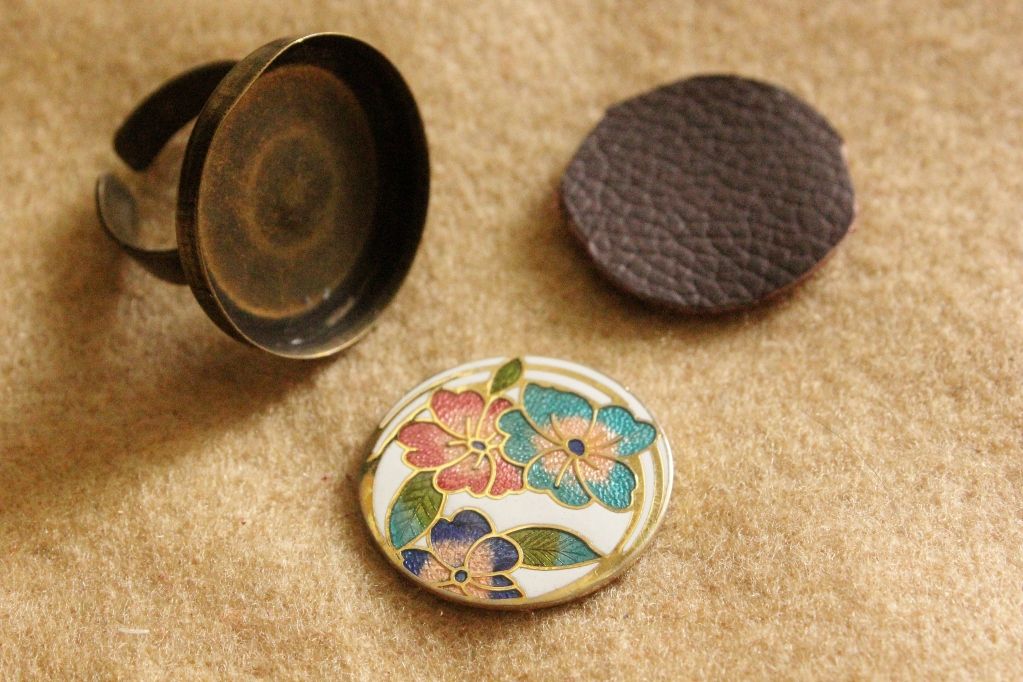
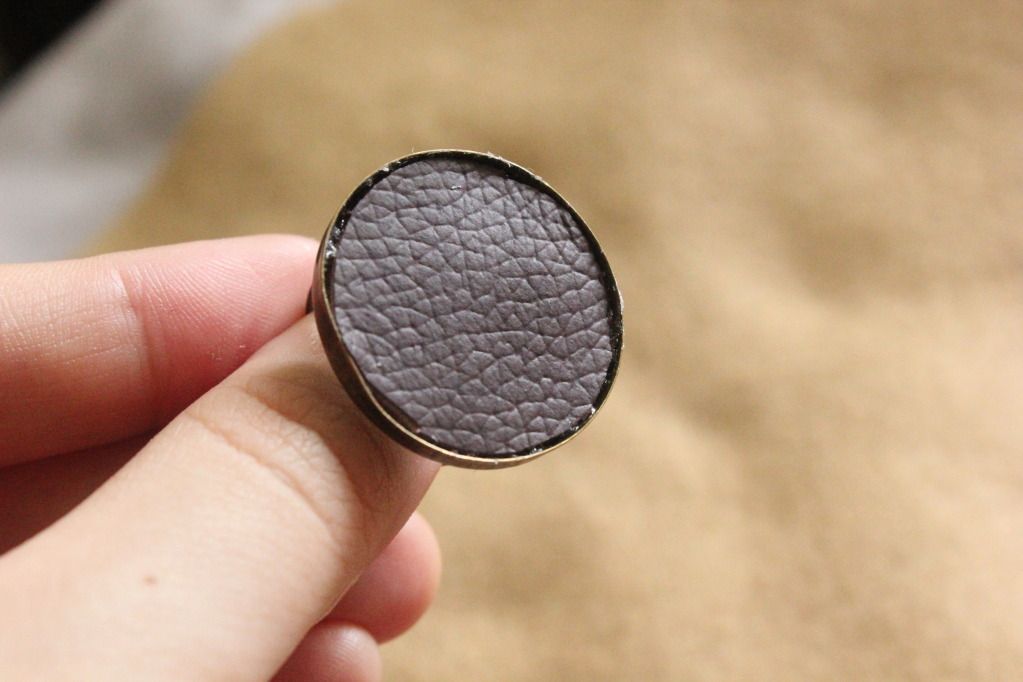
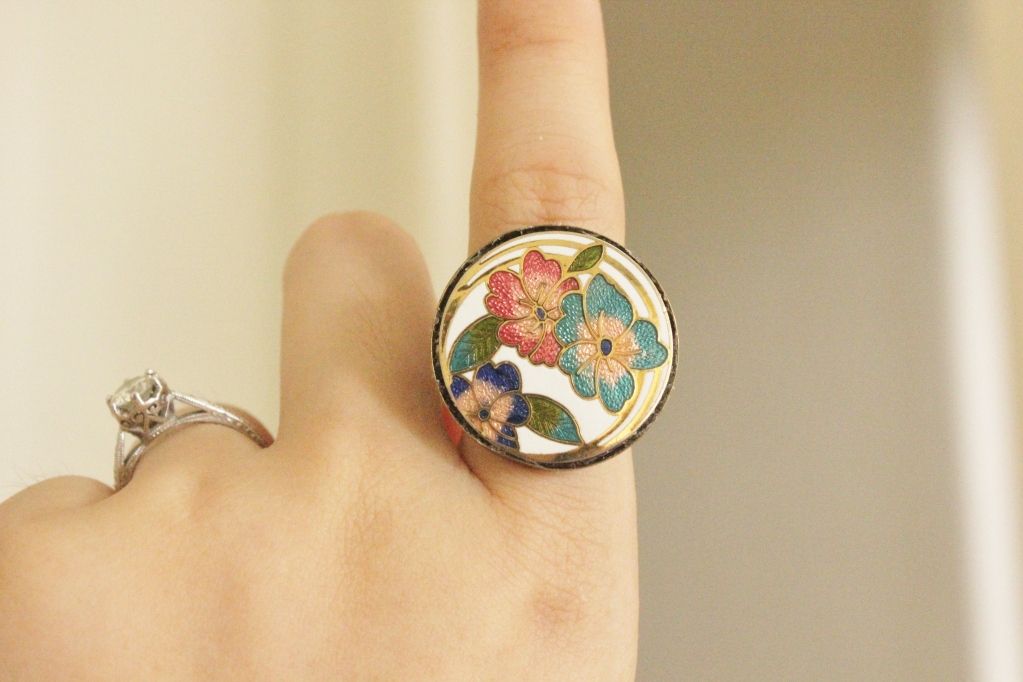
This one here is the first one I made. I had a vintage earring that just happened to fit perfectly into this large, round ring-blank I had. (You can find some simple instructions below).


Instructions:

******

1) I used pliers to take off the back of the earring.

2) I cut out a round piece of leather to fit into the ring blank.
   The ring blank was quite deep so I used the leather
   to fill up the extra space and to "cushion" the earring.

3) After gluing in the piece of leather, I glued the
    vintage earring on top... and TA DA!
    
The vintage ring is done! 

******

Saturday, June 2, 2012

DIY inspiration: 3-tier cupcake stand

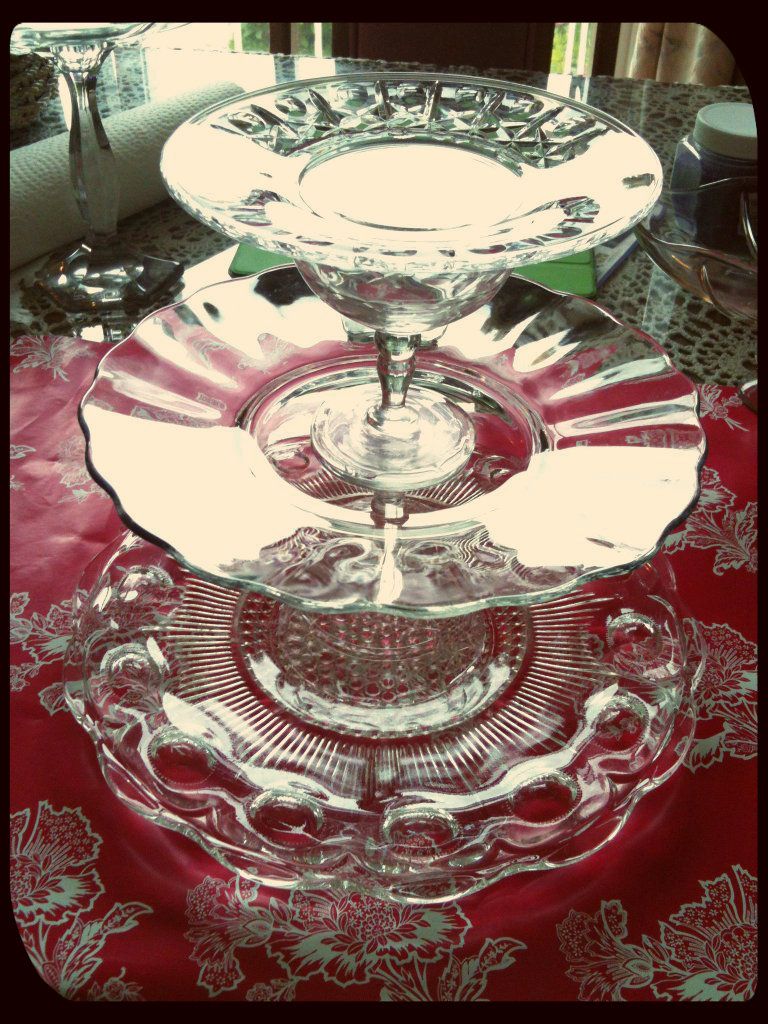
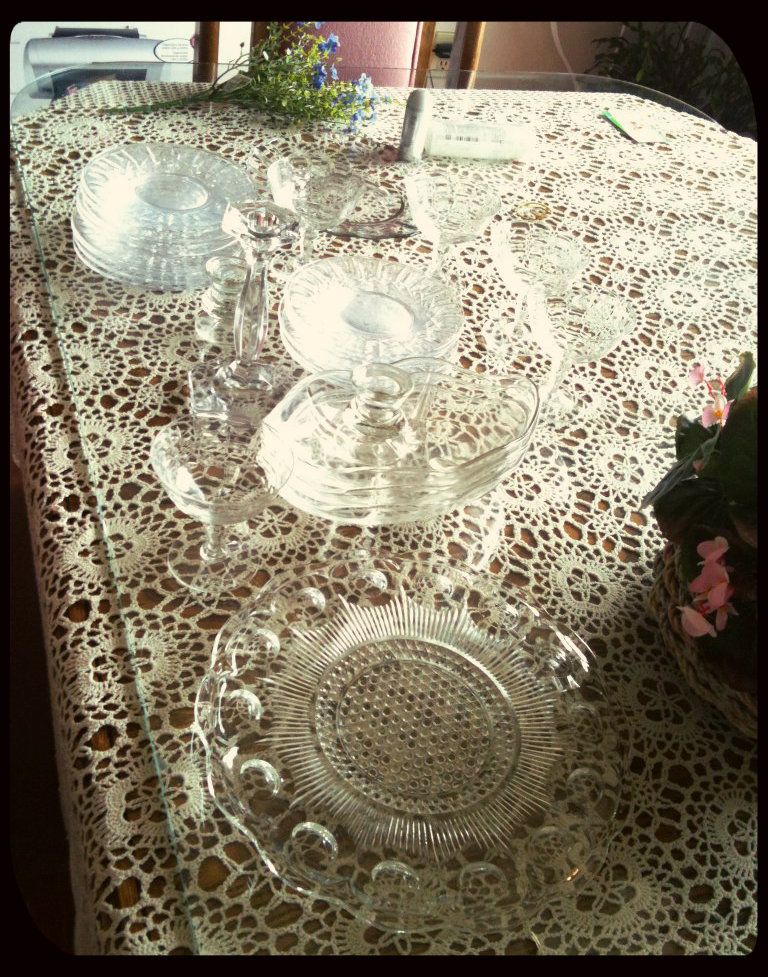
Today's tutorial is brought to you by my talented friend Angel who was awesome enough to let me share her little project with you. She scored a whole treasureload of glassware from a thrift store and here's what she made with it! (scroll down!)

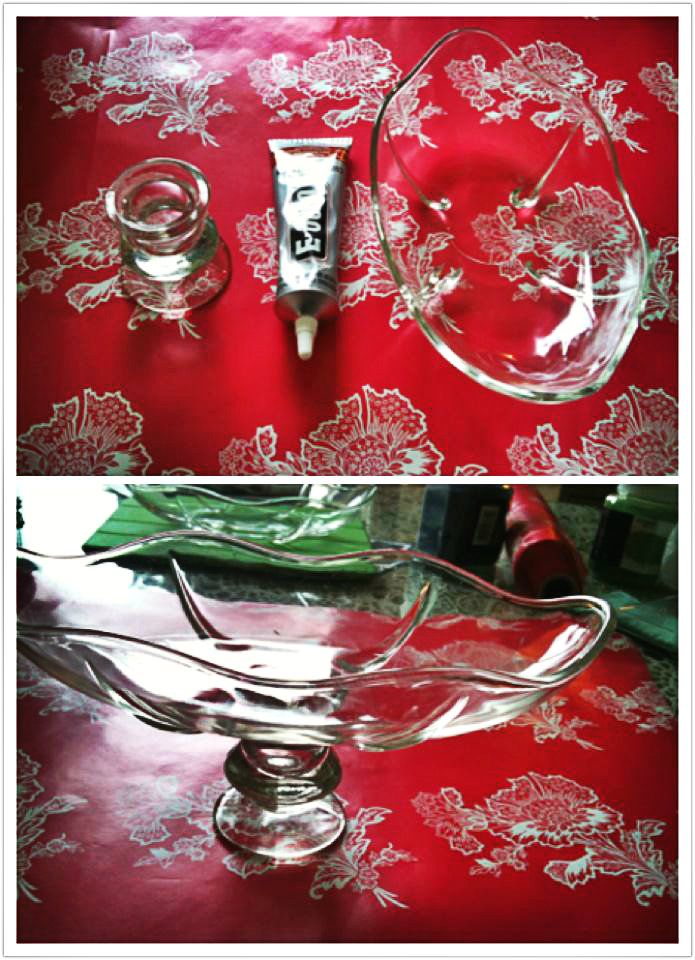
STEP 1: Buy an assortment of glass cups and plates.
STEP 2: Use E-6000 Superglue to adhere a cup to the bottom of a plate.
STEP 3: Keep repeating Step 2 until you've got... A CUPCAKE STAND!!!
It's such a simple project and definitely way cheaper than buying a pre-made one! 

******

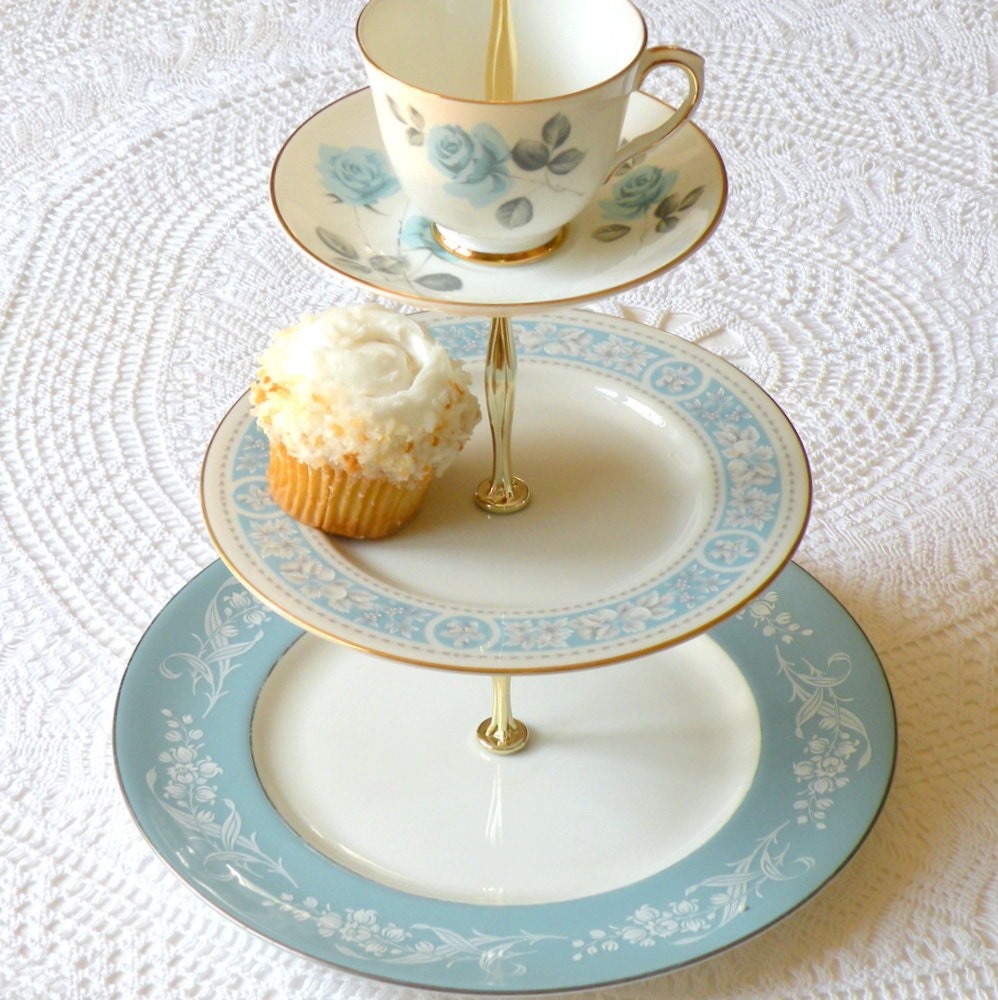
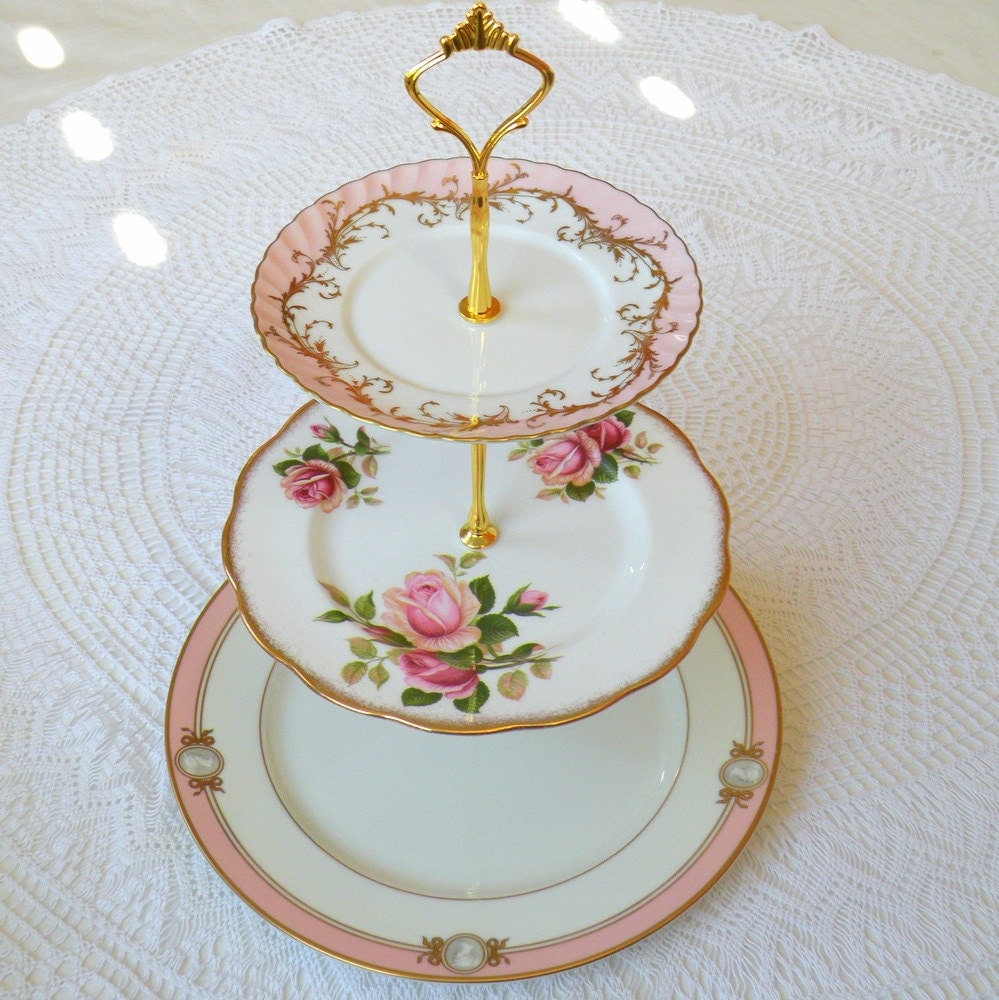
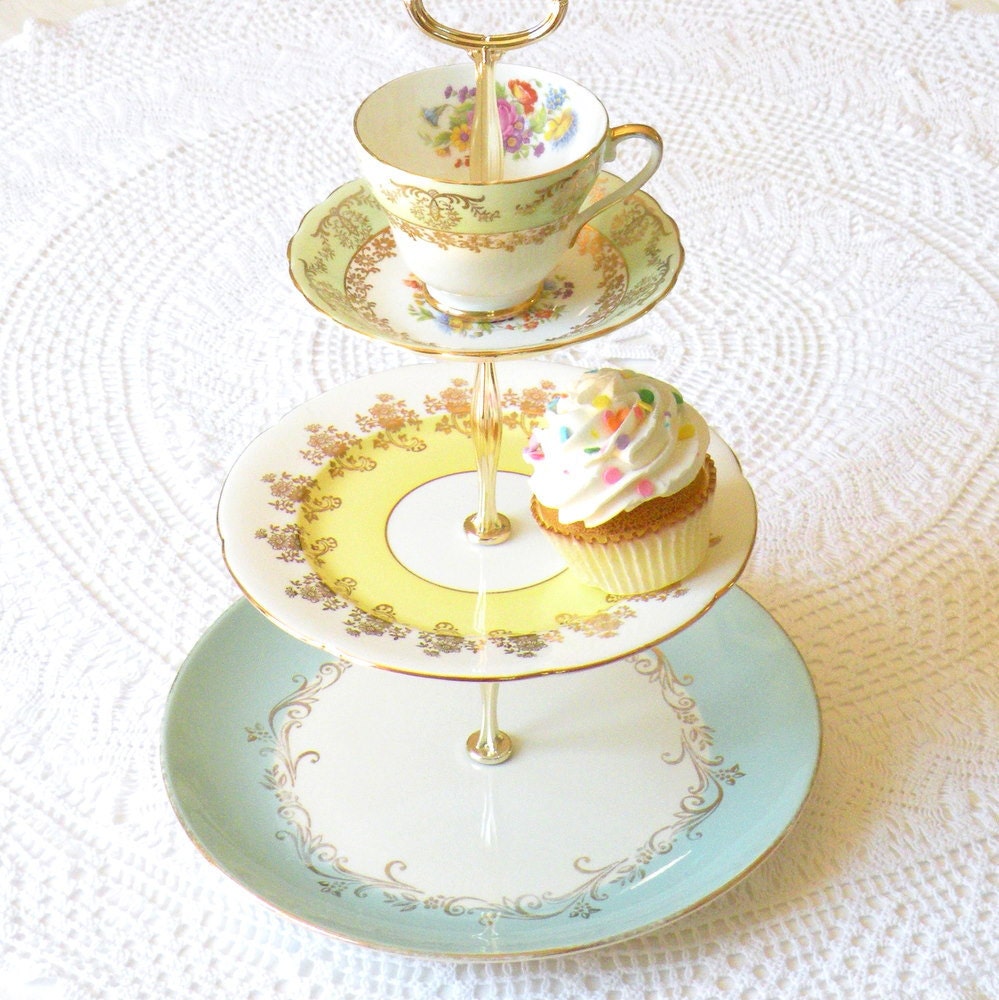
I always thought this DIY tier idea would be really cute using dainty porcelain plates and vintage teacups piled on top of one another. If not for cupcakes, it would make a great jewelry stand.

I'm considering making one in the future since I've got a mini collection of vintage teacups. If you're really not the crafting type, you could always buy a professionally-made one from High Tea for Alice (on Etsy).

Here are some of the gorgeous cake/jewelry tiers that they make:

images from highteaforalice on Etsy

******

...if you'd like a few more cake stand ideas, the Creative Orchard has put together a list of 12 cake tiers HERE

My favourite is this wood tier made out of an old log from the blog Once Wed. I always prefer simple rustic/vintage things like this. (Also, the cake looks delicious and now I'm craving some).


I think all these cake tiers are great for parties and weddings... I would say they're ALMOST as awesome as the desserts they display... ALMOST.

And since I've been kinda stressed lately, I think it's time for some dessert therapy.


click HERE for a free download of this vintage print from By Wilma

***

...and now I'm off to lurk for something to satisfy my sugar craving...


Tuesday, May 29, 2012

DIY inspiration: colour-blocked shoes

Really should not be blogging right now but it's in the most critical moments when deadlines are looming that I choose to procrastinate the most. 

No time for DIYs lately (sad...) but here's one I found online that I really love - Colour-blocked Shoes from A Beautiful Mess. 


Such a simple but dramatic change! 

Okay, just a quick post today. Now back to work. 

Sunday, May 20, 2012

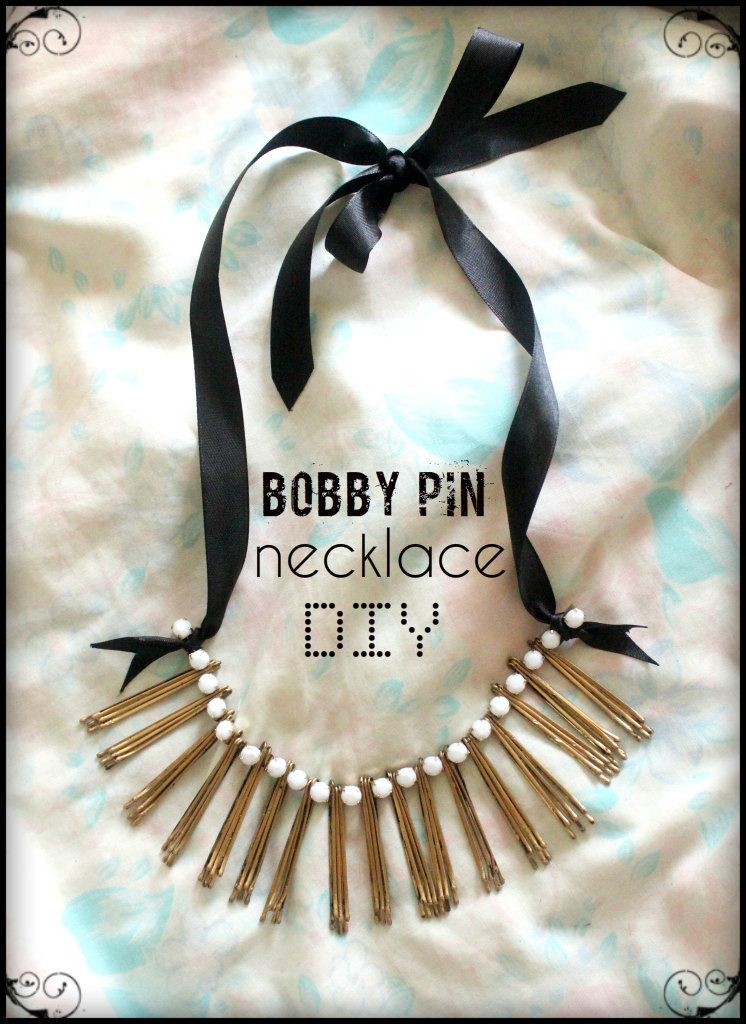
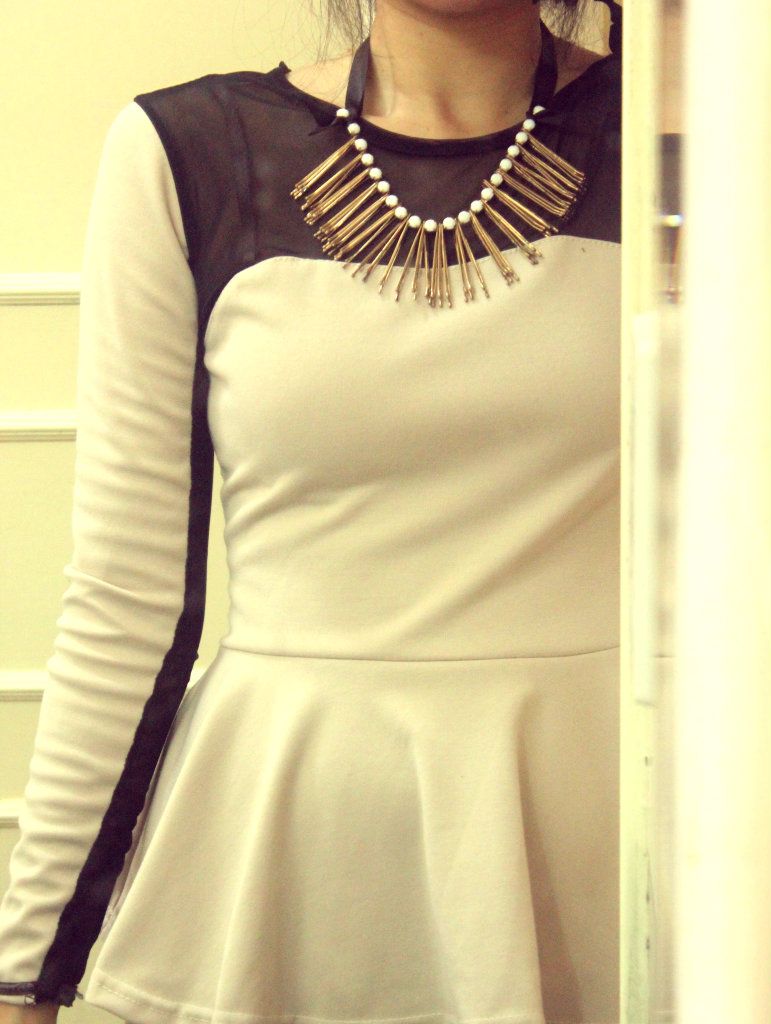
DIY: bobby pin necklace


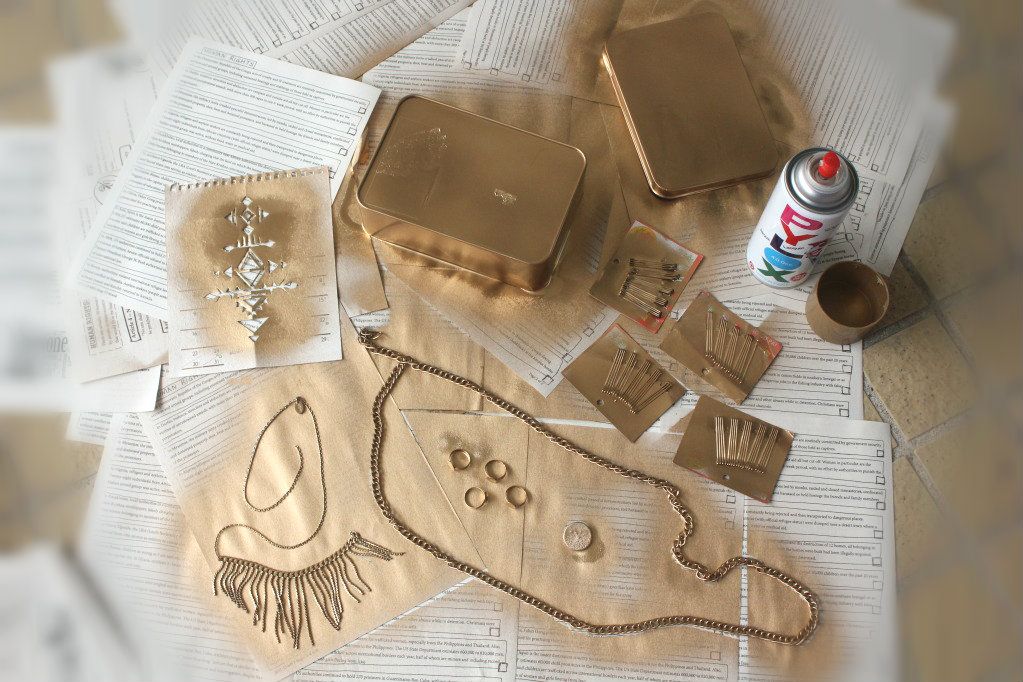
I recently bought a can of gold spray paint, and ever since then, I've been obsessively coating every possible item I can think of with the Midas touch. 


Some projects went awry - like the metal box that I spray-painted (an overly-thick gold layer + Hong Kong humidity = bubbling effect = FAIL). But one of my projects - a gold bobby pin necklace - turned out pretty swell! 

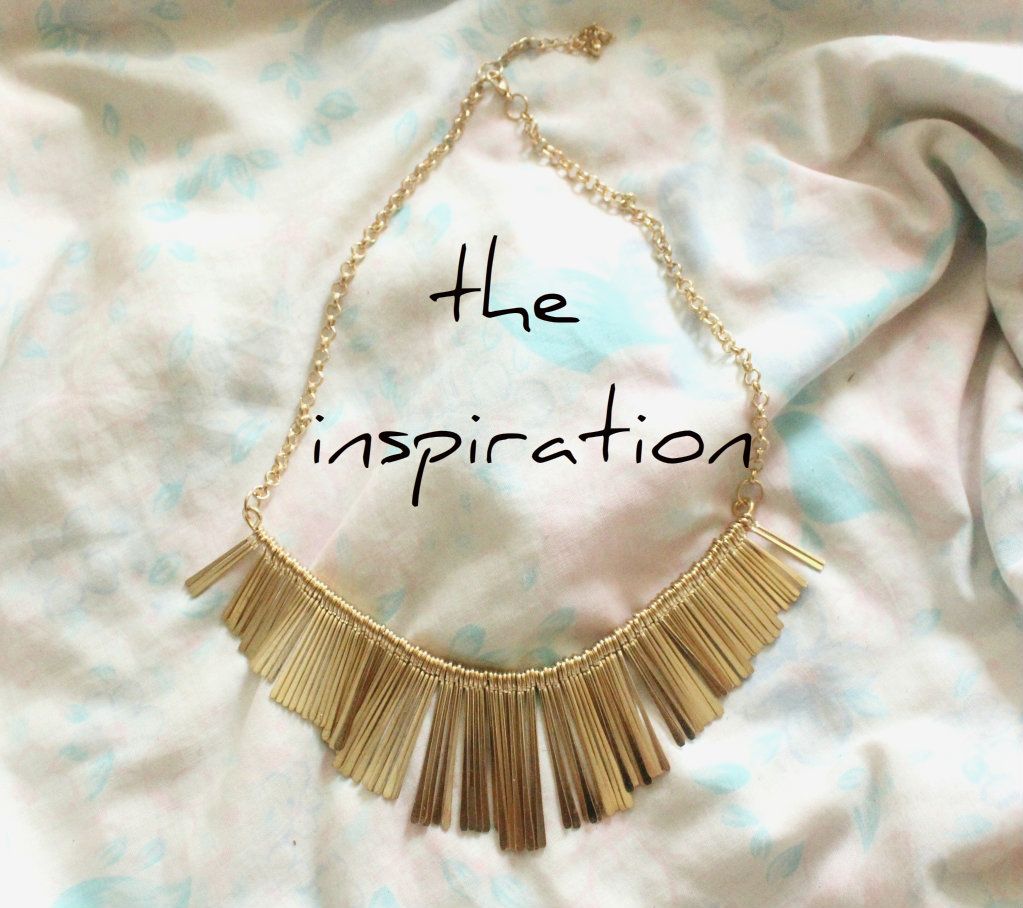
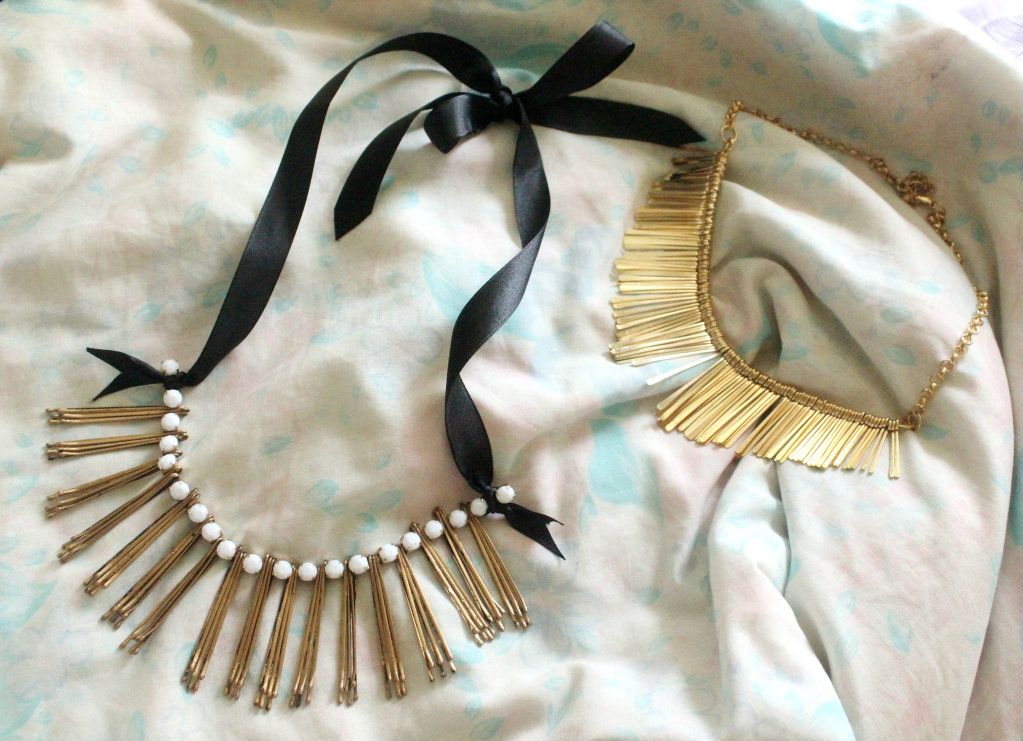
I was first inspired by this gold statement necklace below. Even though I had already bought this one, I was curious to see if I could make something similar on my own. I'm always collecting random scraps and old odds&ends in the hopes of making something new.


So... I came up with this idea.

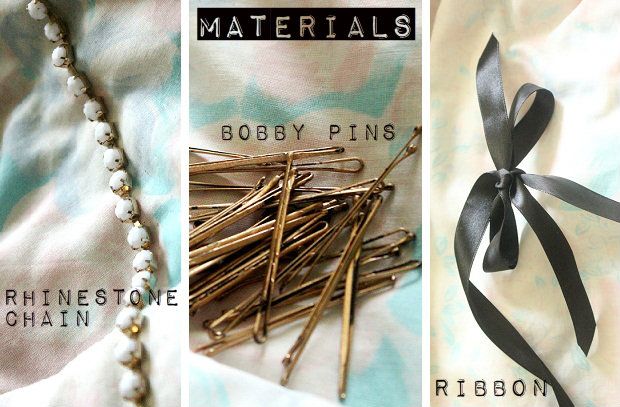
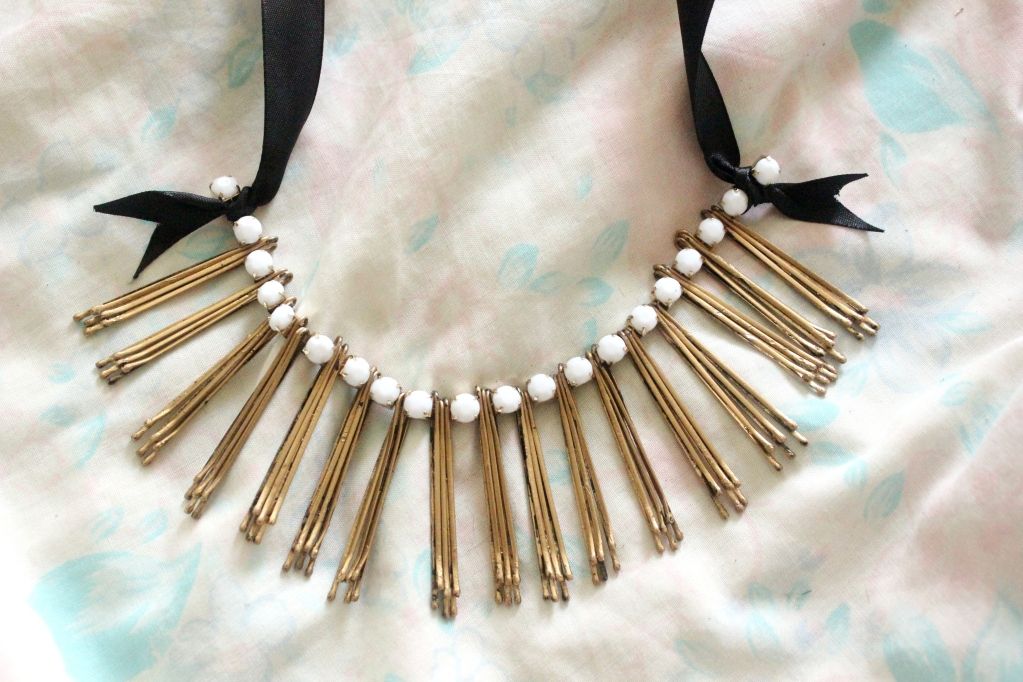
This necklace can be made with only THREE simple steps! Here's what you need:


STEP 1: The first step would be to spray-paint the bobby pins gold. (You could just use black bobby pins but I think gold -or silver - looks much better). Remember, it's better to spray-paint a few thin layers, letting each layer dry thoroughly before applying the next one. I was kinda impatient though, so the paint job on my bobby pins wasn't that great. haha.

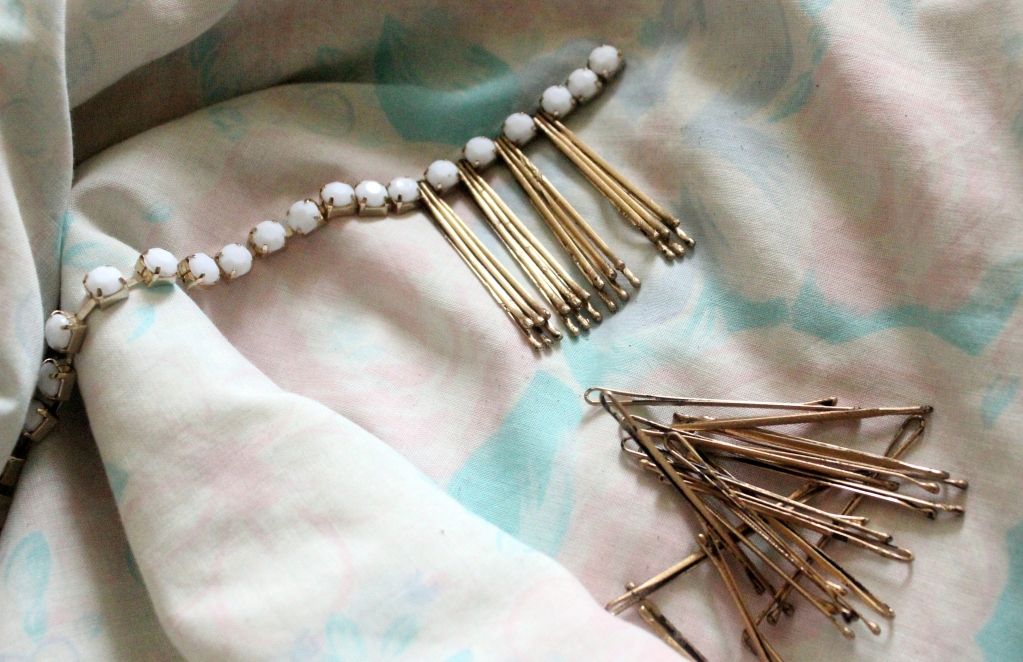
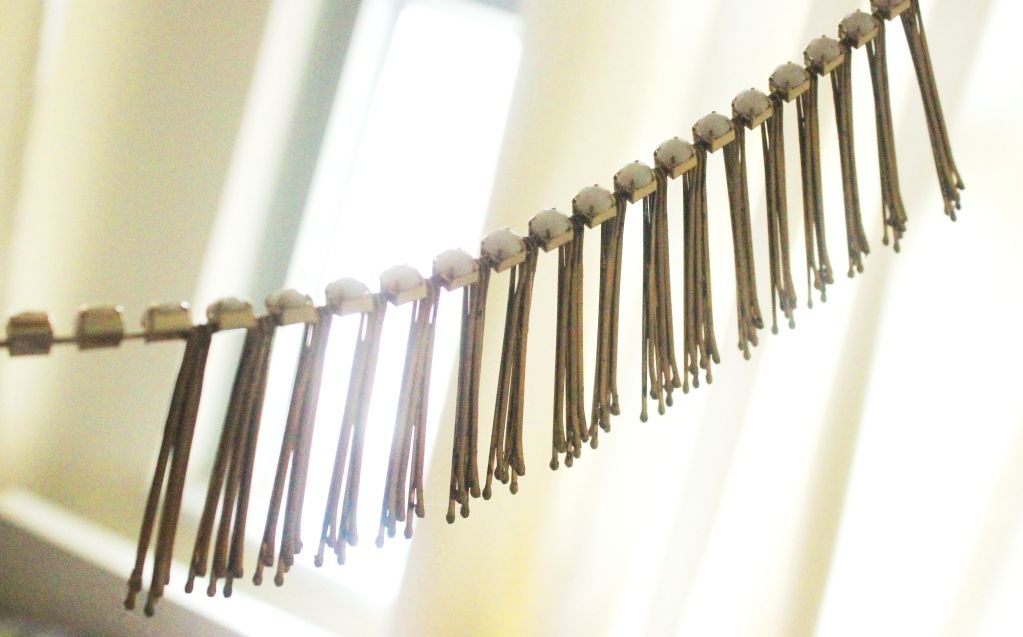
STEP 2: Take the spray-painted gold bobby pins and simply insert them through the gaps of the rhinestone chain. I put three bobby pins in each gap (51 bobby pins in total).


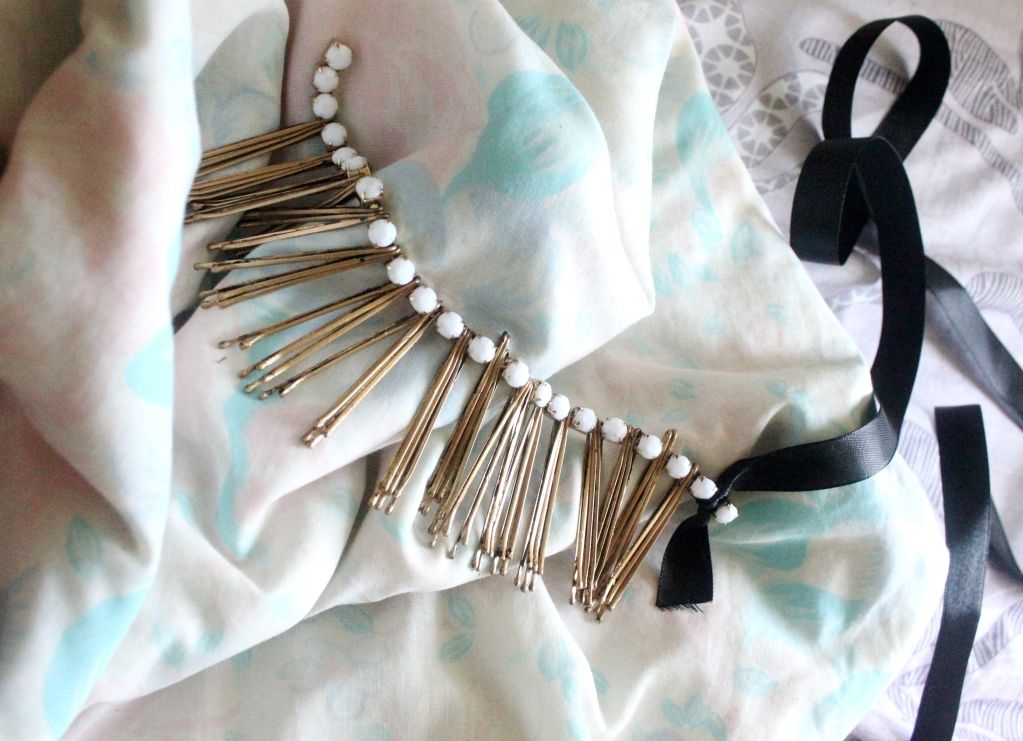
STEP 3: Once you've created a nice golden "arch" with all the bobby pins, tie some ribbon at each end and trim off any excess rhinestone chain. To prevent the ribbon from fraying, use a lighter to singe the edges.


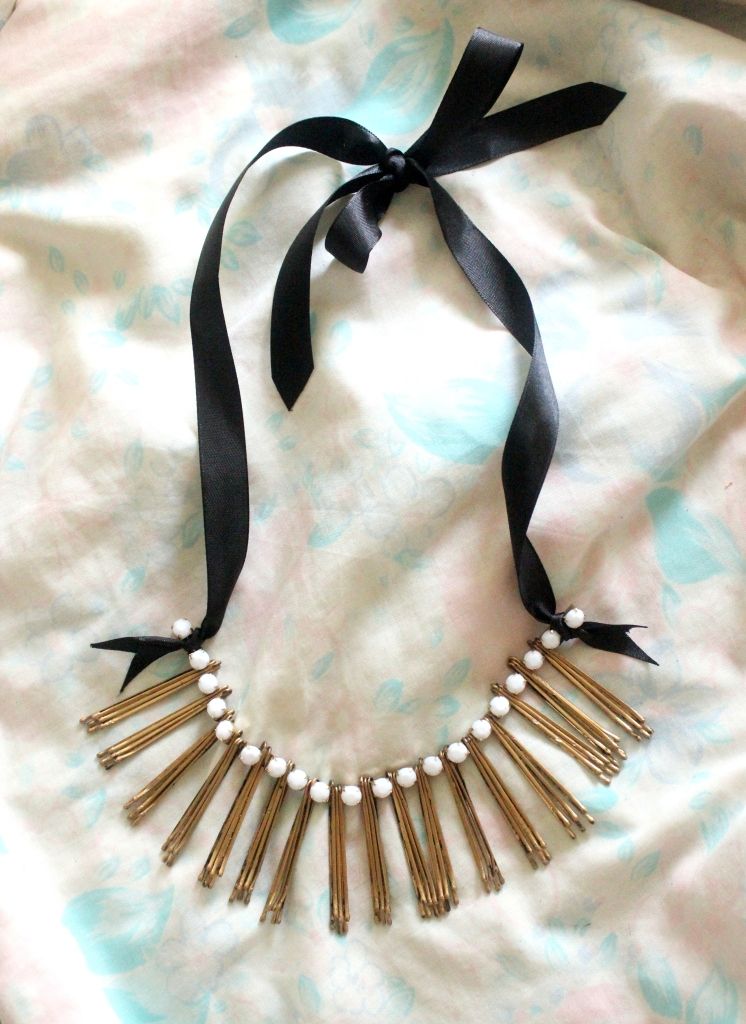
...and that's it! Here's the final product:


So there you have it - a cheap and simple statement necklace made out of bobby pins. I'm quite happy with the result... although I'm not sure when I'll wear it but I'm sure I can find an excuse of a fancy occasion to bust it out sometime in the future. =P 

Related Posts Plugin for WordPress, Blogger...