Showing posts with label DIY ring. Show all posts

Saturday, June 9, 2012

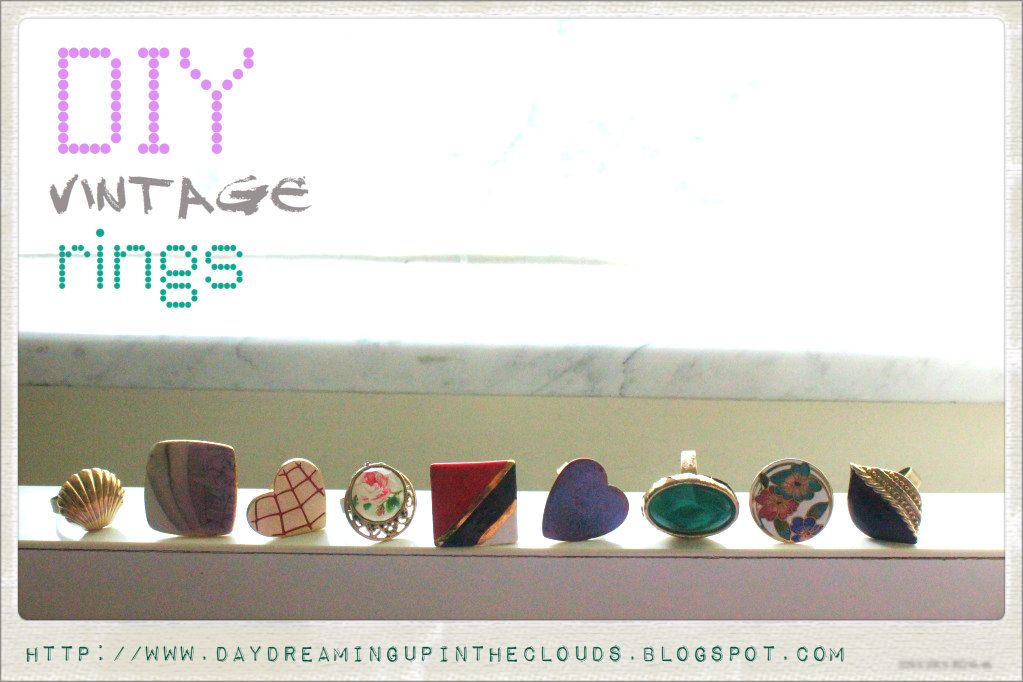
DIY: vintage rings

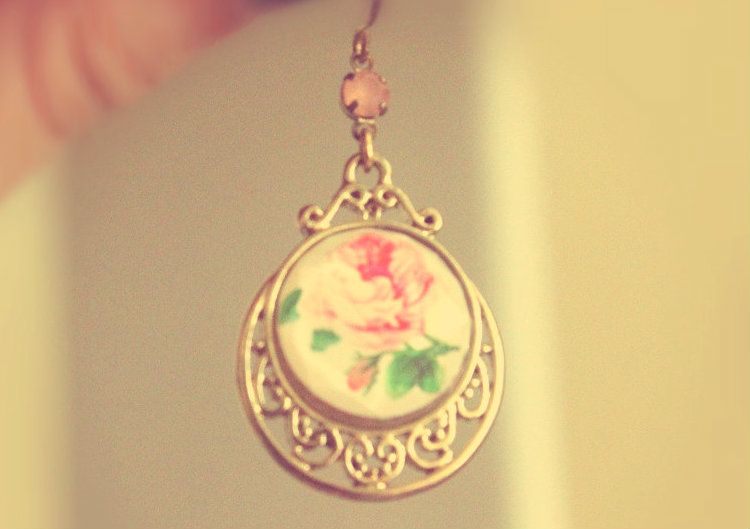
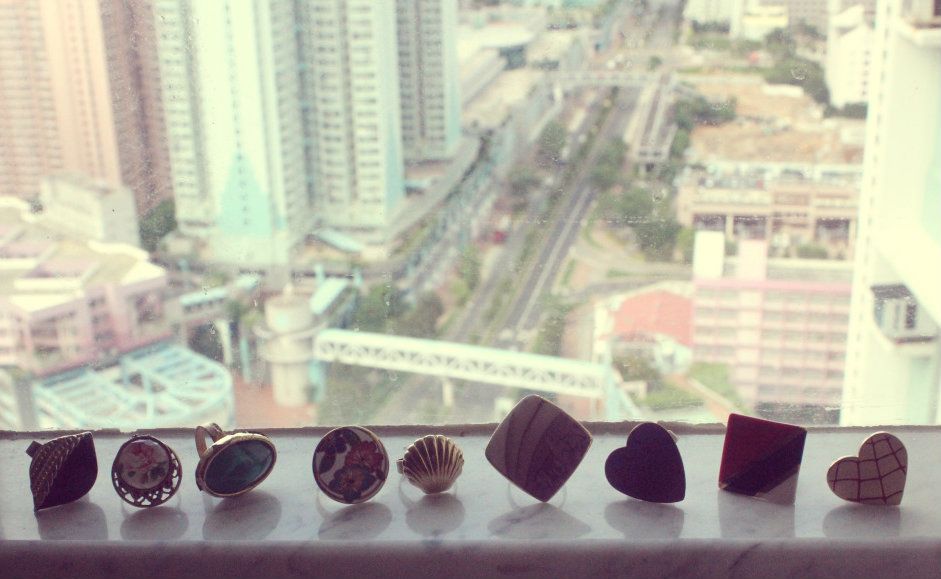
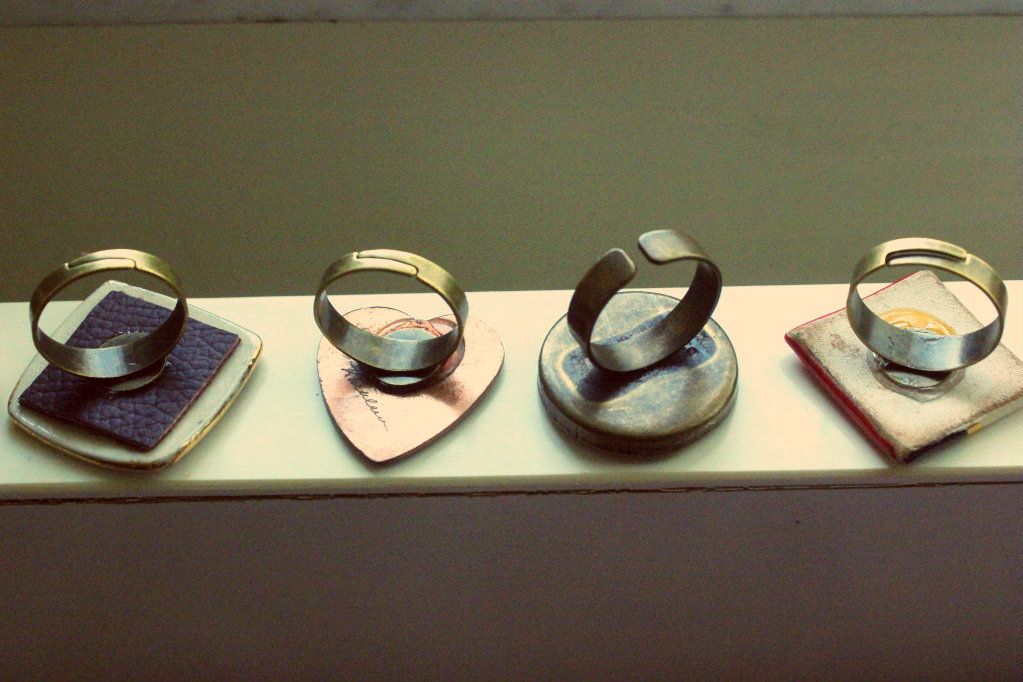
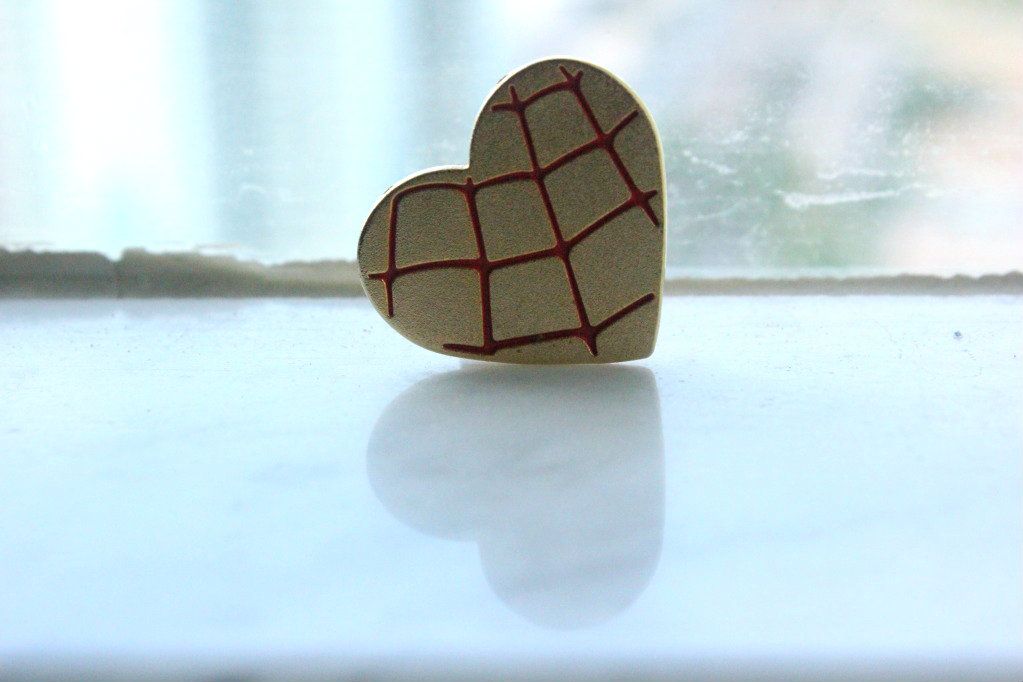
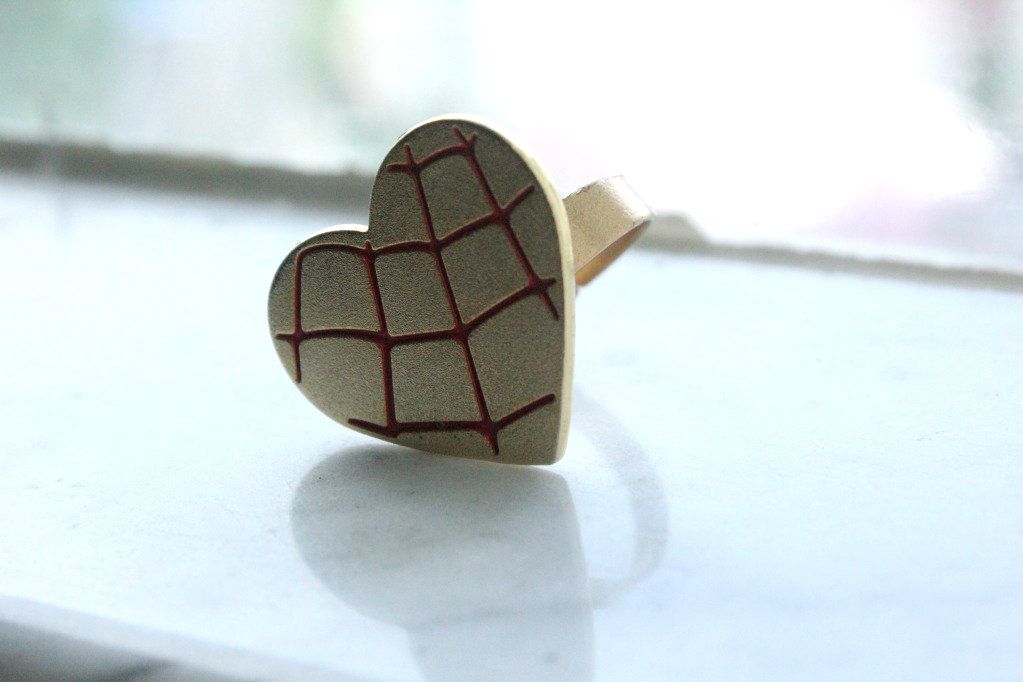
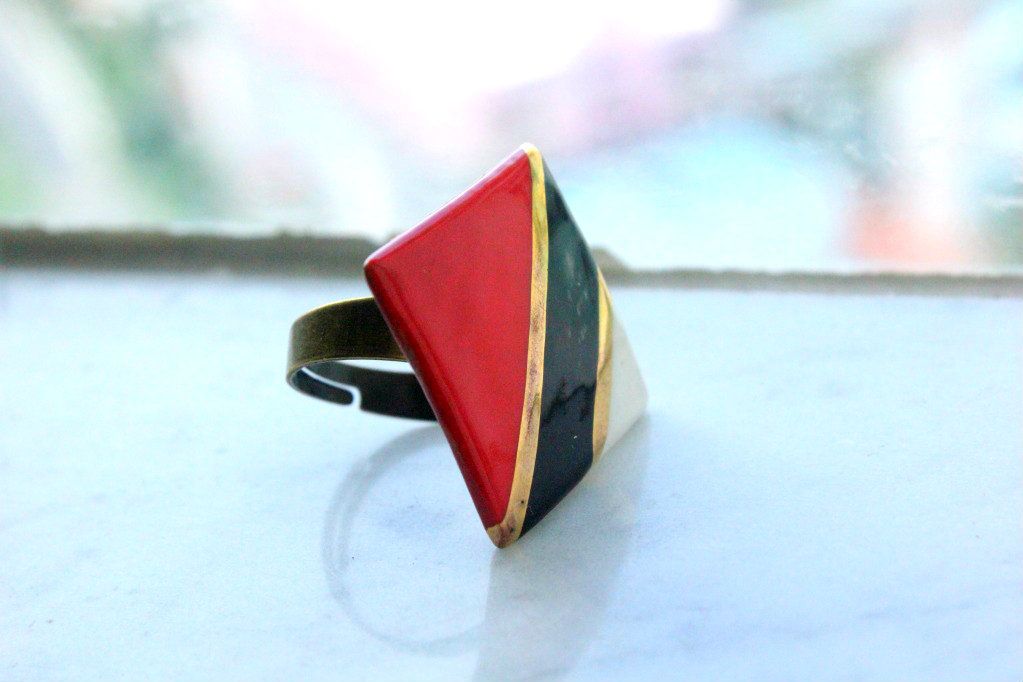
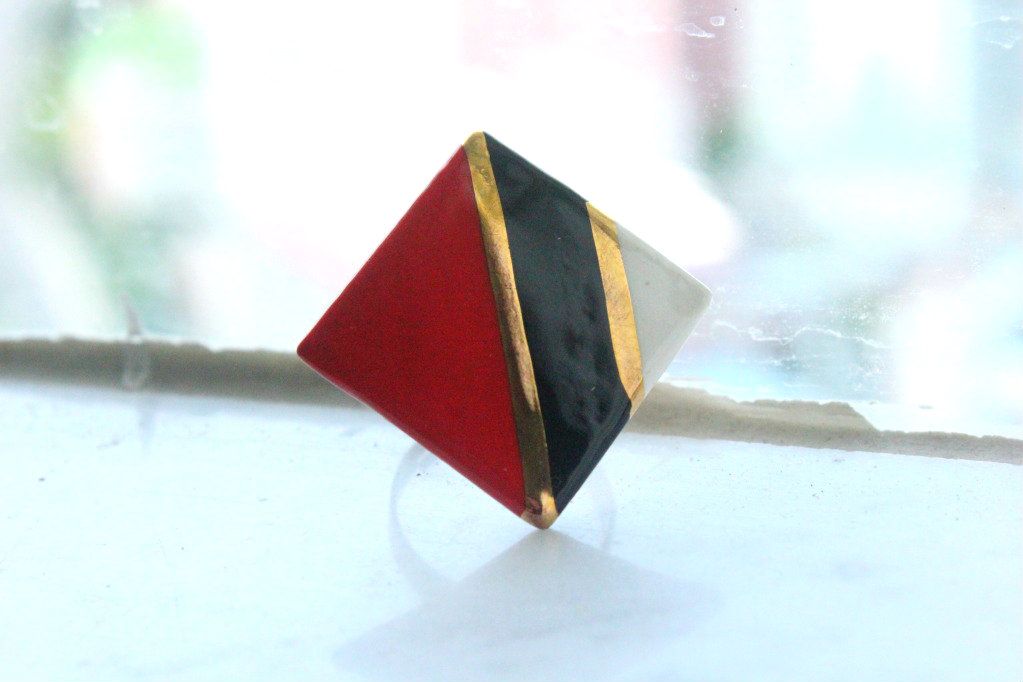
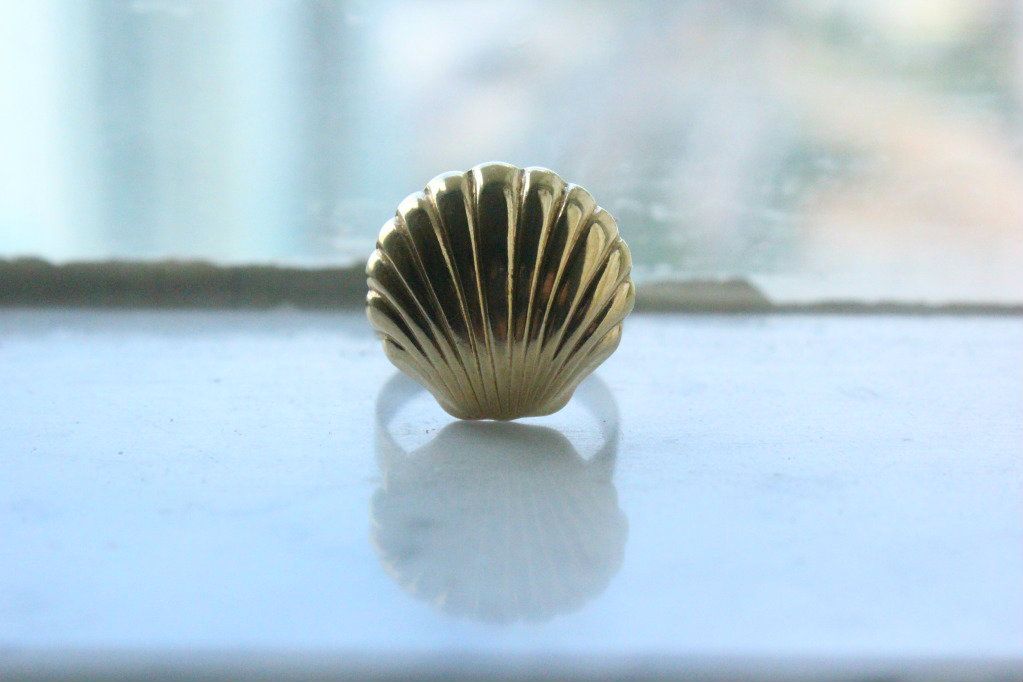
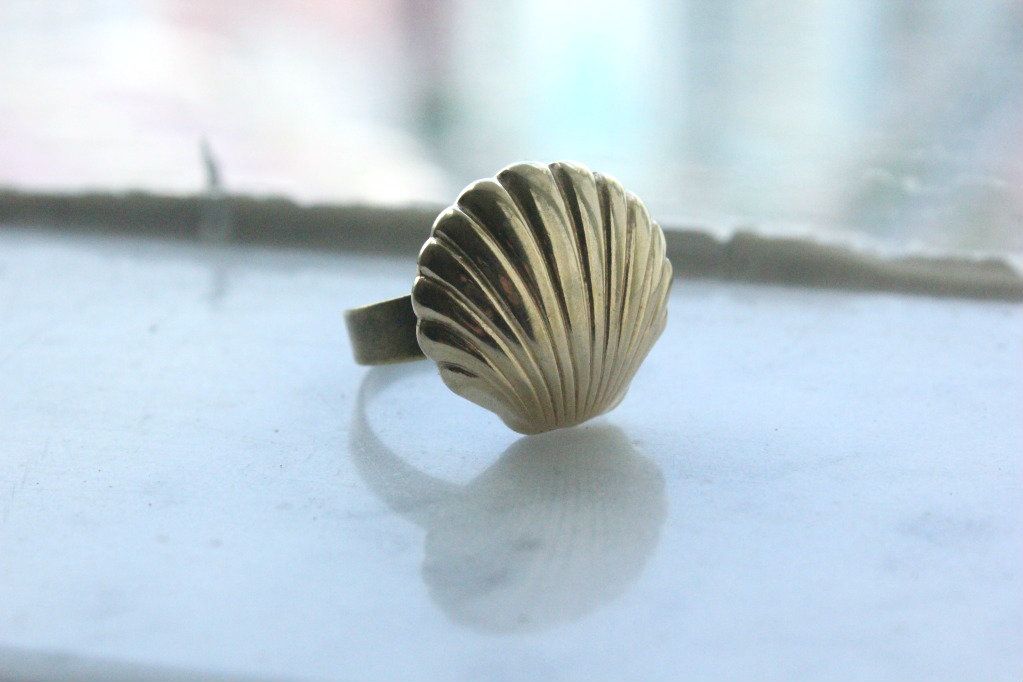
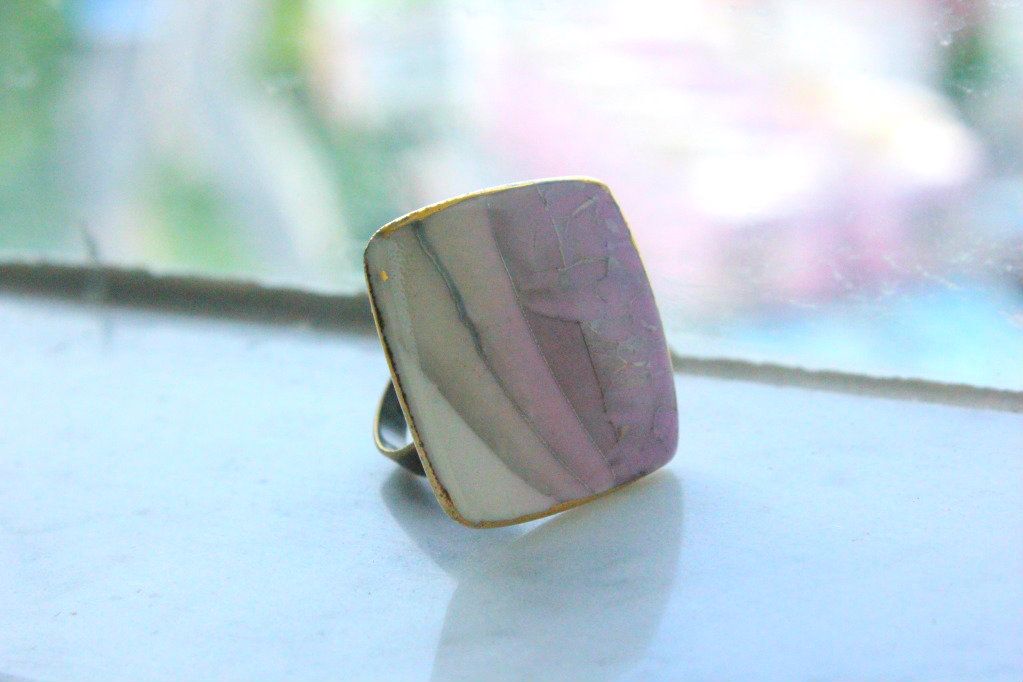
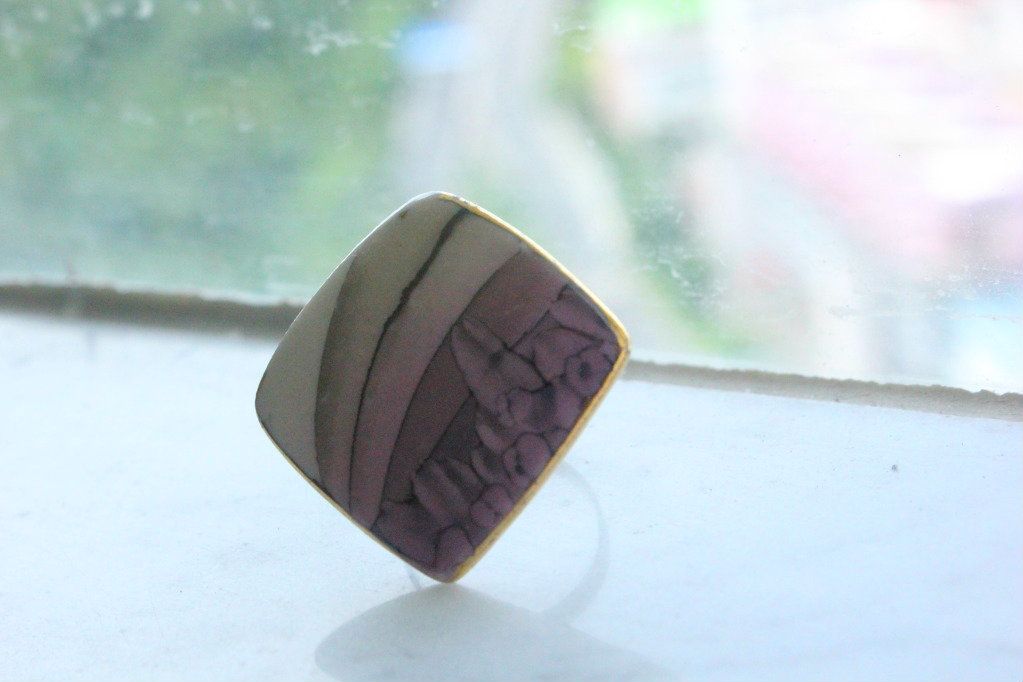
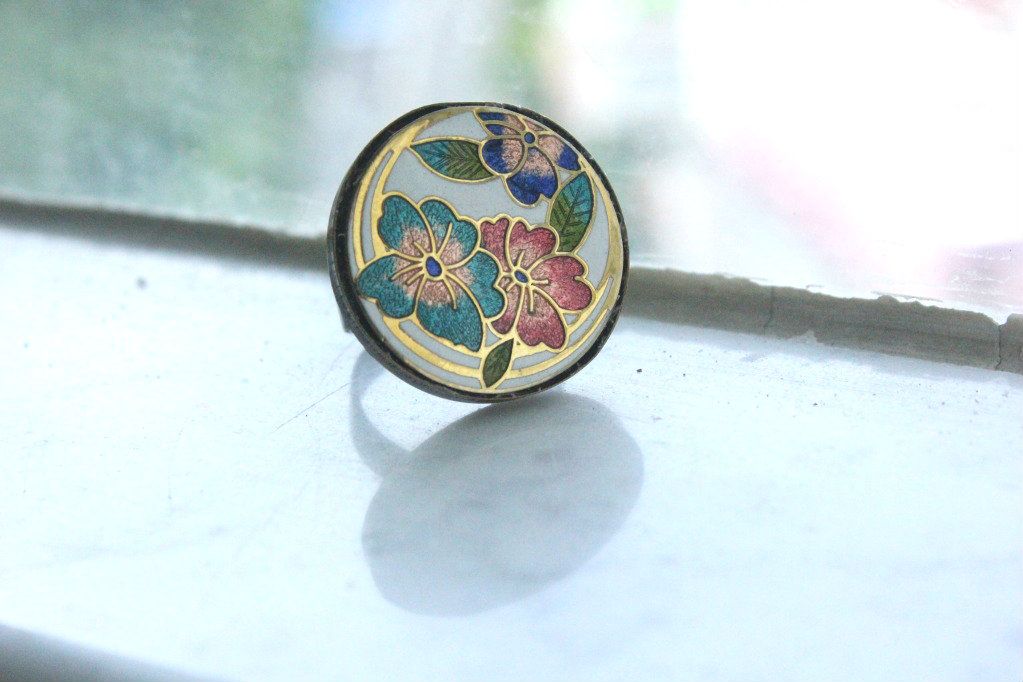
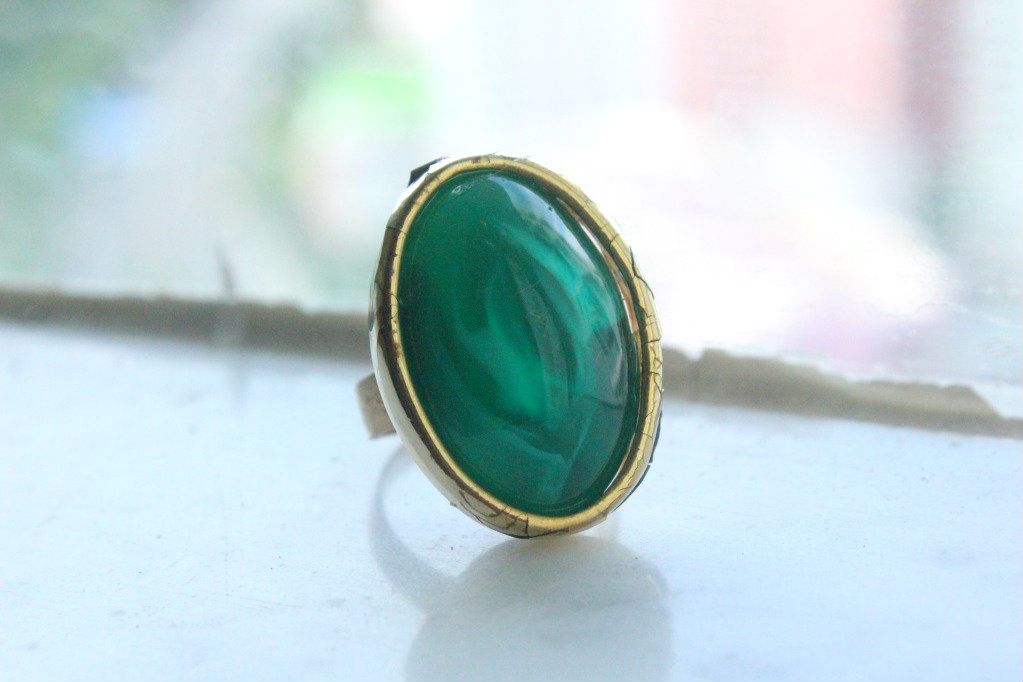
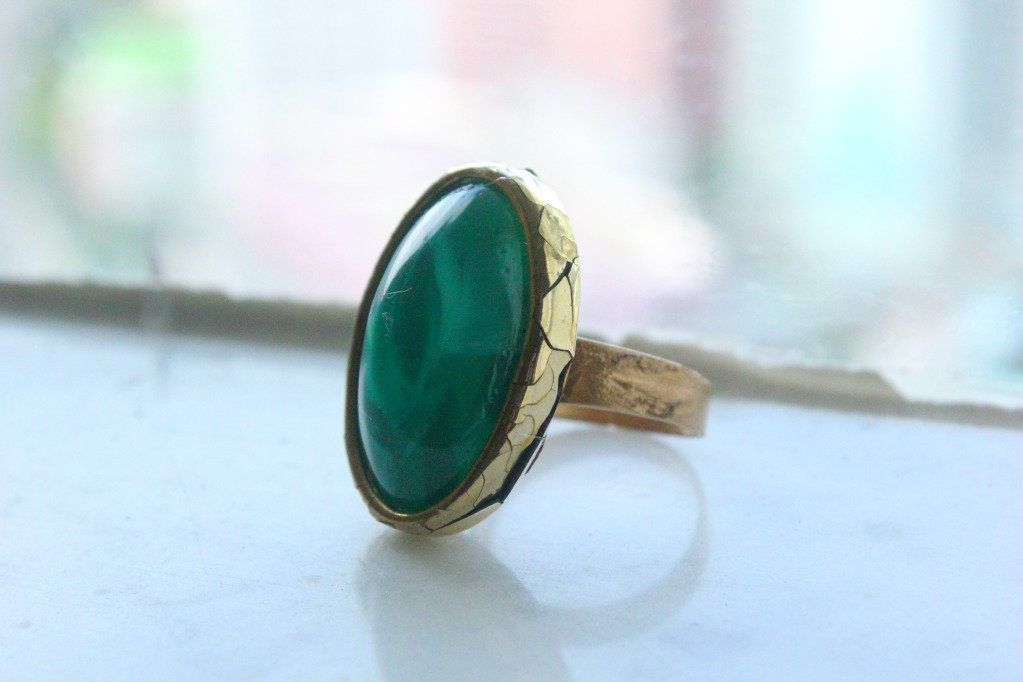
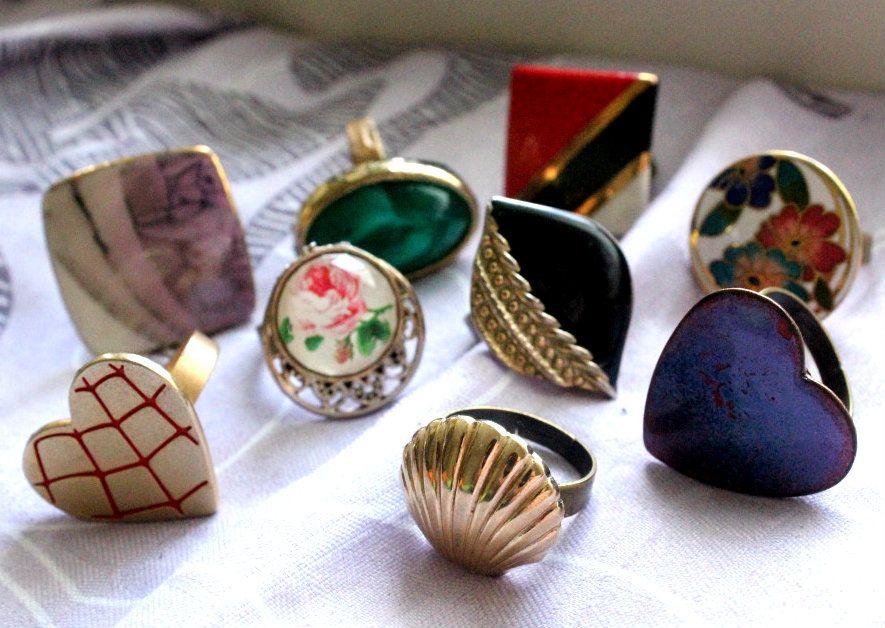
After an hour of extreme supergluing (along with extreme glue inhalation), my little collection of vintage earrings and brooches was transformed into a newly re-created collection of rings!

Let the photo roll begin!


Which one is your favourite? Leave me a comment! =D

DIY: vintage ring

A long time ago, I posted a DIY about making your own rings (found HERE). Since then, I've basically been carrying around a little heart-shaped box full of vintage earrings, brooches, and other potential knick-knacks that can be refurbished into rings and just haven't gotten around to busting out the superglue to finish the job. Well, A YEAR LATER, I finally took the time to make the rest of them. 

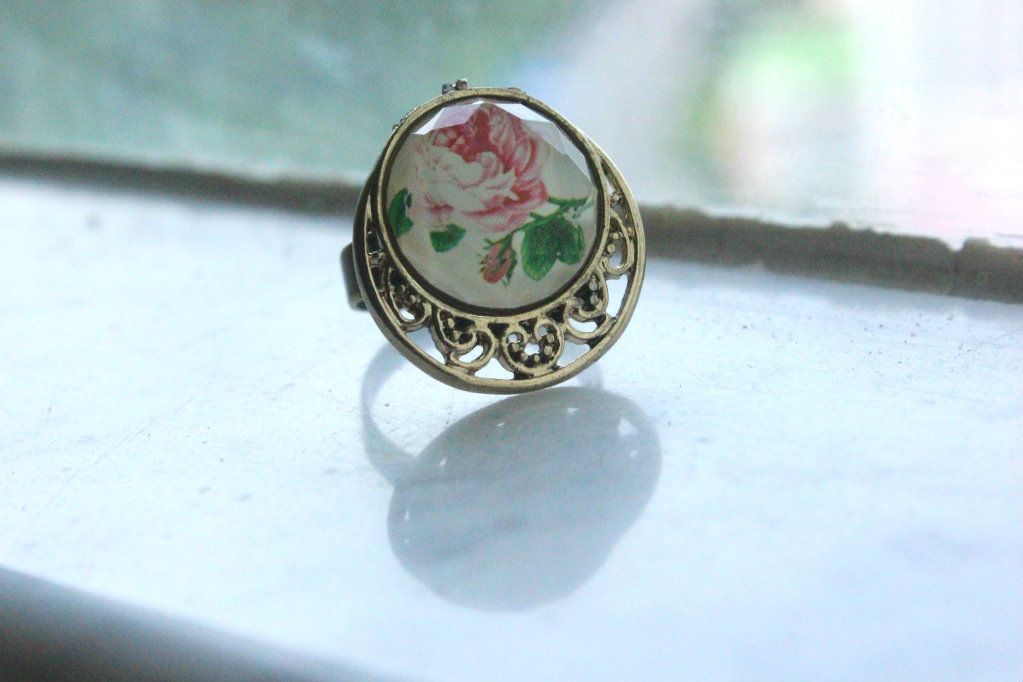
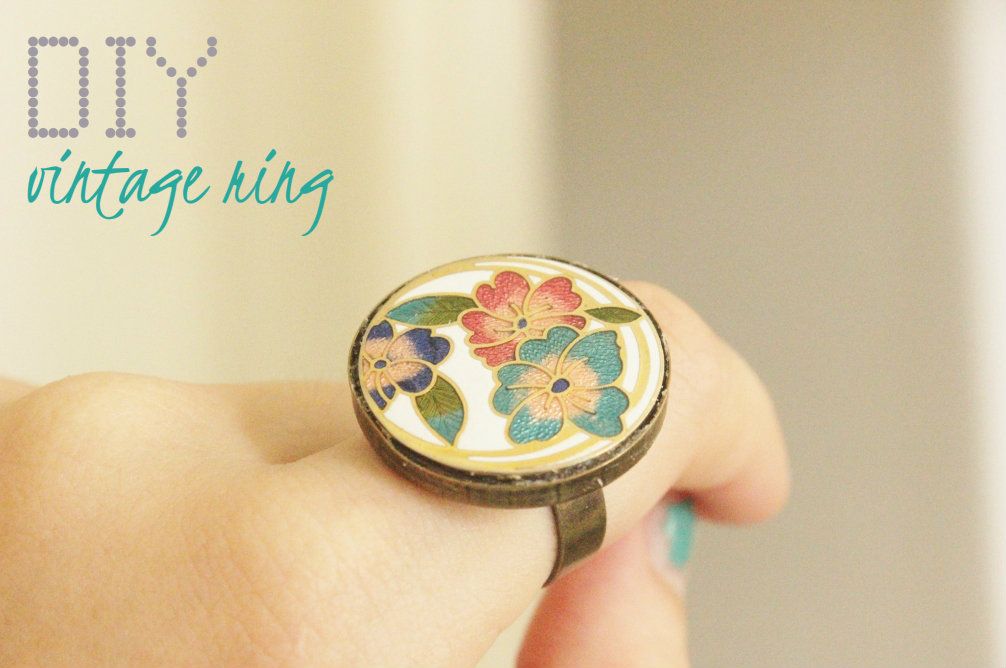
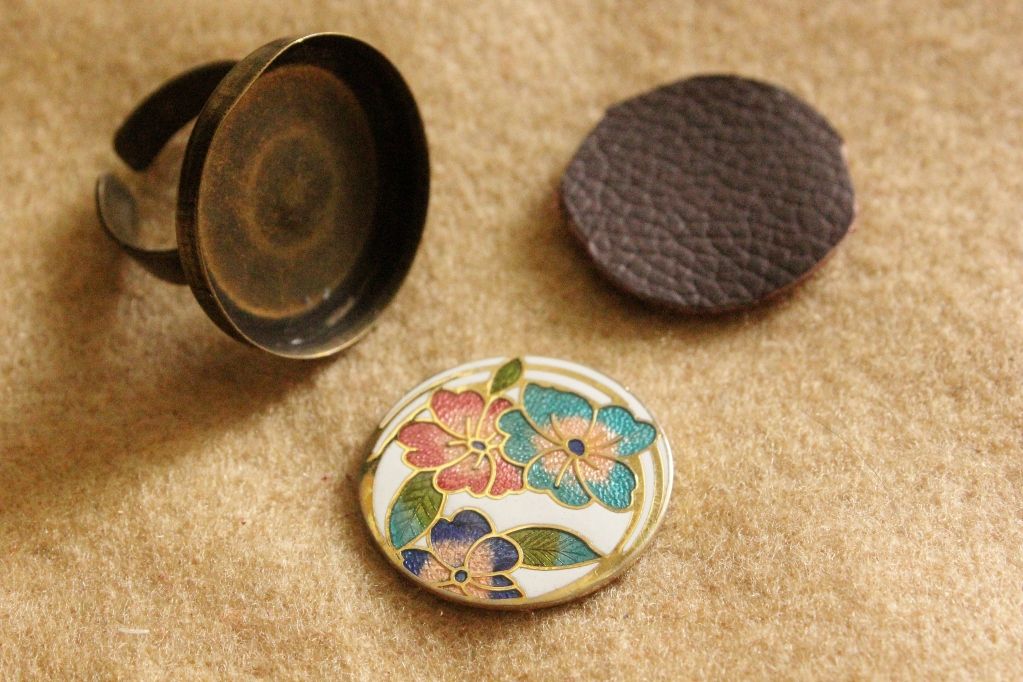
This one here is the first one I made. I had a vintage earring that just happened to fit perfectly into this large, round ring-blank I had. (You can find some simple instructions below).


Instructions:

******

1) I used pliers to take off the back of the earring.

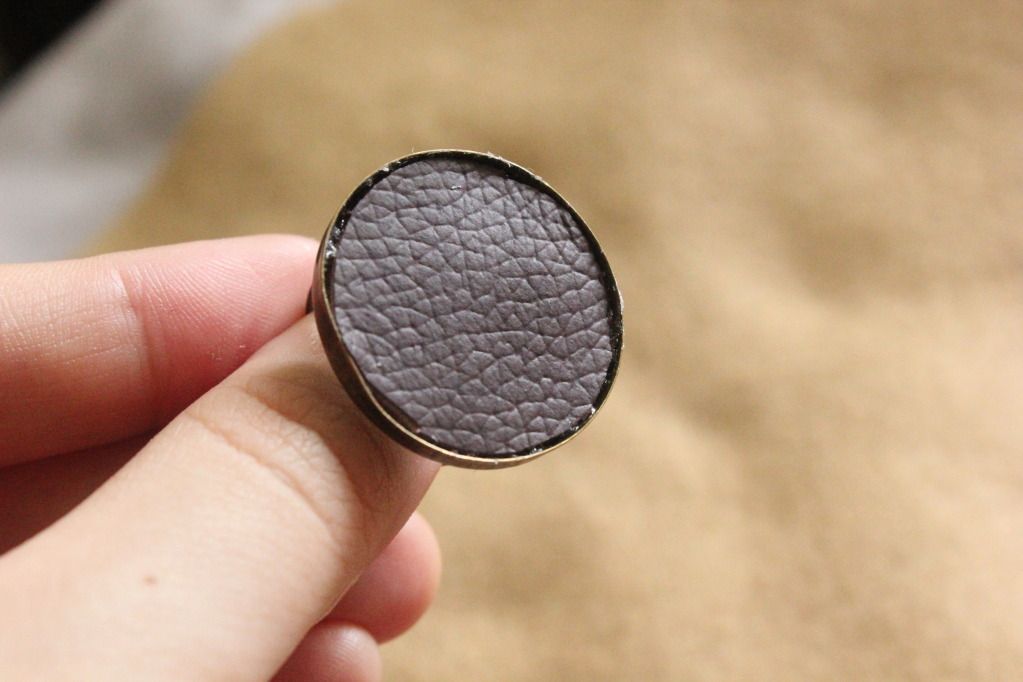
2) I cut out a round piece of leather to fit into the ring blank.
   The ring blank was quite deep so I used the leather
   to fill up the extra space and to "cushion" the earring.

3) After gluing in the piece of leather, I glued the
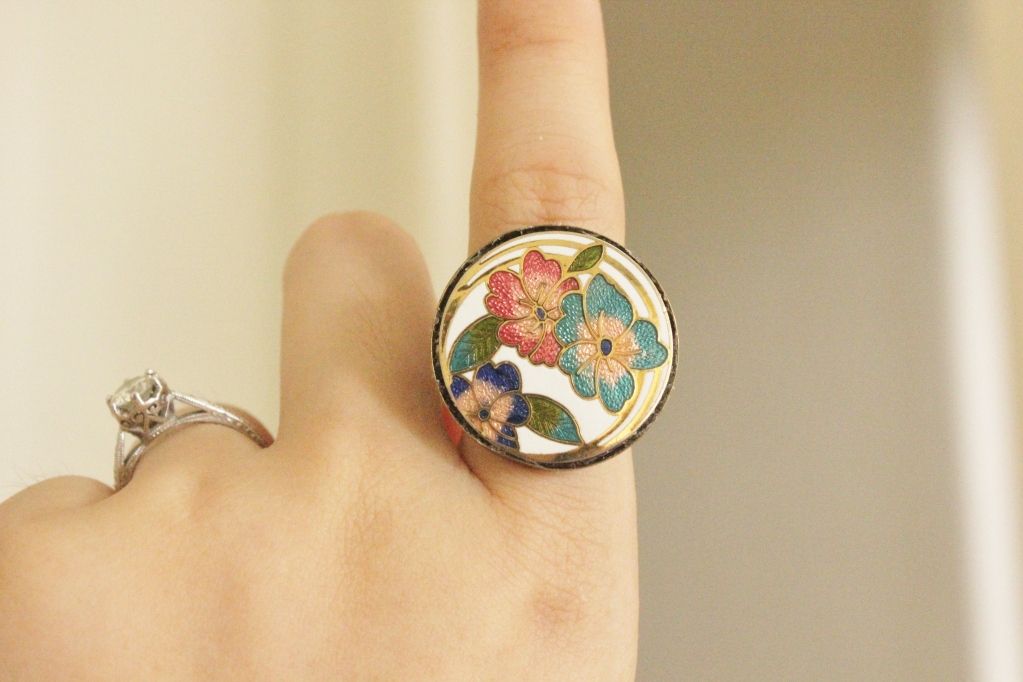
    vintage earring on top... and TA DA!
    
The vintage ring is done! 

******

Tuesday, January 24, 2012

Red & Gold

Happy Chinese New Year! I never usually celebrate it (one year, an old white grandma said "happy new year" to me in February and I thought she was crazy)... but since I'm in Hong Kong this year, I've been surrounded by dragons + crowds + Chinese music + red + gold for the past week, and I'm quite enjoying my days off, roaming the streets and checking out the festivities.

 I have no idea what these apples say but I bought them just because they were tattooed with Chinese characters. (Somebody help me translate? haha)...

 Anyway, I usually never wear red + gold together because it would make me feel like a giant CHINESE RED POCKET, but for Chinese New Year, it's the tackiest/most festive thing you can do. haha. Since McDonald's gave me a free ferrero rocher with my golden nutty mocha, I decided to give my fingers the Chinese New Year treatment with red nails + a gold ring...

I always used to do this when I was a kid... of course, step 1 was to thoroughly devour the chocolate...
 ...then I'd take a coin and smooth out the gold wrapper...
 ...roll it into a thin strip...
 ...and make myself a cheap disposable ring...(much cooler and cleaner than disposable diapers)...

Anyway, I promise the next craft I post will be much more legit, but you'll have to deal with this for now, because I've been spending my time exploring Hong Kong during New Years. I'll be posting some of my adventures tomorrow so come back again (if you're not already scared away by my sad disposable ring idea)... haha give me a break... it was probably the first DIY I ever thought up when I was like... 7.

What would YOU do with a ferrero rocher wrapper?

Let me know your best idea and if I like it enough, I will PERSONALLY send you a hand-crafted, limited edition disposable ferrero rocher wrapper ring. That spectacular prize alone should be motivation enough for you to post a comment. HAHAHAH...

Saturday, November 12, 2011

DIY: adjustable wire + fabric ring

Awhile ago, I went to a trendy little mall in Tsim Tsa Tsui called "DNA" and found a small store that sold flat plastic ornaments like these. So I bought these three with the idea of turning them into rings. I wasn't sure how I would do it until I bought some wire at the dollar store and thought up a quick and easy way to make rings, similar to my wire + ribbon ring, but this time it's even easier because instead of sewing or using thread, I just used an ingenious invention called FABRIC TAPE.
So all you need for this is:
*fabric tape
*wire
&
*ornaments
 (with a flat back)
step 1. cut the wire to your desired length (enough to wrap around your finger). i cut three pieces and then twisted them together to form a sturdy ring.
step 2. cut the fabric tape into a thin strip and wind it around the ring to cover the wire. (as you can see in the image below, i covered the ends first because they're quite sharp. then i wound a thin strip around the rest of the ring).
At this point, you could actually just wear the fabric ring as is. Here I'm wearing one made of the pink and white polka dot print, and another one that's a beige floral print.
step 3. the fabric tape i got was quite strong so all i needed to do was cut a piece of tape and adhere the ring to the flat base of my plastic ornament. I think I might eventually add a dab of superglue though just in case.
That's basically it. Simple, right?
Here's the first one I made - a popsicle ring!
So there you have it - super simple wire + fabric rings. I think the best part about this method is that these rings are adjustable, so you can size them perfectly for your own fingers. Anyway, all of these rings are making me crave dessert! It's time for me to sleep though so I suppose I shall have to settle for an ice-cream dream. =P

Monday, October 31, 2011

DIY: wire and lace ring

When I don't make things for a long time, I suddenly get random late-night craft ideas. This is dangerous because I get super excited and can't sleep until I've completed my spontaneous project. Anyway, this particular inkling of inspiration came while I was blogging about my Medusa costume and how I made snakes using felt and wire... and then my mind started wandering to the different kinds of jewelry I could make using wire. So I immediately started gathering up random fabric scraps like a crazed, sleep-deprived vulture and came up with this quick DIY wire + lace ring.

All you need is:
-wire
-ribbon
-lace
-thread

step one. start wrapping the wire to create a circular ring.
 *note: make the circle a little larger than the finger that you want the ring to go on.
 step two. take some ribbon and wrap it all around the wire. when you get to the end, use one end of the wire to wrap around the ribbon and secure it.
 step three. take some lace and tie a knot around the ring.
step four. bring both ends of the lace towards the centre of your knot. use some thread to tie (or sew) the lace down. this should make a lace bow.
 step five. you can just leave the ring as a simple lace bow, or you can add some other decorations (beads, buttons, etc...). I found a pearl bead and decided to add that to the middle of my lace bow.
 Here's the finished product! I'm pretty happy with it but I think I can make nicer rings if I invest in more materials. haha. I was literally scrounging around my room for scraps and barely had enough ribbon to make this one.
 I hope my instructions were clear - if you have any questions, just send me a message! =)

Sunday, July 17, 2011

giant robin's egg ring

I made another ring today! It looks like a giant robin's egg (I had to google that to make sure I knew what I was talking about...). Here's a picture to show you what I mean:


And here is my robin's egg ring! The actual robin's egg is a deeper turquoise colour, but my ring is more of a mint green + pale blue mixture. This ring was made from another vintage earring stud fixed onto a simple silver band.

Turquoise is one of my favourite colours so I like this ring a lot!
I have many more rings that are begging to be made... but right now I really should be sleeping. I'm leaving for Hong Kong on Tuesday, so I actually only have tomorrow to pack (hey... packing last-minute makes it all the more exciting)!!! I'll be gone for a MONTH but I'll still be posting (although it will probably be more vacation pictures than anything).

The last time I went to Hong Kong was 10 years ago, so I really don't know what to expect or what to do there. I'm hoping to find some places that sell jewelry supplies so I can make more rings like these! If any of you know where I could look for something like that, let me know! Or just leave me a comment suggesting touristy things that I should do while I'm there =) 


Related Posts Plugin for WordPress, Blogger...