Saturday, November 12, 2011

DIY: coat hanger necklace holder

Back home, I have a coat rack nailed into the wall with multiple hooks to hang my jewelry. But here at my new place, I've had to improvise with what I've got. I guess a simple coat hanger does the job.


The only thing with this idea, is that you have to make sure the coat hanger stays balanced - otherwise all the necklaces will just slide to one side and get all tangled. It shouldn't be a big deal though because I actually have this coat hanger hung on the sliding door that goes in and out of my room... so far I've been coming in and out and there hasn't been a tangling problem. My friend Amanda actually has a great idea for a necklace hanger made with ribbon (maybe if she has time, she can guest-blog and share. hint hint).  =P

I have to say that my old ideas for a bracelet holder and DIY ring box are much better than this one, but until I think of a better necklace hanger idea, this coat hanger will have to do. 

inspiration: OUTDOOR ANGRY BIRDS

I stumbled upon this post from Brassy Apple, a blog that has a megaload of great ideas. This particular project involves ANGRY BIRDS and setting up a backyard version of the game using toy blocks and ROCKS! Seriously, how awesome is that?! I think my MOM would especially enjoy this idea since she stoned a RAT to death at our front door using three rocks (then asked me to clean up the mess). She'd probably be pretty good at this game. I would totally do this except that in Hong Kong, there is no such thing as a backyard and if i tried this from my high-rise flat, I'm pretty sure multiple casualties and an arrest would ensue. 


For the original post at Brassy Apple, click here!

DIY: adjustable wire + fabric ring

Awhile ago, I went to a trendy little mall in Tsim Tsa Tsui called "DNA" and found a small store that sold flat plastic ornaments like these. So I bought these three with the idea of turning them into rings. I wasn't sure how I would do it until I bought some wire at the dollar store and thought up a quick and easy way to make rings, similar to my wire + ribbon ring, but this time it's even easier because instead of sewing or using thread, I just used an ingenious invention called FABRIC TAPE.
So all you need for this is:
*fabric tape
*wire
&
*ornaments
 (with a flat back)
step 1. cut the wire to your desired length (enough to wrap around your finger). i cut three pieces and then twisted them together to form a sturdy ring.
step 2. cut the fabric tape into a thin strip and wind it around the ring to cover the wire. (as you can see in the image below, i covered the ends first because they're quite sharp. then i wound a thin strip around the rest of the ring).
At this point, you could actually just wear the fabric ring as is. Here I'm wearing one made of the pink and white polka dot print, and another one that's a beige floral print.
step 3. the fabric tape i got was quite strong so all i needed to do was cut a piece of tape and adhere the ring to the flat base of my plastic ornament. I think I might eventually add a dab of superglue though just in case.
That's basically it. Simple, right?
Here's the first one I made - a popsicle ring!
So there you have it - super simple wire + fabric rings. I think the best part about this method is that these rings are adjustable, so you can size them perfectly for your own fingers. Anyway, all of these rings are making me crave dessert! It's time for me to sleep though so I suppose I shall have to settle for an ice-cream dream. =P

my little cubicle

 Today I spent a very productive few hours organizing my desk and cleaning up all my clutter so I could finally show you my work area. Mom and Dad, this is two months overdue, but this is where I work.

BEFORE...
 AFTER!!!
I bought some "stick-on" floral and wood wallpaper to cover the grey walls of my little cubicle.
You might recognize some of the decorations on my desk (like the felt birds and leaves from this post and of course Mr. Hamlet from this post).
I've also put up some wonderful little post-it messages from my coworkers...
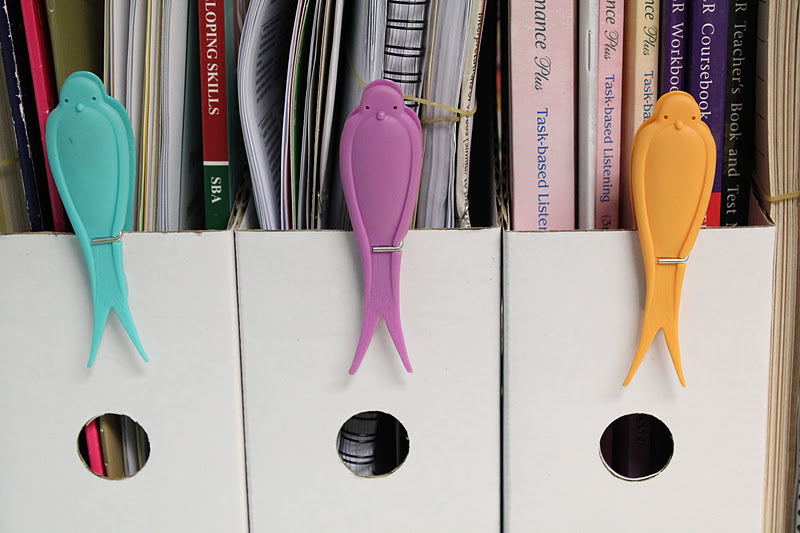
and colourful bird clips!
I haven't decided what to put on that blank blue poster on the left, but I'm thinking that it could turn into an extremely snazzy doodle wall.
So here you go... this is my cubicle!
 I'm quite happy that I finally took some time to personalize my space. Now the real challenge is keeping up this immaculate organization!
I think desk decor can tell you a lot about a person so I'm always curious to see other people's work spaces. What does your work area look like, and how do you personalize it?

Related Posts Plugin for WordPress, Blogger...