
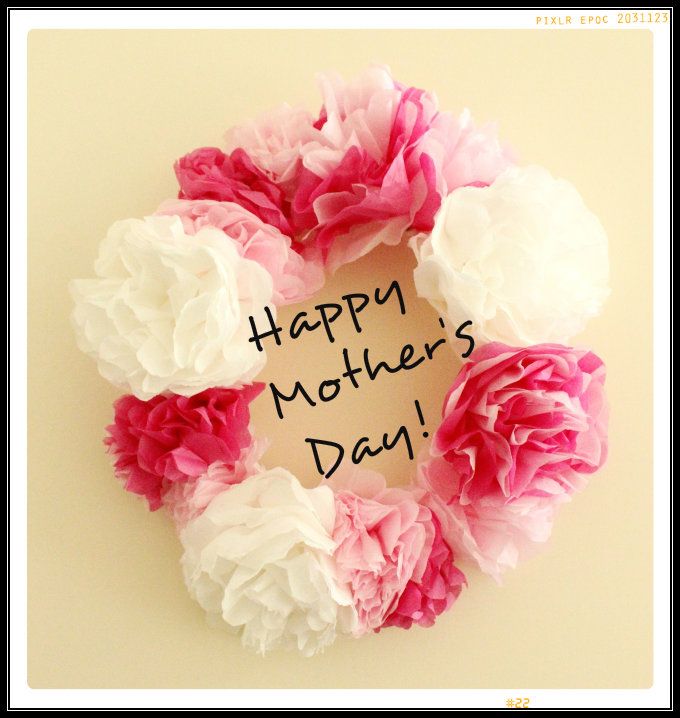
This year, I am miles away from my mother and grandmothers. But that doesn't mean that I can't show my appreciation for them... so mom and grandmas, I hope you're all doing well! I made you all some tissue-paper flowers... but since I couldn't give them to you in person, I suppose I'll keep them in my room for now as a reminder of you. I miss you all!
***************
So here's how to make these tissue-paper flowers. I learned how to do it off Martha Stewart, so you could always find her original tutorial, or just stay with me since you're here anyway. haha. =)
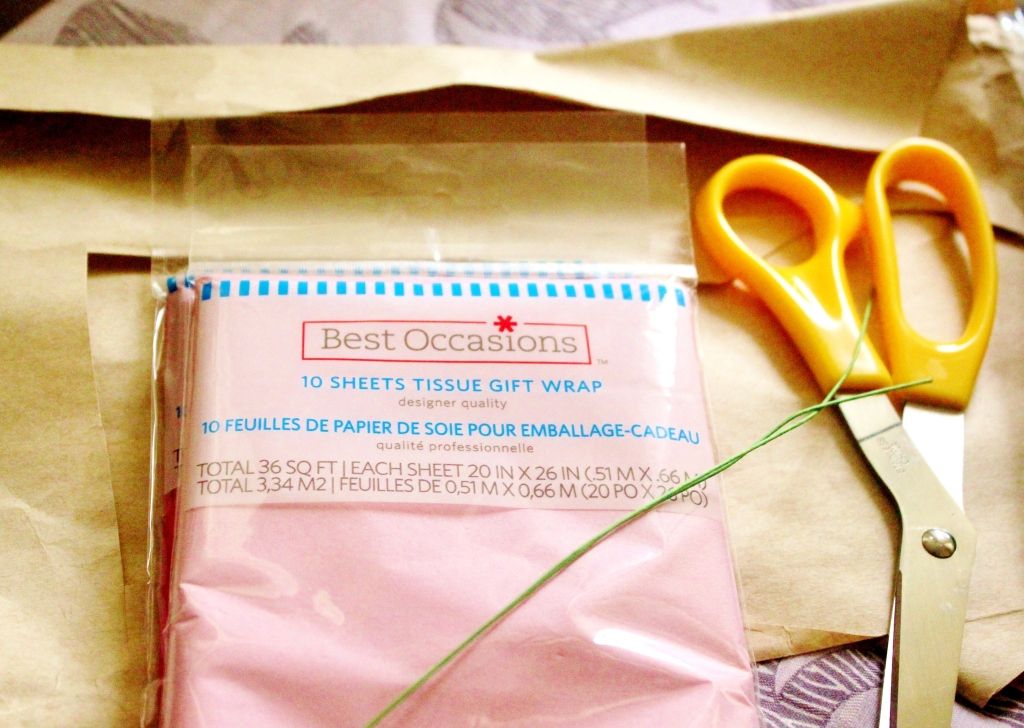
First, you need:
1) tissue paper 2) floral wire 3) scissors
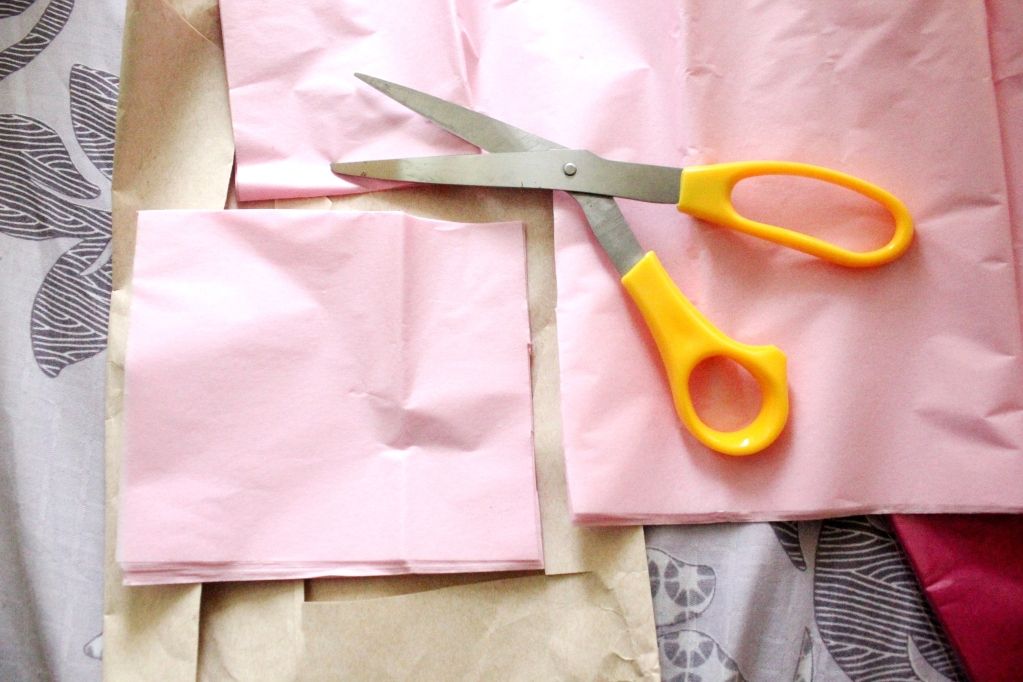
Stack 8 pieces of tissue paper and cut out a square. You can experiment with the size of your flowers by changing the size of the squares you start out with. (Mine were around 3x3 inches).
Fold your pile of tissue paper squares and make "accordion folds"(approx. 1.5 cm).
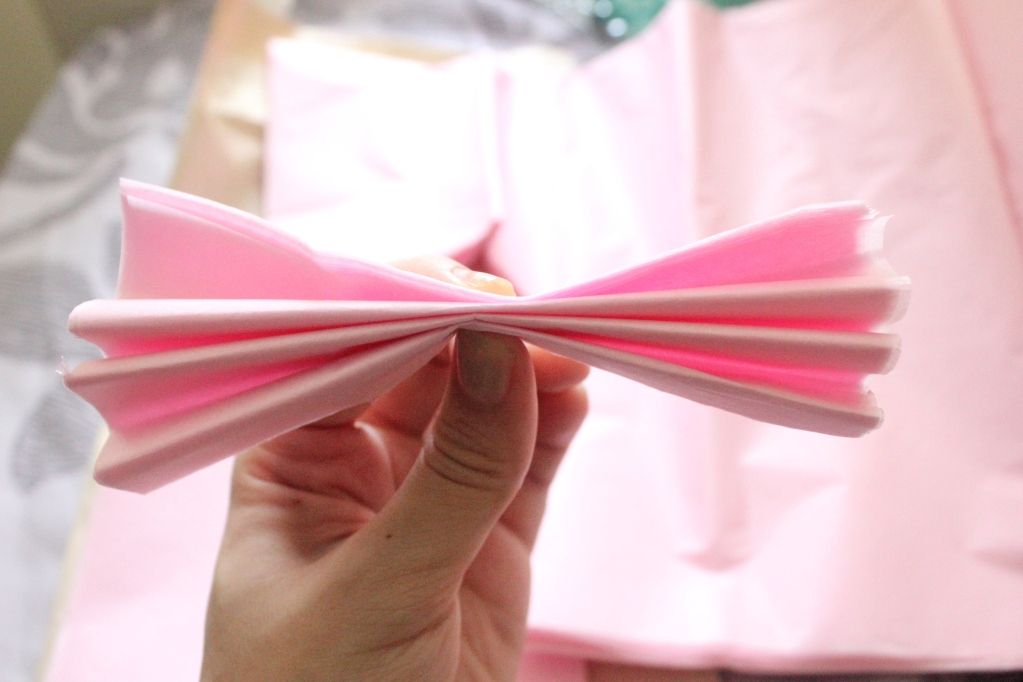
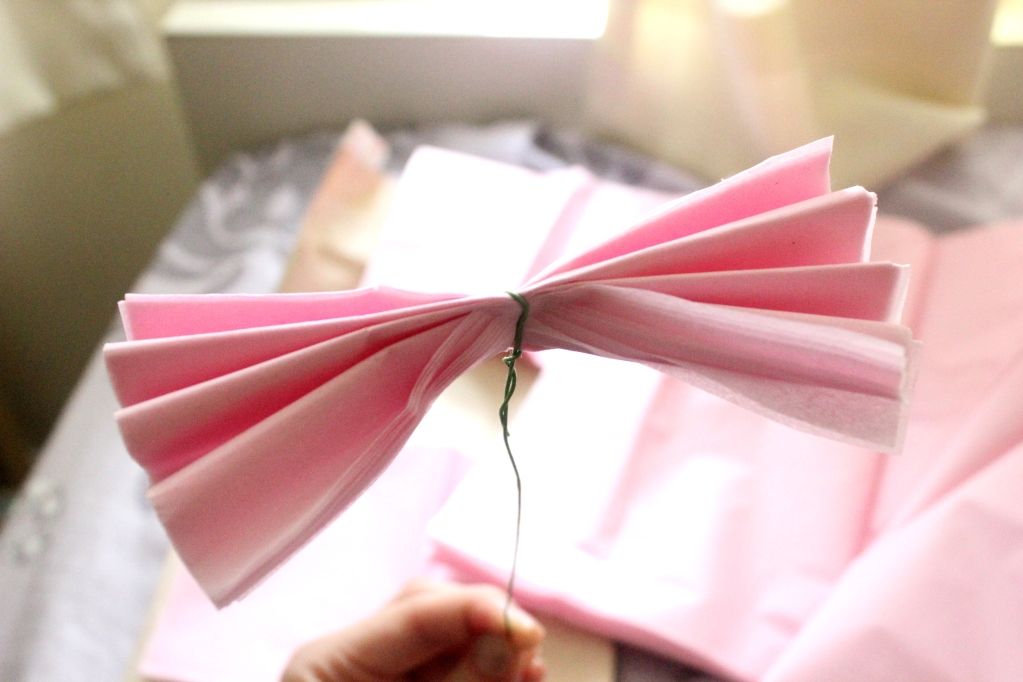
Tie the middle of your flower tightly with a piece of floral wire. At this point it will look like a cute bowtie and may give you the urge to proudly wear it around your neck. You may do so if you wish to look like a fool.
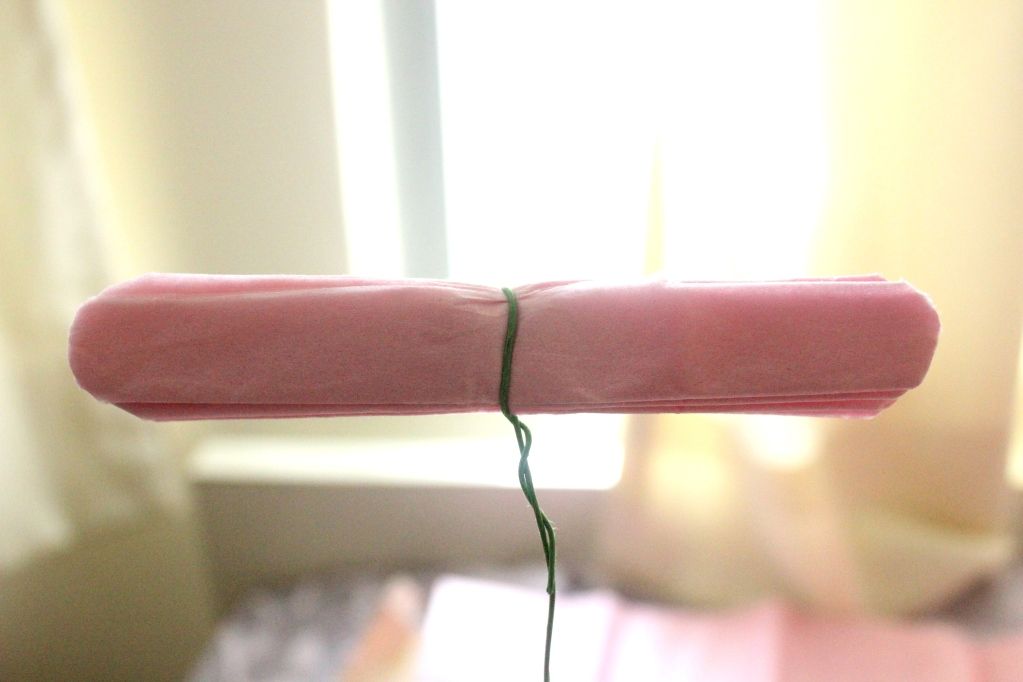
Use scissors and round off the edges. at this point, your flower will suddenly look like a raw sausage. Please resist the urge to eat it and kindly move on to the next step.
Now comes the fun part. Have you ever had the indecent impulse to pull all the Kleenex from a tissue box as fast as you can, just for the fun of it? Well you can gratify that irrational desire by carefully pulling up each layer of petals on your tissue paper flower. I guess it's not entirely as satisfying as finishing off a whole tissue box but I suppose it's a less wasteful source of fun!
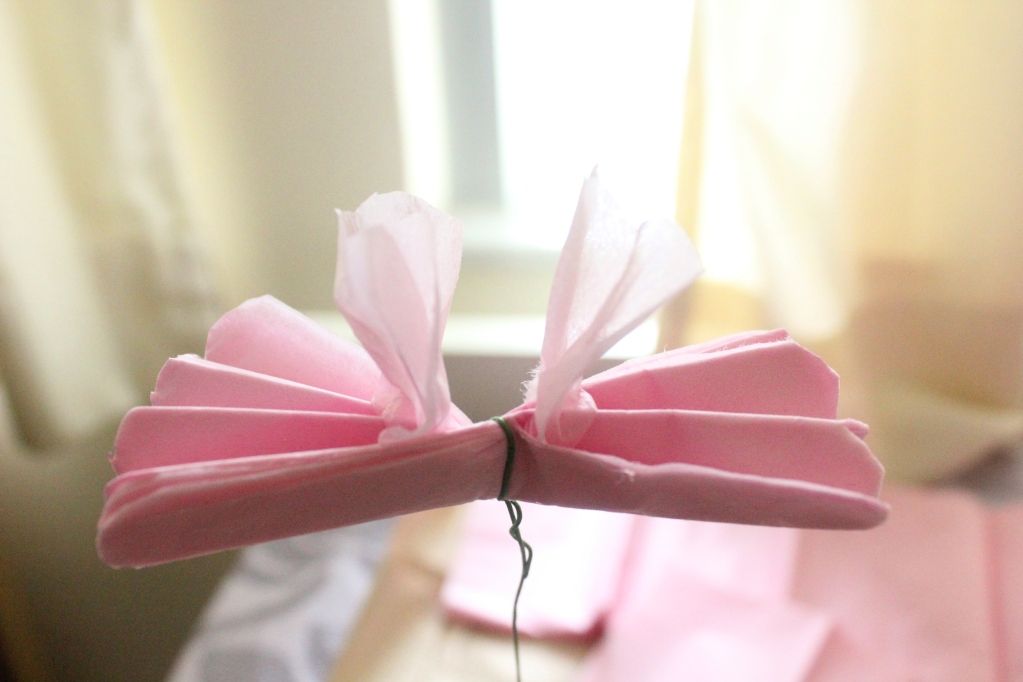
Here's the flower, half done.
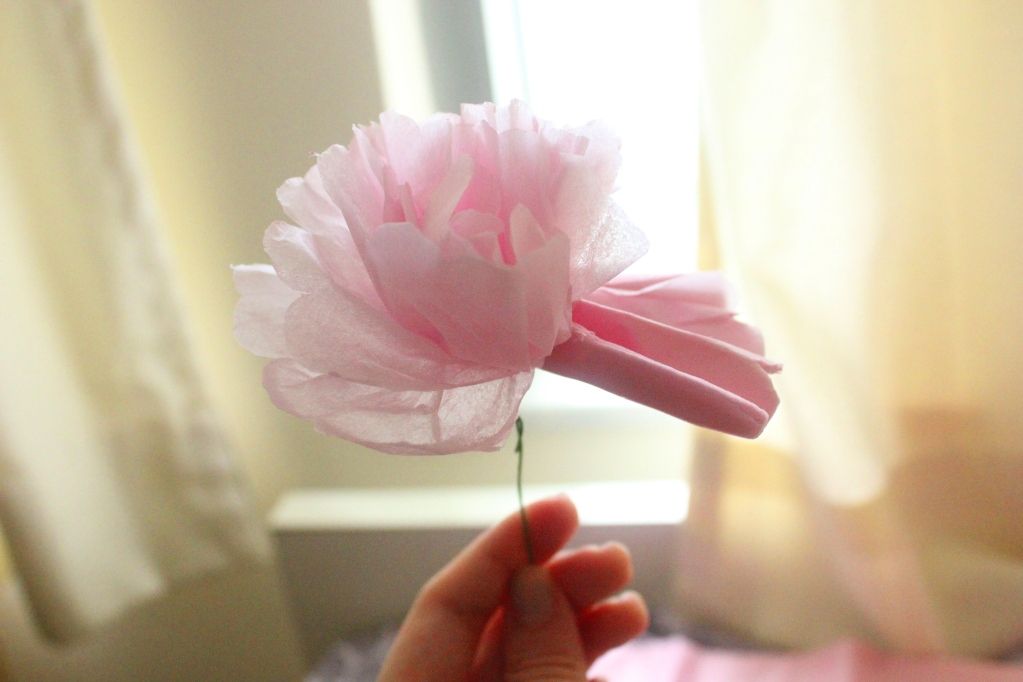
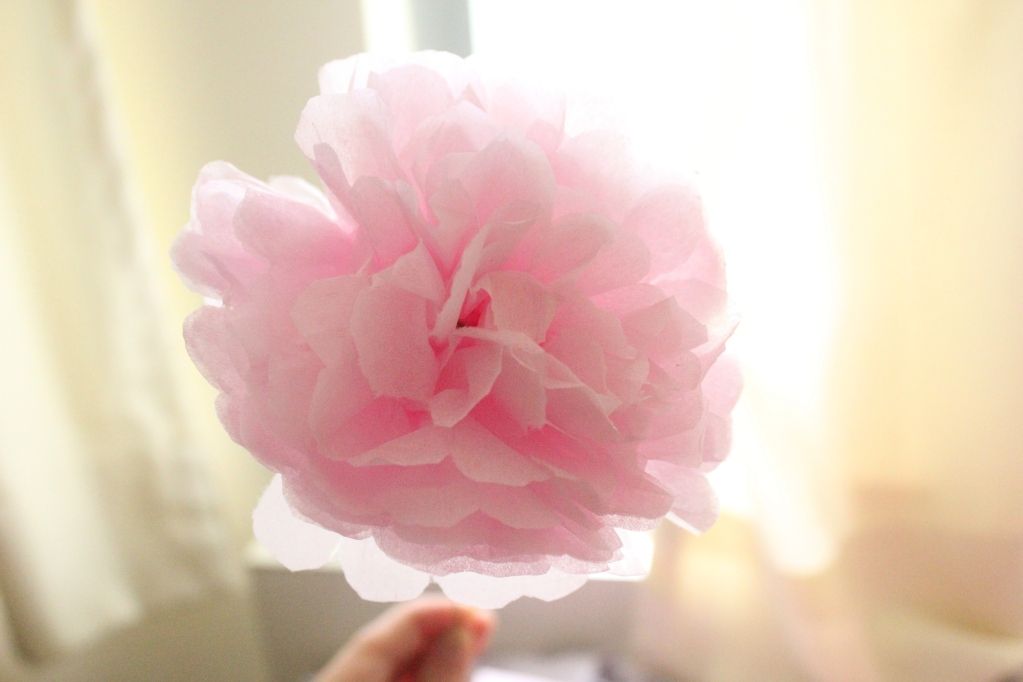
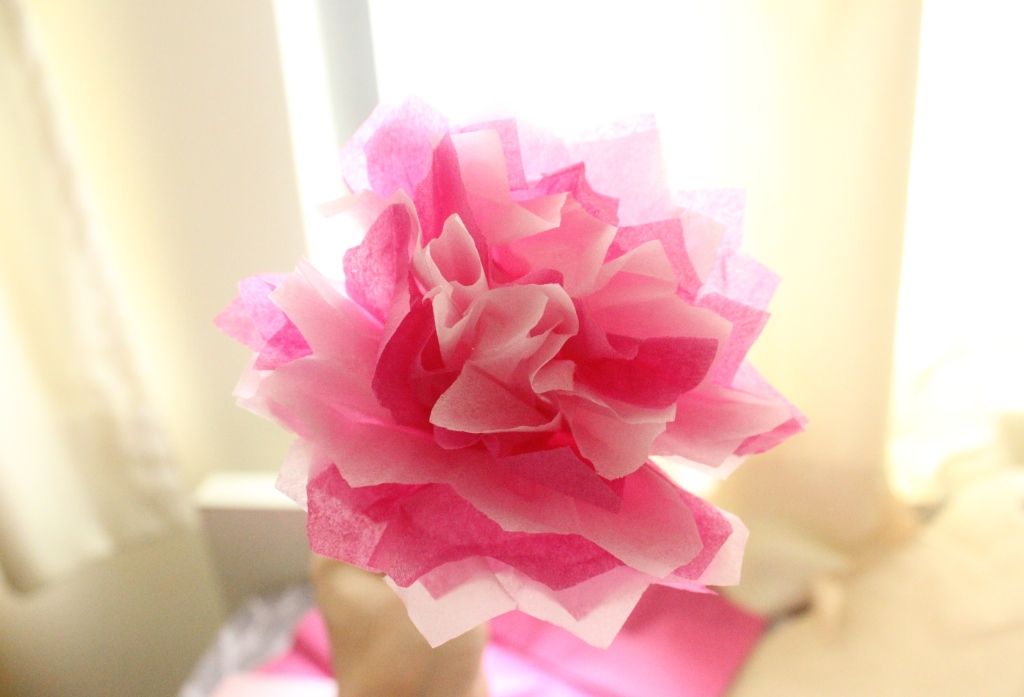
...and here's the finished flower!

The rounded edges gives the flower a delicate feel to it.
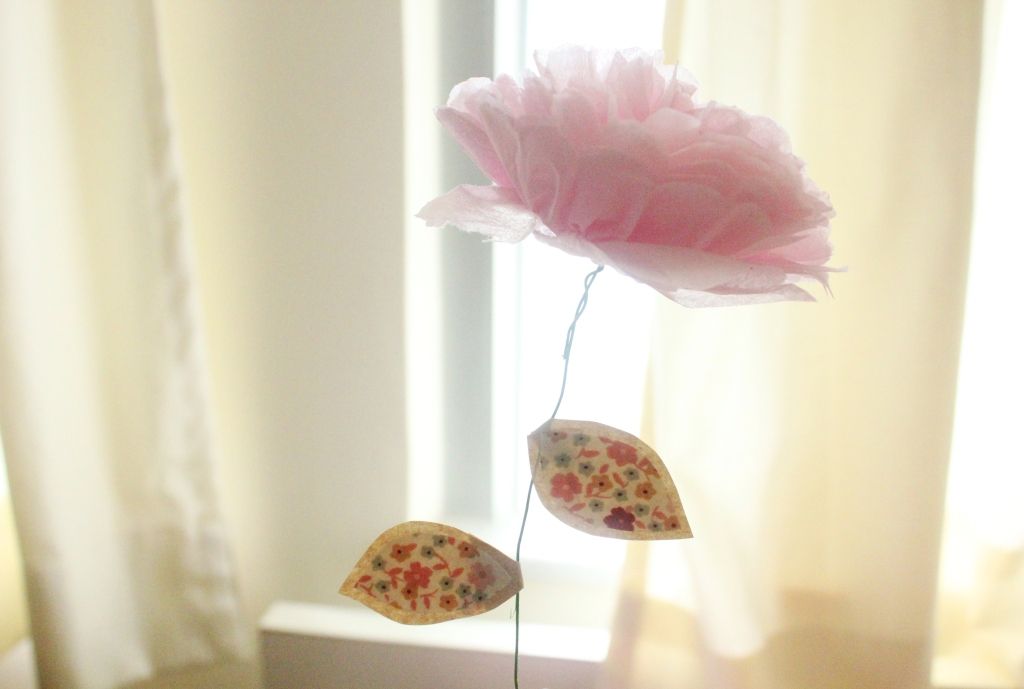
In the past, I've coiled a green or turquoise streamer around the flower stem. Or, you could leave the wire as is, and add some paper leaves.
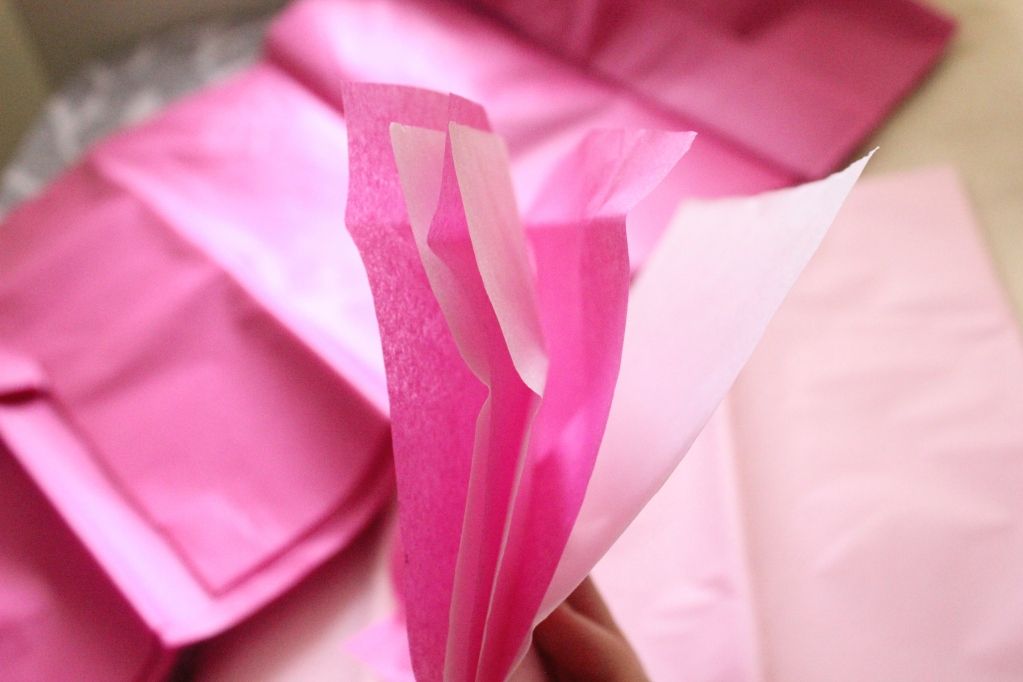
I've also tried making multi-toned flowers. All you need to do is use two different colours of tissue paper, and when stacking them up in layers, alternate between the two colours.
For a "spunkier" flower, you can cut the ends in an arrow shape so that your flower will have more jagged edges.

This is the finished multi-toned flower with jagged edges.
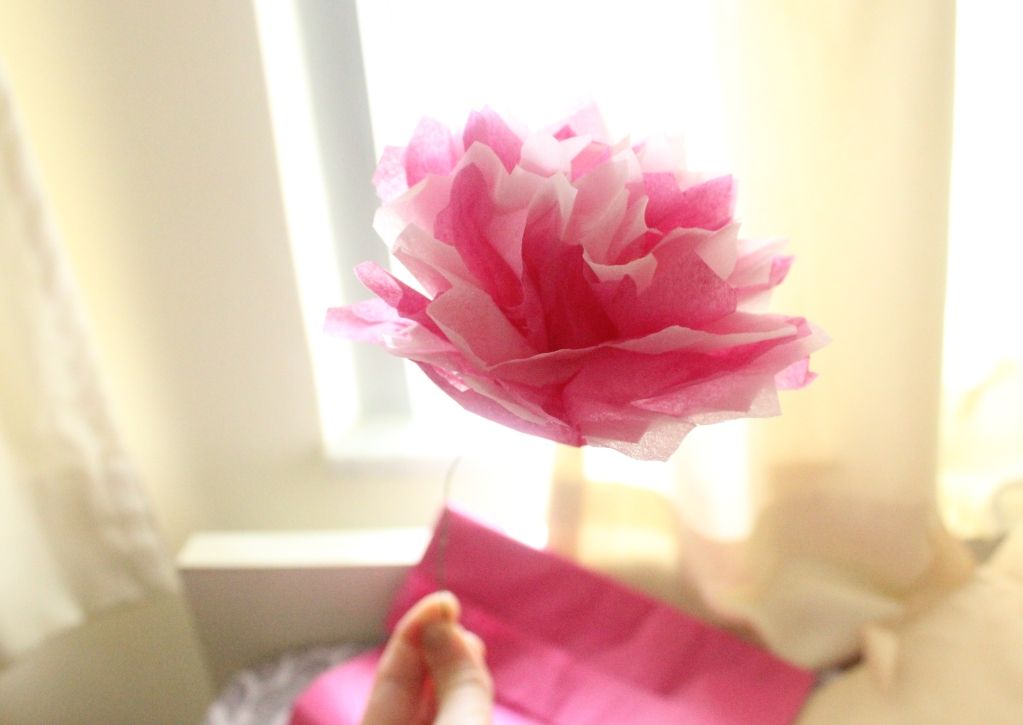
See? It looks spunkier right?
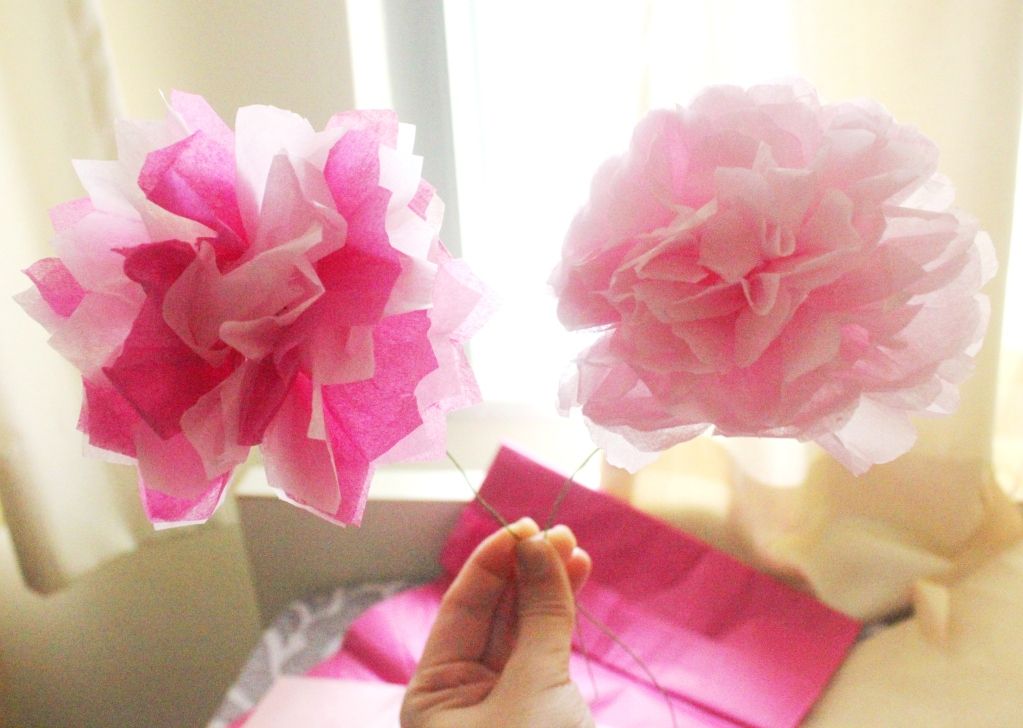
Here's a picture of both flowers, just so you can compare the two different looks. Personally I like the rounded scallop-edges more while Randy prefers the sharpy, jaggedy one. I guess it's not exactly a dealbreaker disagreement, so we're okay. HAHA.
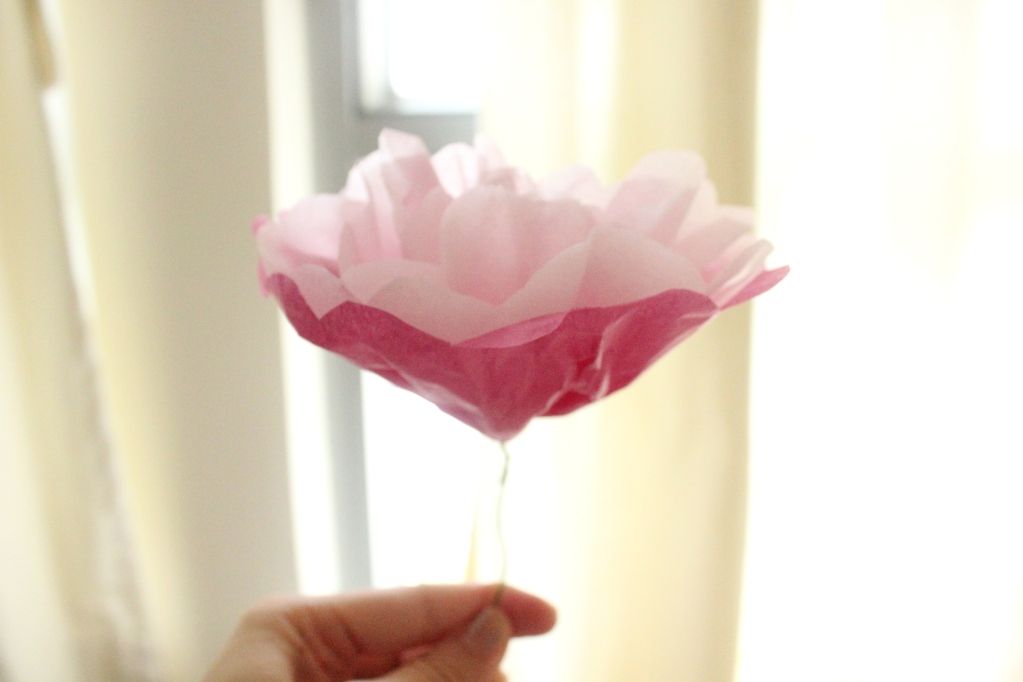
Another option is to create what I call a "teacup effect" where the outer layer is one colour (like a cup) and all the inner layers are another colour.
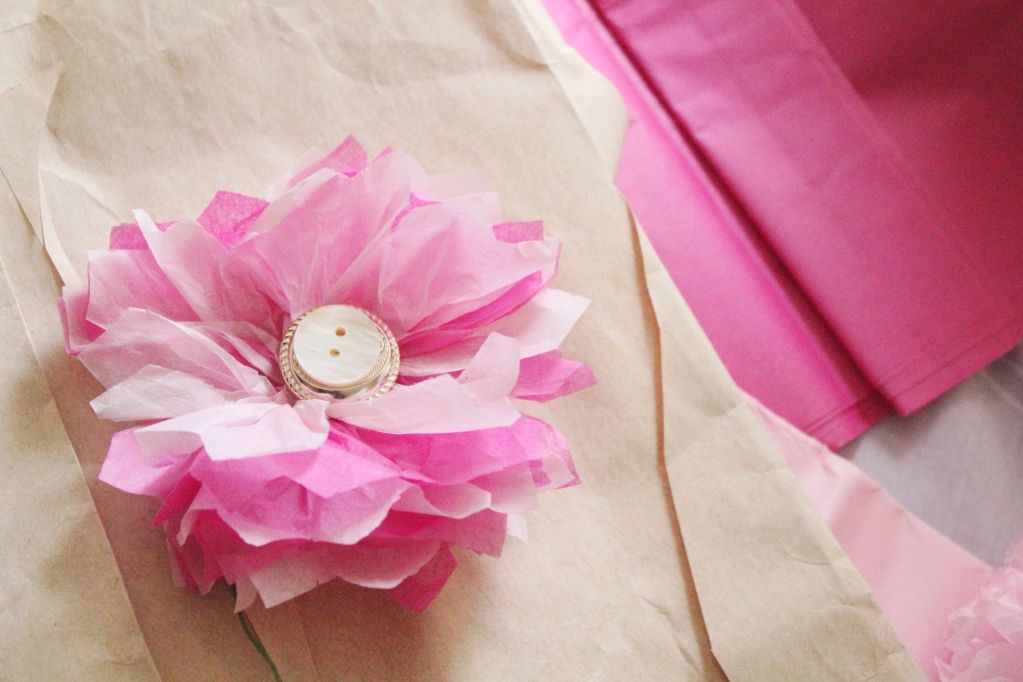
If you would like, you can add a button or some pearl beads as a centre embellishment.
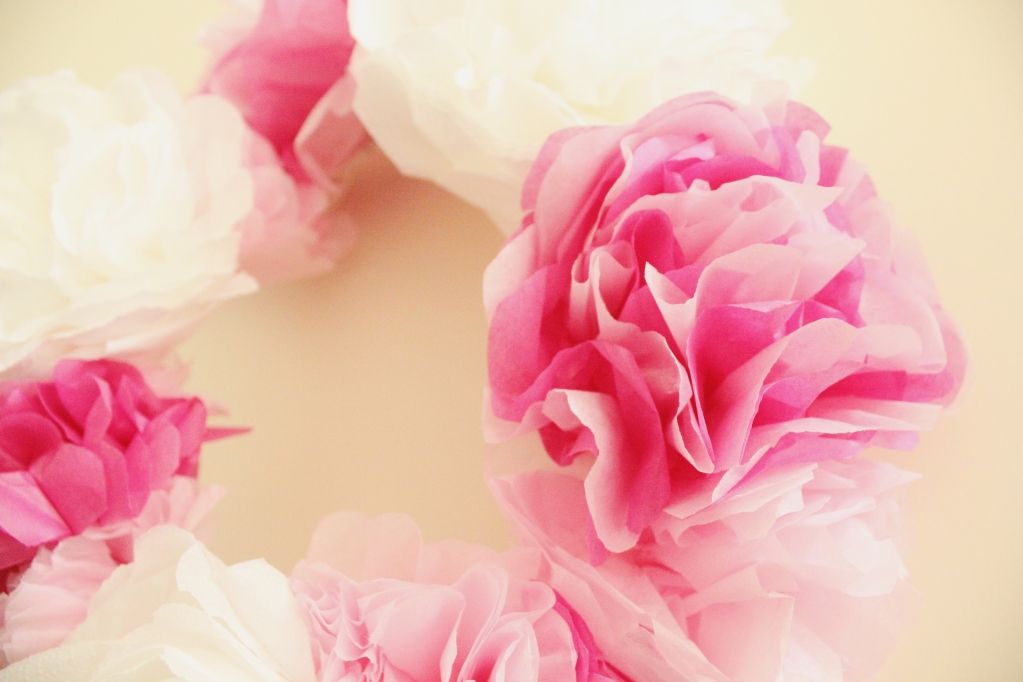
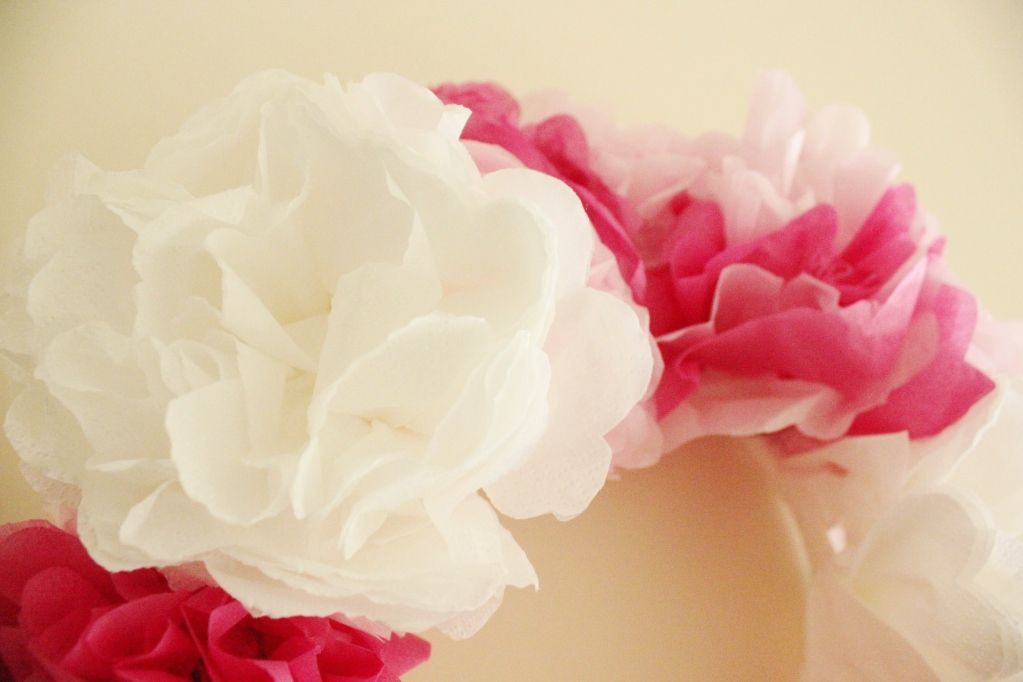
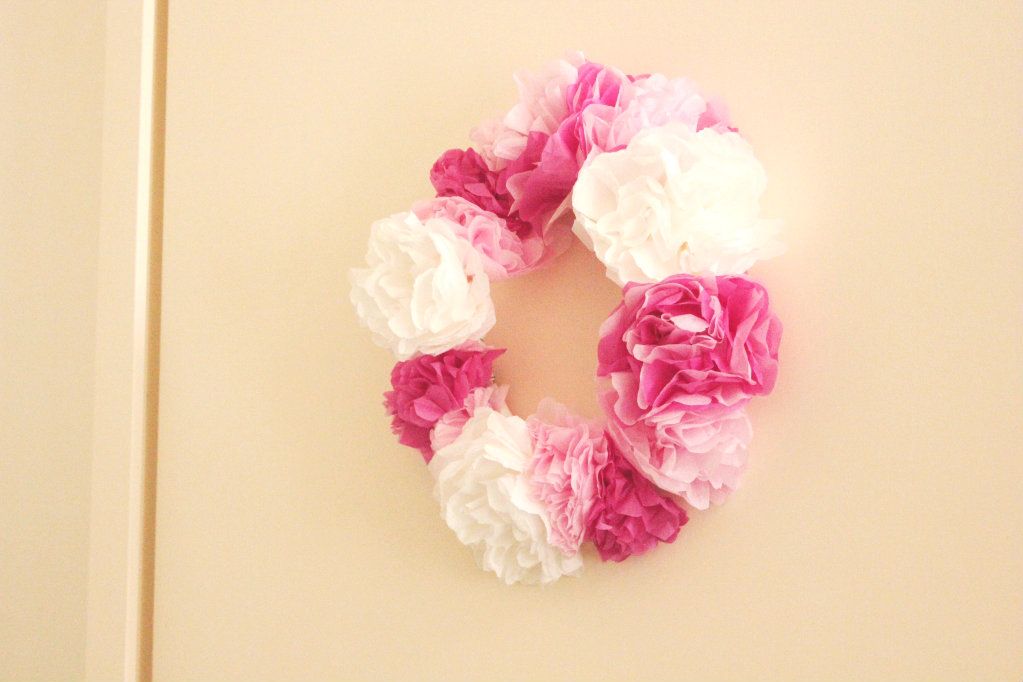
After making a whole bunch of tissue paper flowers, I combined them all together into one massive flower wreath...


Anyway, I hope this tutorial was useful for future flower-crafting projects! And to all you mothers out there, keep being the amazing and beautiful woman that you are! =)
<3
thanks for this cute tutorial :-)
ReplyDeleteyou're welcome! i hope it helps =)
Delete